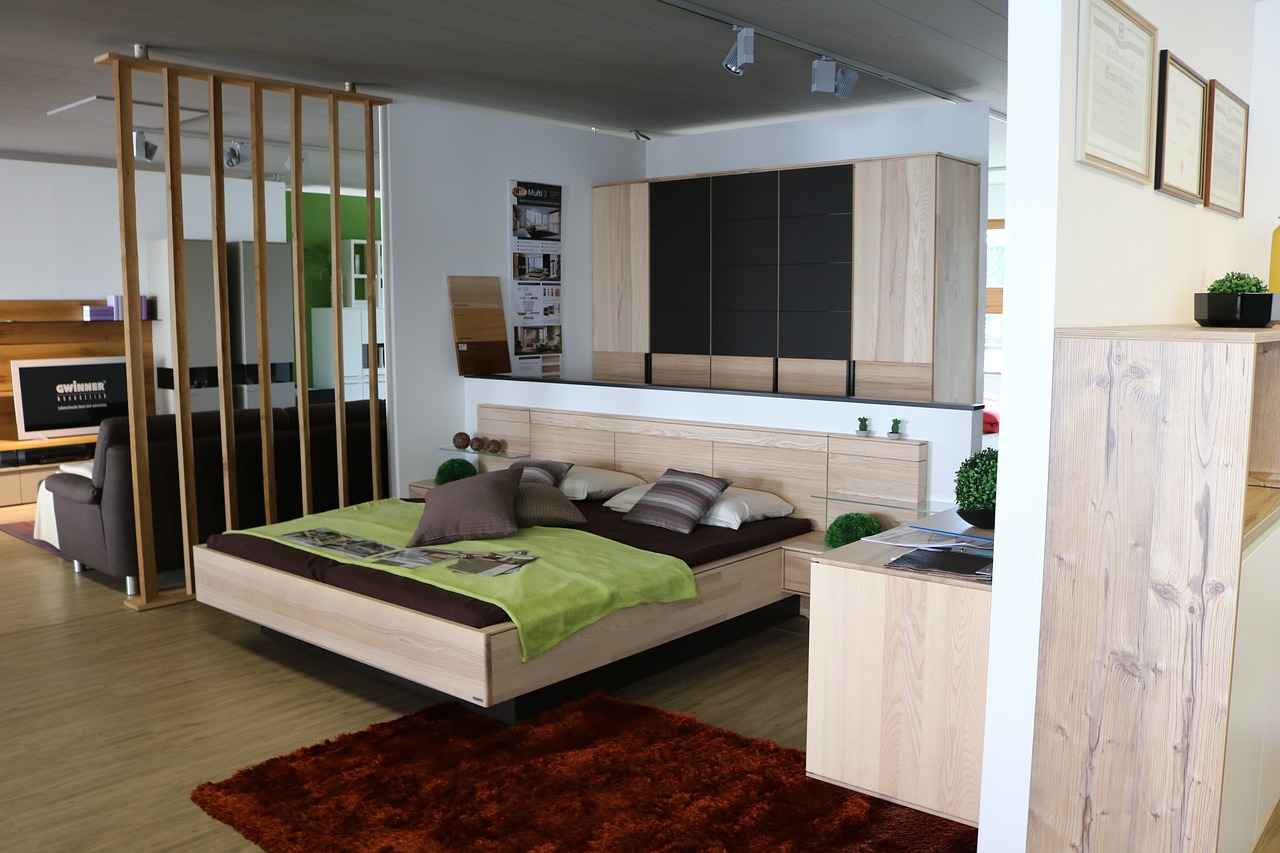
This article delves into effective methods for constructing a soundproof room divider, enhancing privacy and tranquility in your living spaces. Discover the best materials, techniques, and tips for achieving optimal results.
Choosing the right materials is crucial for effective soundproofing. Consider options such as:
- Mass-loaded vinyl: A heavy, flexible material that adds density to walls and dividers.
- Acoustic panels: Designed to absorb sound waves, these panels can be mounted on the divider.
- Dense woods: Materials like oak or maple can help block sound due to their weight and density.
Accurate measurements ensure your soundproof room divider fits perfectly. Follow these steps:
1. Measure the height from floor to ceiling.2. Measure the width of the space where the divider will be placed.3. Take note of any obstructions, such as furniture or light fixtures.
There are various design options for soundproof room dividers:
- Folding screens: Portable and versatile, these can be moved as needed.
- Sliding panels: Ideal for larger spaces, they can be opened and closed easily.
- Built-in solutions: Custom designs that blend seamlessly with your decor.
Building a simple soundproof room divider can be a rewarding DIY project. Here’s a basic outline:
1. Gather your materials (wood, soundproofing materials, tools).2. Construct a frame using the measured dimensions.3. Attach soundproofing materials to the frame.4. Finish the divider with your choice of paint or fabric.
Having the right tools on hand can streamline your building process. Essential tools include:
- Saw: For cutting wood to size.
- Drill: To secure materials together.
- Measuring tape: For precise measurements.
- Soundproofing materials: As discussed earlier.
Following a structured approach simplifies the building process. Here are the essential steps:
- Frame the divider using your measurements.
- Add soundproofing materials to the frame.
- Secure the frame to the floor or wall for stability.
- Finish with paint or decorative fabric.
Beyond basic construction, additional techniques can further enhance soundproofing:
- Sealing gaps: Use caulk to seal any gaps around the divider.
- Heavy curtains: Adding curtains can further absorb sound.
- Using carpets: Placing rugs or carpets on the floor can help dampen sound.
Avoiding common pitfalls can save time and resources. Key mistakes include:
- Inadequate sealing: Failing to seal gaps can allow sound to escape.
- Poor material choices: Using lightweight materials can diminish effectiveness.
Regular maintenance is crucial for long-lasting effectiveness. Consider these tips:
- Cleaning: Keep the surface clean to maintain aesthetics.
- Checking for damage: Regularly inspect for any wear or tear.
- Updating soundproofing materials: Replace any worn materials as needed.
Understanding the benefits can motivate your project. A soundproof room divider:
- Enhances privacy, allowing for personal space.
- Reduces noise pollution, creating a more serene environment.
- Offers a versatile design element to your home.
A soundproof room divider can also serve as a decorative element. Consider ways to customize:
- Paint: Choose colors that complement your decor.
- Fabric: Use patterned fabric to add texture.
- Artwork: Attach art pieces to make a statement.
For more intricate designs or larger projects, seeking professional advice may be beneficial. Explore options for hiring:
- Contractors: For custom builds.
- Soundproofing experts: To ensure optimal results.
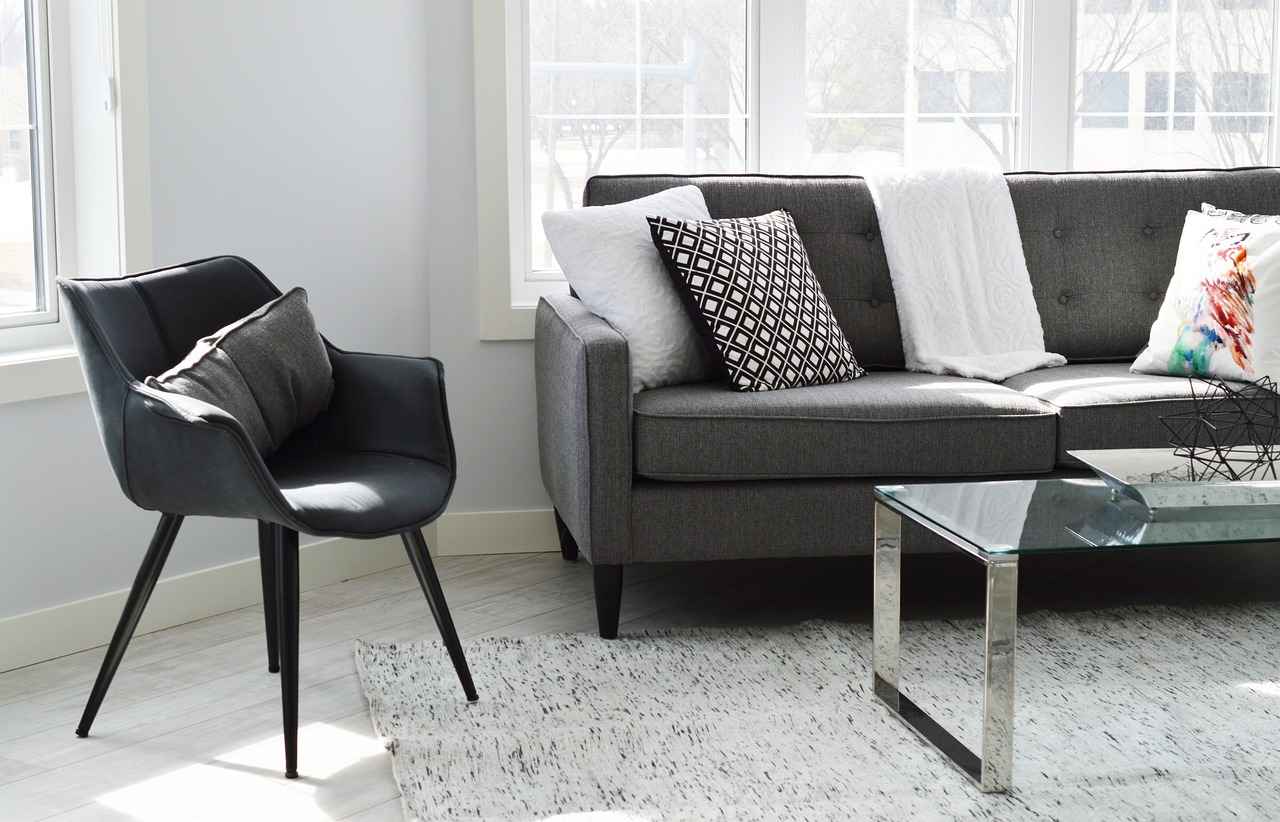
What Materials Are Best for Soundproofing?
When it comes to soundproofing, selecting the right materials is essential for achieving the desired level of noise reduction. A variety of materials can be employed to minimize sound transmission, each with its unique properties and benefits. Below, we explore some of the best options available for effective soundproofing.
Mass-Loaded Vinyl (MLV) is one of the most effective soundproofing materials on the market. This heavy, flexible material can be applied to walls, ceilings, and floors to block sound waves. Its density helps to reduce noise transmission significantly, making it ideal for both residential and commercial applications. MLV is particularly useful in situations where space is limited, as it can be installed without adding much bulk.
Acoustic Panels are another popular choice for soundproofing. Made from foam or fabric-wrapped fiberglass, these panels absorb sound waves rather than blocking them. They are particularly effective in reducing echo and reverberation in a room. Acoustic panels can be strategically placed on walls or ceilings to improve sound quality, making them a great option for home theaters, recording studios, and offices.
Dense Woods, such as oak or mahogany, can also serve as excellent soundproofing materials. The natural density of these woods helps to dampen sound transmission. Incorporating wooden elements into your room design not only enhances aesthetics but also contributes to a quieter environment. For optimal results, consider using solid wood rather than plywood or particle board, as these materials are less effective at sound dampening.
Additionally, fiberglass insulation is an effective option for soundproofing walls and ceilings. It works by trapping sound waves within its fibers, significantly reducing noise transfer between rooms. This material is often used in conjunction with other soundproofing methods for enhanced effectiveness.
Another innovative option is Green Glue, a soundproofing compound that can be applied between two layers of drywall. This viscoelastic material dampens vibrations and significantly reduces noise transmission. It is particularly effective for new constructions or remodels, where additional layers of drywall can be added.
For those looking for a cost-effective solution, heavy curtains or soundproofing blankets can be employed to absorb sound. While they may not offer the same level of soundproofing as more permanent materials, they can greatly reduce noise levels when used strategically in a space.
In summary, an effective soundproofing solution often involves a combination of materials to achieve the best results. By utilizing mass-loaded vinyl, acoustic panels, dense woods, fiberglass insulation, Green Glue, and heavy curtains, you can create a more peaceful and private environment in your home or workplace.
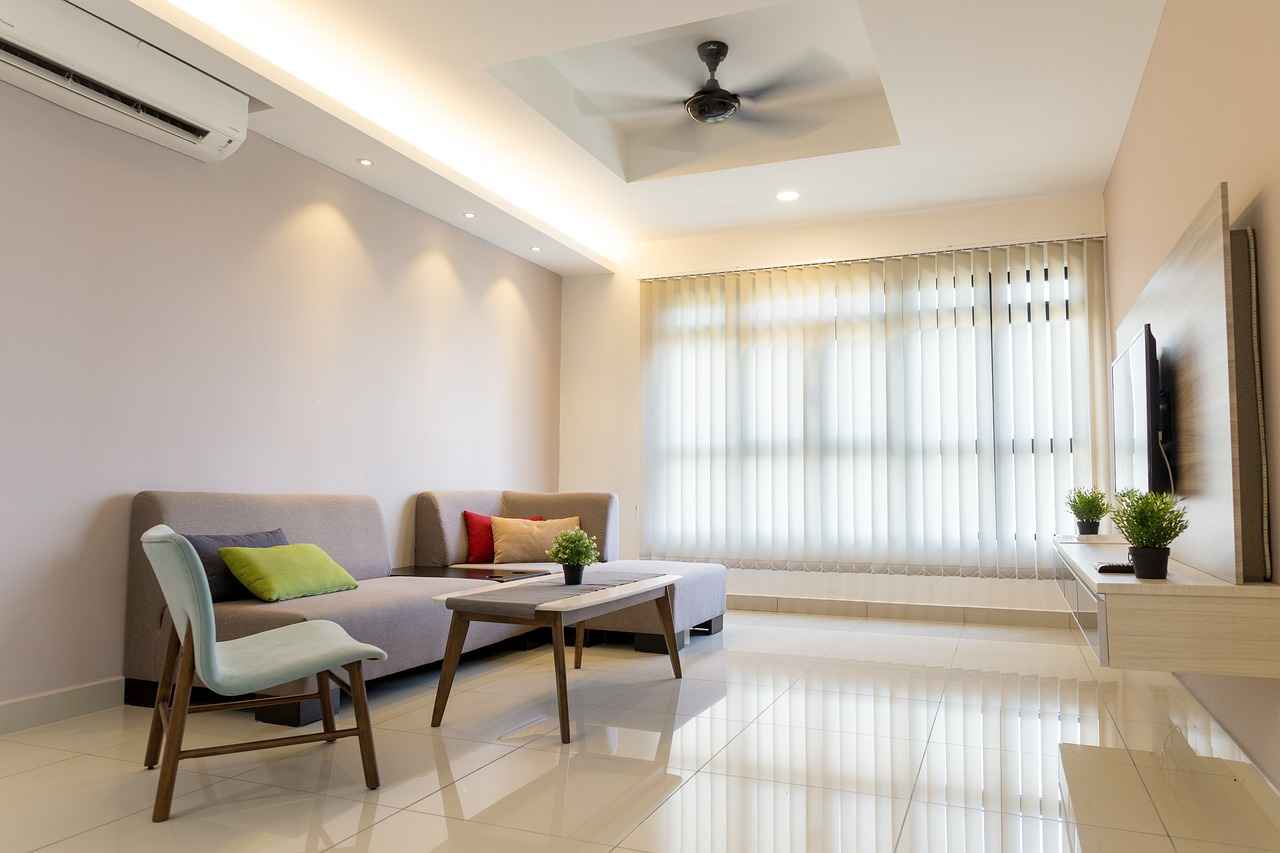
How Do You Measure Your Space for a Divider?
When it comes to creating a soundproof room divider, accurate measurements are essential. A well-fitted divider can significantly enhance your privacy and sound insulation. This guide will walk you through the process of measuring your space effectively, ensuring your soundproof room divider fits perfectly.
Before you start measuring, it’s important to understand the dimensions of your room. Begin by assessing the height, width, and any obstructions that may affect the installation of your room divider. Here are the steps to follow:
- Height: Use a measuring tape to determine the height from the floor to the ceiling. If you have sloped ceilings or beams, measure the lowest point.
- Width: Measure the distance across the area where you plan to install the divider. Consider if you want the divider to extend to the walls or if it should be freestanding.
- Obstructions: Identify any obstacles such as furniture, electrical outlets, or windows that could interfere with the divider’s placement. Make a note of their dimensions and positions.
To achieve the most accurate measurements, follow these techniques:
1. Use a reliable measuring tape for accuracy.2. Measure twice to ensure consistency.3. Record measurements immediately to avoid forgetfulness.4. Consider using a laser measuring tool for larger spaces.
After obtaining your measurements, it’s beneficial to create a floor plan. Sketch the layout of your room, including the dimensions of the walls and any obstructions. This visual representation will help you envision how the divider will fit into your space.
Once you have your measurements and floor plan, it’s time to choose the size of your soundproof room divider. Consider the following:
- Height: Ensure the height of the divider provides adequate sound insulation without overwhelming the space.
- Width: The width should be sufficient to cover the area you wish to separate while allowing for easy movement.
- Thickness: A thicker divider will generally offer better soundproofing capabilities. Choose materials that provide the best sound absorption.
Before finalizing your divider’s dimensions, account for any adjustments needed for installation. Consider the type of flooring and whether the divider will be placed on carpet or hard surfaces. This can affect the overall height and stability of the divider.
By following these guidelines for measuring your space, you can ensure that your soundproof room divider not only fits perfectly but also effectively serves its purpose. Accurate measurements are the foundation of a successful project, leading to enhanced privacy and tranquility in your living spaces.

What Design Options Are Available for Room Dividers?
When it comes to creating a soundproof environment, room dividers play a crucial role. They not only help in partitioning spaces but also in minimizing sound transmission. There are several design options available, each with its own unique benefits and drawbacks. Understanding these can guide you in selecting the ideal solution for your needs.
- Folding Screens: These are portable and versatile. They can be easily moved and adjusted to fit different spaces. However, they may not provide the same level of soundproofing as more permanent solutions.
- Wall-mounted Panels: These panels are fixed to the wall and can be designed to match your décor. They offer better sound insulation but require more installation effort.
- Acoustic Curtains: These heavy curtains can be drawn to create a barrier against sound. They are flexible and can be opened or closed as needed, but their effectiveness can vary based on the material used.
- Built-in Solutions: Custom-built dividers can be designed to fit perfectly in your space. While they may be more expensive, they offer superior soundproofing and aesthetic appeal.
- Bookshelves or Storage Units: These multifunctional dividers can serve as both storage and sound barriers. However, they may not completely block sound unless filled with dense materials.
| Style | Pros | Cons |
|---|---|---|
| Folding Screens | Portable, easy to set up | Less effective for soundproofing |
| Wall-mounted Panels | Stylish, better sound isolation | Requires installation, less flexible |
| Acoustic Curtains | Flexible, easy to use | Variable effectiveness |
| Built-in Solutions | Customizable, superior soundproofing | Higher cost, permanent |
| Bookshelves/Storage Units | Functional, aesthetic | May not block sound completely |
When selecting a room divider, consider your specific requirements. If portability is essential, folding screens may be the best choice. For a more permanent solution, built-in options or wall-mounted panels may suit your needs better. Additionally, think about your decor style and how the divider will fit into your overall aesthetic.
In summary, there are numerous design options for soundproof room dividers, each offering unique advantages and disadvantages. By understanding these options and evaluating your specific needs, you can find the perfect room divider that enhances privacy while contributing to a peaceful living environment.

How to Construct a Basic Soundproof Room Divider?
Building a soundproof room divider can significantly enhance the privacy and tranquility of your living spaces. This DIY project not only helps in reducing noise levels but also adds a functional and aesthetic element to your home. In this guide, we will delve into the essential steps and considerations for constructing an effective soundproof room divider.
When constructing a soundproof room divider, selecting the right materials is crucial. Here are some effective options:
- Mass-Loaded Vinyl (MLV): This dense material adds significant weight to barriers, effectively blocking sound.
- Acoustic Panels: These panels absorb sound waves, reducing echo and noise transmission.
- Dense Woods: Materials like plywood or MDF provide structural integrity while helping to dampen sound.
Accurate measurements are vital for ensuring your soundproof room divider fits perfectly. Here’s how to measure:
1. Measure the height of the space from floor to ceiling.2. Measure the width of the area where you plan to install the divider.3. Note any obstructions, such as furniture or electrical outlets, that may affect the installation.
Having the right tools on hand can streamline your building process. Essential tools include:
- Saw: For cutting wood or other materials to size.
- Drill: To assemble the divider and secure soundproofing materials.
- Measuring Tape: For accurate measurements.
- Soundproofing Materials: As discussed earlier, gather your chosen soundproofing materials.
Follow these structured steps to construct your soundproof room divider:
- Frame Construction: Start by building a frame using sturdy wood. Ensure it is tall enough to reach the ceiling and wide enough for your space.
- Add Soundproofing Material: Attach your chosen soundproofing material to the frame. Ensure it covers the entire surface for maximum effectiveness.
- Assemble the Divider: Secure the frame and soundproofing material together using screws or nails. Make sure it is stable and well-constructed.
- Finishing Touches: Consider adding a decorative layer, such as fabric or paint, to enhance the visual appeal of your divider.
To further enhance the soundproofing capabilities of your divider, consider these additional techniques:
- Sealing Gaps: Use caulk to seal any gaps around the edges of the divider to prevent sound leakage.
- Heavy Curtains: Hanging heavy curtains over the divider can absorb additional sound.
- Using Carpets: Placing carpets on the floor can help reduce noise transmission.
By following these guidelines, you can successfully construct a basic soundproof room divider that not only serves its purpose but also complements your living space. With the right materials, tools, and techniques, you will create a peaceful environment that enhances your overall quality of life.
What Tools Do You Need for Construction?
When embarking on a project to build a soundproof room divider, having the right tools at your disposal is essential for a smooth and efficient construction process. The **right tools** not only facilitate precise measurements and cuts but also ensure that your soundproofing materials are applied effectively. Below, we’ll delve into the key tools you’ll need for this project.
- Saw: A quality saw, whether it’s a circular saw or a hand saw, is crucial for cutting wood or other materials to the desired dimensions. Make sure to choose a saw that fits your comfort level and the complexity of your project.
- Drill: A power drill is necessary for creating holes for screws and anchors. It’s advisable to have a set of drill bits that can accommodate various materials, including wood and drywall.
- Measuring Tape: Accurate measurements are vital to ensure your room divider fits perfectly in the intended space. A measuring tape allows you to take precise dimensions, accounting for height, width, and any obstructions.
- Level: A level tool ensures that your divider is installed straight, which is important for both aesthetics and functionality. An uneven divider can lead to gaps that allow sound to pass through.
- Soundproofing Materials: Depending on your design, you’ll need soundproofing materials such as mass-loaded vinyl, acoustic panels, or dense woods. These materials are essential for minimizing sound transmission and enhancing privacy.
- Utility Knife: A utility knife is useful for cutting soundproofing materials and for making precise cuts on softer materials like foam or vinyl.
- Safety Gear: Don’t forget your safety gear, including gloves, goggles, and a dust mask. Safety should always be a priority when working with power tools and materials.
- Clamps: Clamps can be incredibly useful for holding materials in place while you work on them, ensuring stability and accuracy during assembly.
- Stud Finder: If your divider will be anchored to the wall, a stud finder can help locate the best places to secure it, ensuring a sturdy installation.
- Caulking Gun: For sealing gaps and ensuring that soundproofing materials are applied effectively, a caulking gun is a valuable tool.
In summary, assembling a soundproof room divider requires a variety of tools that cater to different aspects of the construction process. From cutting materials to ensuring a secure installation, each tool plays a vital role in achieving a successful outcome. By equipping yourself with these essential tools, you can streamline your building process and create a soundproof barrier that enhances your privacy and tranquility.
What Are the Step-by-Step Construction Guidelines?
Building a soundproof room divider may seem daunting, but following a structured approach can significantly simplify the process. By breaking down the project into manageable steps, you can ensure a successful outcome that enhances your privacy and tranquility. Below are the essential steps to consider when constructing your soundproof room divider.
Before you begin construction, it’s vital to have a clear plan. Determine the purpose of the divider, the space it will occupy, and the level of soundproofing you desire. This will guide your material selection and design choices.
Choosing the right materials is crucial for effective soundproofing. Consider using:
- Mass-loaded vinyl: This material adds density and blocks sound transmission.
- Acoustic panels: These help absorb sound and reduce echo.
- Dense wood: Solid wood can act as a natural sound barrier.
Ensure you have all necessary materials before starting the construction process.
Accurate measurements are essential for a perfect fit. Measure the height and width of the area where the divider will be placed, accounting for any obstructions such as furniture or fixtures. Write down your measurements to avoid confusion later.
Once you have your materials and measurements, start by constructing a sturdy frame. Use 2×4 lumber for the frame to provide stability. Cut the pieces to size based on your measurements and assemble them using screws or nails. Ensure the frame is square and level for optimal performance.
With the frame in place, it’s time to add your chosen soundproofing materials. Attach mass-loaded vinyl or acoustic panels to the frame, ensuring they are secured tightly to prevent any gaps where sound could leak through. If using heavy curtains, install a rod to hang them securely.
After installing soundproofing materials, check for any gaps or cracks in the frame. Use acoustic caulk to seal these areas, as even small openings can significantly reduce the effectiveness of your soundproofing efforts.
To enhance the aesthetic appeal of your soundproof room divider, consider adding a decorative finish. This could include painting, applying wallpaper, or even attaching fabric to match your room’s decor. Ensure that any finishes you choose do not compromise the soundproofing capabilities.
Once your soundproof room divider is complete, it’s essential to test its effectiveness. Play music or create noise on one side and assess how much sound penetrates through to the other side. If necessary, make adjustments to improve soundproofing.
By following these structured steps, you can successfully construct a soundproof room divider that enhances your privacy and reduces noise levels in your living space. Remember, patience and attention to detail are key to achieving the best results.

How to Enhance Soundproofing with Additional Techniques?
When it comes to creating a peaceful and quiet environment, soundproofing is essential. While basic construction techniques are vital, enhancing soundproofing can significantly improve the effectiveness of your efforts. In this section, we will discuss various additional techniques that can be employed to further reduce noise levels in your space.
- Sealing Gaps: One of the most effective methods to enhance soundproofing is to seal any gaps or cracks in walls, doors, and windows. Noise can easily seep through small openings, so using caulk or weatherstripping can create a tighter seal, preventing sound from entering or escaping.
- Adding Heavy Curtains: Thick, heavy curtains can act as a barrier against sound. These not only block light but also absorb sound waves, making them an excellent addition to any room that requires soundproofing. Look for curtains made from dense materials such as velvet or specially designed acoustic fabrics.
- Using Carpets and Rugs: Flooring can significantly contribute to noise transmission. Installing carpets or laying down thick rugs can help absorb sound, especially in areas with hard surfaces. This is particularly effective in bedrooms or living rooms where noise can be a distraction.
- Acoustic Panels: Incorporating acoustic panels into your design can greatly enhance sound absorption. These panels are specifically designed to reduce echo and noise levels, making them ideal for home theaters, music rooms, or any space where sound quality is a priority.
- Soundproofing Foam: Installing soundproofing foam on walls or ceilings can further minimize noise transmission. This material is effective in absorbing sound waves, thus reducing overall noise levels in the room.
Combining these techniques can lead to even better results. For instance, sealing gaps while using heavy curtains creates a dual barrier that dramatically reduces sound transmission. Similarly, adding carpets alongside acoustic panels can create a well-rounded approach to soundproofing. The key is to address multiple sources of noise and utilize various materials to create a comprehensive soundproofing strategy.
Implementing these additional soundproofing techniques can yield numerous benefits. Enhanced soundproofing leads to a more tranquil living environment, allowing for better focus, relaxation, and sleep. It can also improve the overall aesthetic of your space, as many soundproofing materials can be stylishly integrated into your decor.
Moreover, enhanced soundproofing can increase the value of your home. Potential buyers often appreciate features that contribute to comfort and privacy, making your property more appealing in the real estate market.
While some soundproofing techniques can be more expensive than others, many options are available to fit various budgets. Investing in quality materials, such as heavy curtains or acoustic panels, can provide long-term benefits that outweigh initial costs. Additionally, DIY methods for sealing gaps or laying carpets can be cost-effective solutions for those looking to enhance soundproofing without breaking the bank.
In conclusion, enhancing soundproofing goes beyond basic construction. By employing a combination of techniques such as sealing gaps, adding heavy curtains, and utilizing carpets, you can create a more peaceful and private environment. Each method contributes to reducing noise levels, providing you with the tranquility you desire in your living space.

What Are Common Mistakes to Avoid When Building a Divider?
When embarking on the journey to construct a soundproof room divider, it is essential to be aware of common pitfalls that can hinder your project’s success. By avoiding these mistakes, you can save both time and resources, leading to a more effective and satisfying outcome.
Building a soundproof room divider requires careful planning and execution. Here are some frequent mistakes to watch out for:
- Inadequate Sealing: One of the most critical aspects of soundproofing is ensuring that all gaps and seams are properly sealed. Failing to do so can allow sound to leak through, undermining your efforts. Use acoustic caulk to seal edges and joints effectively.
- Poor Material Choices: Selecting the wrong materials can significantly impact the soundproofing effectiveness of your divider. Avoid lightweight materials that do not provide sufficient mass. Instead, opt for denser options like mass-loaded vinyl or thick acoustic panels.
- Neglecting Structural Support: A soundproof divider needs to be sturdy to withstand vibrations and prevent sound transmission. Ensure that your frame is well-constructed and can support the weight of soundproofing materials.
- Ignoring Aesthetic Considerations: While functionality is key, neglecting the visual appeal of your divider can lead to dissatisfaction. Plan for an aesthetically pleasing design that complements your space, incorporating colors and textures that enhance your decor.
- Overlooking Measurements: Accurate measurements are crucial for a perfect fit. Double-check your dimensions before cutting materials to avoid costly errors. Remember to account for any obstructions in your space.
- Underestimating the Importance of Weight: Heavier materials tend to be more effective at blocking sound. Ensure your design incorporates sufficient weight to maximize soundproofing benefits.
- Failing to Test Soundproofing: After constructing your divider, conduct sound tests to evaluate its effectiveness. This step can help you identify any weak points that may need additional attention.
By being aware of these common mistakes, you can enhance your soundproofing project and achieve the privacy and tranquility you desire. Taking the time to plan and execute your project carefully will lead to a successful outcome, ensuring that your soundproof room divider serves its purpose effectively.
In conclusion, avoiding these pitfalls is essential for anyone looking to build a soundproof room divider. With careful planning, the right materials, and a focus on detail, you can create a functional and aesthetically pleasing barrier that significantly reduces noise and enhances your living space.

How to Maintain Your Soundproof Room Divider?
Maintaining your soundproof room divider is essential for ensuring its longevity and effectiveness. Regular upkeep not only preserves its functionality but also enhances the overall aesthetics of your space. Below are some practical tips and techniques to help you maintain your room divider effectively.
Regular maintenance is crucial for long-lasting effectiveness. A well-maintained room divider can significantly reduce noise transmission and improve your living environment. By taking the time to care for your divider, you can avoid costly repairs and replacements in the future.
- Dusting: Use a soft cloth or microfiber duster to remove dust and debris regularly. This prevents buildup that can affect the divider’s appearance and acoustic properties.
- Wiping: For surfaces that require more than dusting, lightly dampen a cloth with a mild cleaning solution. Avoid harsh chemicals that may damage the materials.
- Vacuuming: If your divider includes fabric elements, vacuum them periodically to remove dust and allergens.
Inspect your room divider regularly for any signs of damage. Look for:
- Cracks or Splits: These can compromise the divider’s integrity and soundproofing capabilities.
- Loose Panels: Ensure that all panels are securely attached. Tighten screws or fasteners as needed.
- Worn Soundproofing Materials: Check for any degradation in soundproofing materials like acoustic panels or mass-loaded vinyl.
Over time, soundproofing materials can lose their effectiveness. Consider updating them if:
- You notice increased noise levels: If sounds are penetrating your divider more than before, it may be time to replace or reinforce your soundproofing materials.
- Visible wear and tear: If the materials appear worn, faded, or damaged, they likely need replacement.
- Humidity Control: Keep the humidity levels in your room stable, as excessive moisture can warp wood or damage other materials.
- Temperature Regulation: Extreme temperatures can affect the integrity of the materials used in your divider. Maintain a consistent temperature to prevent damage.
- Regularly Reassess the Design: As your needs change, consider whether the current design still meets your requirements. Adjustments may enhance both functionality and aesthetics.
In conclusion, maintaining your soundproof room divider involves regular cleaning, checking for damage, and updating soundproofing materials when necessary. By following these tips, you can ensure that your room divider remains effective and attractive for years to come.

What Are the Benefits of a Soundproof Room Divider?
When considering home improvements, understanding the benefits of a soundproof room divider can significantly motivate your project. A soundproof room divider not only enhances privacy but also plays a crucial role in reducing noise pollution. This transformation creates a more serene living environment, fostering tranquility and focus in your space.
In today’s world, where remote work and online meetings are becoming the norm, having a designated private space is essential. A soundproof room divider effectively separates areas, allowing you to engage in conversations or work without distractions. This added privacy can significantly improve productivity and comfort at home.
One of the primary functions of a soundproof room divider is to minimize sound transmission. By utilizing materials designed for sound absorption, such as mass-loaded vinyl or acoustic panels, these dividers can significantly lower noise levels from adjacent rooms. This feature is particularly beneficial in shared living spaces, where noise can be a persistent issue.
Beyond functionality, soundproof room dividers can enhance the overall aesthetic appeal of your home. They come in various designs, colors, and materials, allowing you to choose options that complement your existing decor. Whether you prefer a modern look or a more traditional style, a soundproof divider can serve as a stylish centerpiece in any room.
Investing in home improvements that enhance comfort and functionality can increase your property value. A well-constructed soundproof room divider can be seen as a desirable feature by potential buyers, making your home more attractive in the real estate market. This added value can be a significant advantage when it comes time to sell.
Soundproof room dividers offer versatile solutions for space management. They can be used to create temporary workspaces, children’s play areas, or even guest accommodations. The flexibility of these dividers allows you to adapt your living space to meet changing needs without the need for permanent construction.
Reducing noise pollution has direct health benefits. Excessive noise can lead to stress, anxiety, and sleep disturbances. By implementing a soundproof room divider, you can create a calmer environment that promotes well-being. A quieter space can lead to better concentration, improved sleep quality, and overall enhanced mental health.
Soundproof room dividers can be customized to fit your personal style and needs. From choosing the right materials to selecting colors and patterns, the possibilities are endless. This customization allows you to create a unique space that reflects your personality while maintaining functionality.
Compared to extensive renovations, installing a soundproof room divider can be a cost-effective solution for enhancing privacy and reducing noise. It requires less time and financial investment, making it an attractive option for homeowners looking to make impactful changes without breaking the bank.
In summary, a soundproof room divider offers numerous benefits that can transform your living space. From enhancing privacy and reducing noise pollution to improving aesthetics and increasing property value, these dividers serve as a practical and stylish solution for modern living. By understanding these advantages, you can make informed decisions that will enhance your home environment.

How to Customize Your Room Divider Aesthetically?
Customizing your soundproof room divider not only enhances its functionality but also adds a personal touch to your living space. Whether you prefer a modern aesthetic or a more traditional look, there are numerous ways to tailor your divider to suit your style.
There are several methods to customize your room divider, making it a unique piece that reflects your personality. Here are some effective ideas:
- Paint: A fresh coat of paint can dramatically change the appearance of your divider. Choose colors that complement your room’s decor or go bold with vibrant hues to make a statement. Consider using stencils or painter’s tape to create patterns or designs for added flair.
- Fabric Covering: Applying fabric to your divider can enhance its aesthetic appeal. Select fabrics that match your interior theme—think about using textured materials like velvet or linen for a cozy feel. You can also use removable fabric panels for easy updates.
- Artwork and Prints: Transform your divider into a canvas for your favorite artwork. Frame pieces of art or hang prints directly on the divider. This not only adds visual interest but also personalizes the space with items that resonate with you.
- Wall Decals: Wall decals are an excellent way to add character without the commitment of paint. Choose designs that reflect your interests, whether they are floral patterns, geometric shapes, or motivational quotes.
- Lighting: Incorporating lighting elements can elevate the overall ambiance. Consider adding LED strip lights along the edges or small sconces to create a warm glow that highlights your divider.
While aesthetics are important, it’s crucial to maintain the soundproofing qualities of your divider. Here are some tips to ensure that your customization does not compromise functionality:
- Use Soundproof Fabrics: If you choose to cover your divider with fabric, opt for sound-absorbing materials. These can enhance both the visual and acoustic properties of your divider.
- Maintain Airflow: If you add decorative elements, ensure they do not obstruct airflow, as this could affect the soundproofing efficiency. Choose designs that allow for adequate ventilation.
Customizing your soundproof room divider offers several advantages:
- Enhanced Aesthetic Appeal: A well-decorated divider can serve as a focal point in the room, enhancing the overall aesthetic of your space.
- Personal Expression: Customization allows you to express your individuality and taste, making your living space feel more like home.
- Increased Value: A stylish room divider can add value to your home, making it more appealing to potential buyers.
In conclusion, customizing your soundproof room divider can be a fun and rewarding project. By incorporating various materials, colors, and designs, you can create a unique piece that not only serves its functional purpose but also enhances the beauty of your living space. Embrace your creativity and let your divider reflect your personal style!
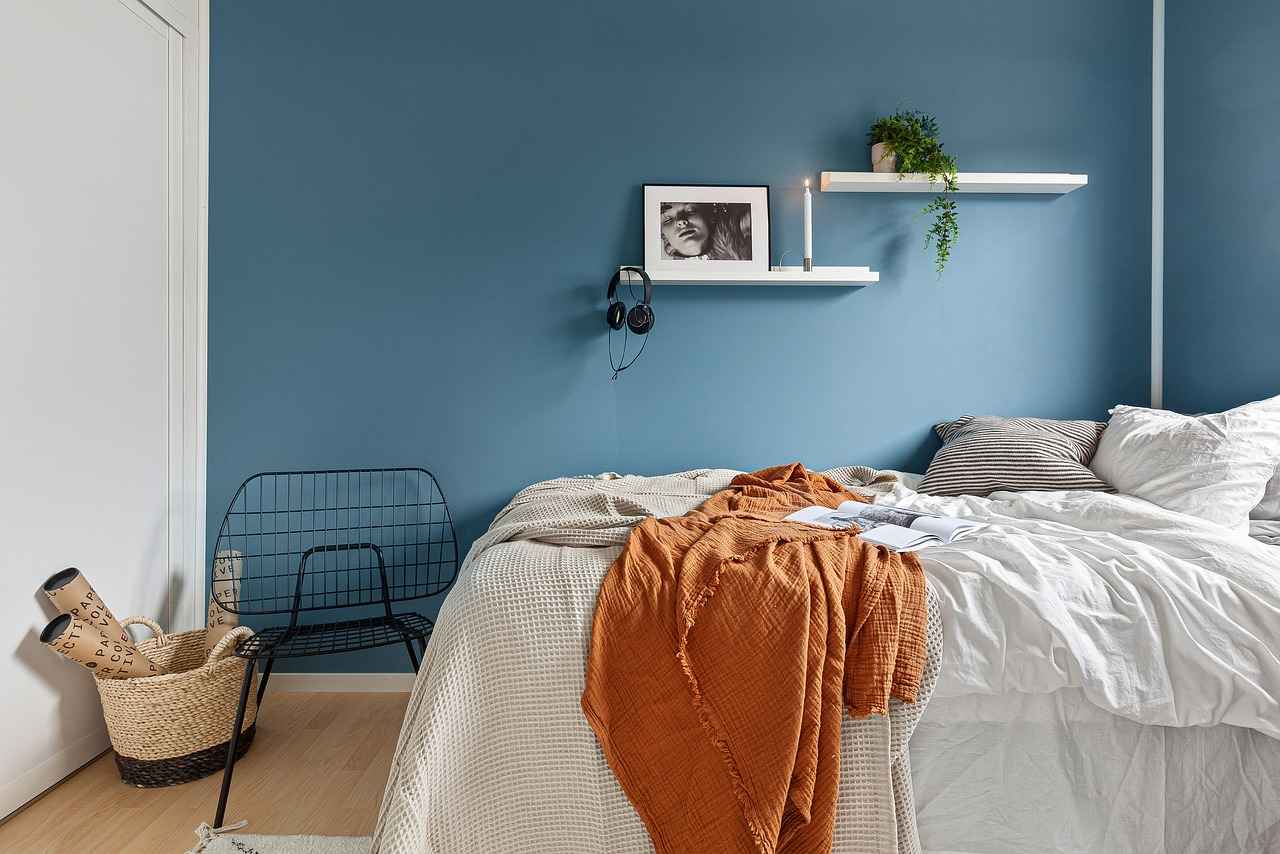
Where to Find Professional Help for Complex Projects?
When embarking on a soundproofing project, especially for intricate designs or larger builds, it is essential to consider the value of professional expertise. While DIY solutions can be effective, they may not always meet the specific needs of complex projects. Engaging professionals can not only save time but also enhance the quality of the final outcome.
Why Consider Hiring Professionals?
Professional contractors and soundproofing experts bring a wealth of experience and specialized knowledge to the table. They can assess your specific requirements and recommend tailored solutions that align with your goals. Their expertise ensures that the materials used are optimal for soundproofing, which is crucial for achieving the desired level of noise reduction.
What Types of Professionals Should You Look For?
- General Contractors: These professionals manage construction projects from start to finish. They can coordinate various trades and ensure that soundproofing is integrated seamlessly into the overall design.
- Acoustic Consultants: Experts in sound management, they analyze your space and provide recommendations on materials and techniques to achieve optimal soundproofing.
- Interior Designers: They can help incorporate soundproofing solutions into aesthetically pleasing designs, ensuring that functionality does not compromise style.
- Specialized Soundproofing Contractors: These professionals focus solely on soundproofing and can offer advanced solutions tailored to your specific needs.
How to Find the Right Professional?
Finding the right professional for your soundproofing project involves thorough research. Start by seeking recommendations from friends or family who have undertaken similar projects. Online platforms and review sites can provide insights into the reliability and quality of potential contractors.
Once you have a list of candidates, consider scheduling consultations. This will allow you to discuss your project in detail and gauge their understanding of your needs. During these meetings, ask about their experience with soundproofing projects and request references from previous clients.
What Should You Discuss During Consultations?
- Project Scope: Clearly outline your vision, including any specific requirements or challenges you anticipate.
- Budget: Discuss your budget openly to ensure that the proposed solutions are feasible within your financial constraints.
- Timeline: Understanding the timeframe for completion is essential, particularly if you have specific deadlines.
- Materials: Inquire about the types of materials they recommend and their effectiveness for your intended soundproofing goals.
What Are the Costs Involved?
The cost of hiring professionals can vary significantly based on factors such as project size, complexity, and location. While it may seem more economical to tackle a project independently, the long-term benefits of professional assistance often outweigh initial costs. Investing in quality workmanship can lead to superior soundproofing results and prevent the need for costly repairs in the future.
Final Thoughts
In conclusion, while DIY methods can work for smaller projects, enlisting the help of professionals for more complex soundproofing tasks can yield better results. Their expertise not only enhances the quality of the work but also ensures that your project meets all necessary standards. By carefully selecting the right professionals, you can transform your space into a tranquil haven, free from disruptive noise.
Frequently Asked Questions
- What materials are best for soundproofing a room divider?
For effective soundproofing, consider using materials like mass-loaded vinyl, acoustic panels, and dense woods. These options help minimize sound transmission and create a more peaceful environment.
- How do I measure my space for a room divider?
To ensure a perfect fit, accurately measure your space by noting the height, width, and any obstructions. This will help you avoid any surprises during installation!
- What design options are available for soundproof room dividers?
There are numerous design choices, including folding screens, sliding doors, and built-in options. Each has its pros and cons, so consider your space and style before deciding.
- What tools do I need to build a soundproof room divider?
Essential tools include a saw, drill, measuring tape, and your chosen soundproofing materials. Having the right tools can make your DIY project much smoother!
- How can I enhance soundproofing beyond basic construction?
To further improve soundproofing, seal any gaps, add heavy curtains, and use carpets to absorb sound. These additional steps can significantly boost your divider’s effectiveness.
- What are common mistakes to avoid when building a room divider?
Avoid pitfalls like inadequate sealing and poor material choices. Being aware of these mistakes can save you time and resources, ensuring your project’s success!
- How do I maintain my soundproof room divider?
Regular maintenance is key! Clean your divider, check for damage, and update soundproofing materials as needed to keep everything functioning well.
- What are the benefits of a soundproof room divider?
A soundproof room divider enhances privacy, reduces noise pollution, and contributes to a more serene living environment, making it a great addition to any space!
- How can I customize my room divider aesthetically?
Personalize your divider with paint, fabric, or artwork. This way, it not only serves a functional purpose but also adds a decorative touch to your space!
- Where can I find professional help for complex projects?
If your project is more intricate, consider hiring contractors or soundproofing experts. They can provide valuable assistance and ensure a high-quality result!


