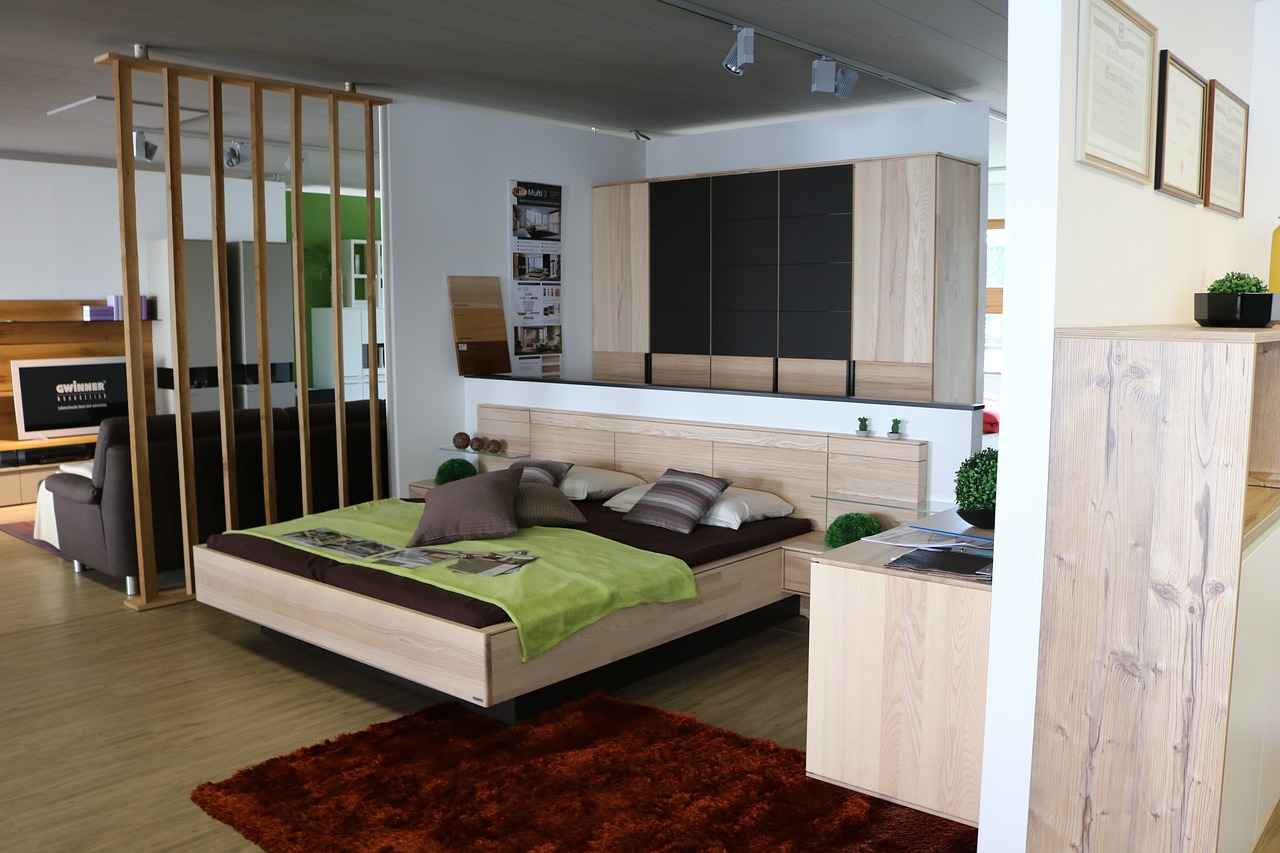
Creating temporary room dividers can transform your living space without the hassle of drilling or permanent alterations. This article delves into innovative methods that allow you to enhance your environment while preserving its integrity and flexibility.
Temporary room dividers are perfect for individuals seeking flexibility in their living arrangements. They allow you to define areas within a room, providing a sense of privacy without committing to permanent changes. This is particularly beneficial for renters or those who frequently rearrange their spaces.
The choice of materials plays a crucial role in the effectiveness and aesthetic of your room divider. Here are some popular options:
- Fabric: Lightweight and versatile, fabric can be draped or hung to create cozy spaces.
- Furniture: Items like bookshelves or screens can serve dual purposes, offering storage while acting as dividers.
- DIY Projects: Crafting your own dividers can be both fun and economical.
Fabric dividers are a popular choice due to their versatility and aesthetic appeal. They can easily be customized to fit your decor.
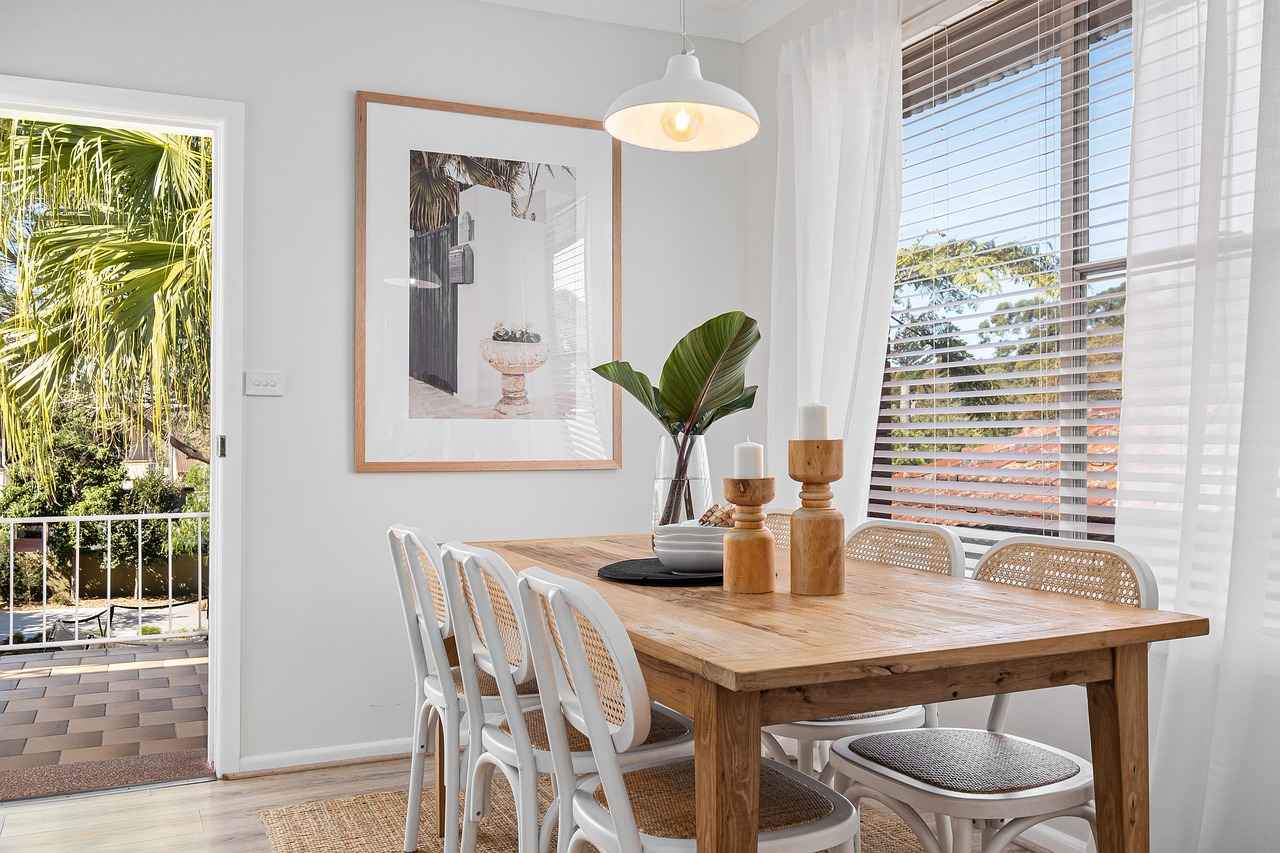
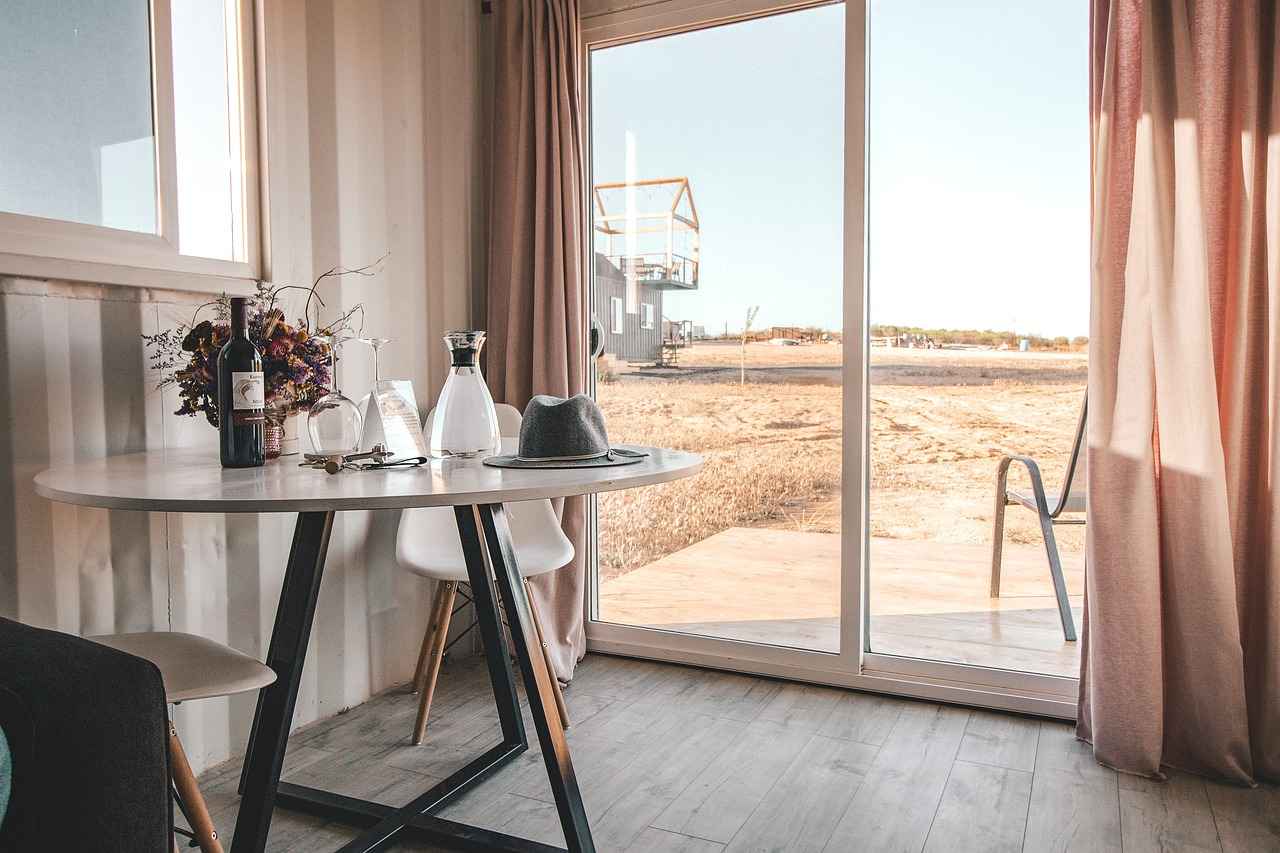
Sheer curtains provide a delicate separation while allowing light to filter through. They can be easily hung using a tension rod, making them simple to install and remove.
Canvas panels offer a more structured option. They can be hung or draped, providing distinct spaces that can be tailored to your design preferences.
Repurposing furniture is a practical approach to creating room dividers. Consider using:
- Bookshelves: These can create a barrier while also providing storage.
- Folding Screens: They can be easily moved and adjusted to suit your needs.
Tension rods are an excellent tool for creating temporary dividers without drilling. They can be adjusted to fit various spaces and securely hold lightweight materials.
Installing tension rods is straightforward. Measure your space, adjust the rod, and place it between two walls to create an instant divider.
Select lightweight fabrics that allow for easy movement and a seamless look. This ensures that your divider is both functional and visually appealing.
If you’re feeling creative, there are numerous DIY options for room dividers that cater to different skill levels:
- Recycled Materials: Use old doors, shutters, or pallets to create unique dividers that reflect your style.
- Cardboard Creations: Cardboard can be an effective and lightweight material for temporary dividers. With some creativity, you can craft customizable designs.
Portable room dividers offer numerous advantages, including ease of use and flexibility. They can be moved or adjusted as needed, making them ideal for dynamic living spaces.
Regular maintenance is essential for keeping your temporary room divider looking fresh. Simple cleaning and care tips can help prolong its lifespan.
Strategically placed room dividers can significantly improve privacy in shared spaces. Consider how to position dividers to create personal areas while maintaining an open feel.
Small spaces can benefit greatly from thoughtful divider designs. Look for creative solutions that maximize functionality without overwhelming your area.
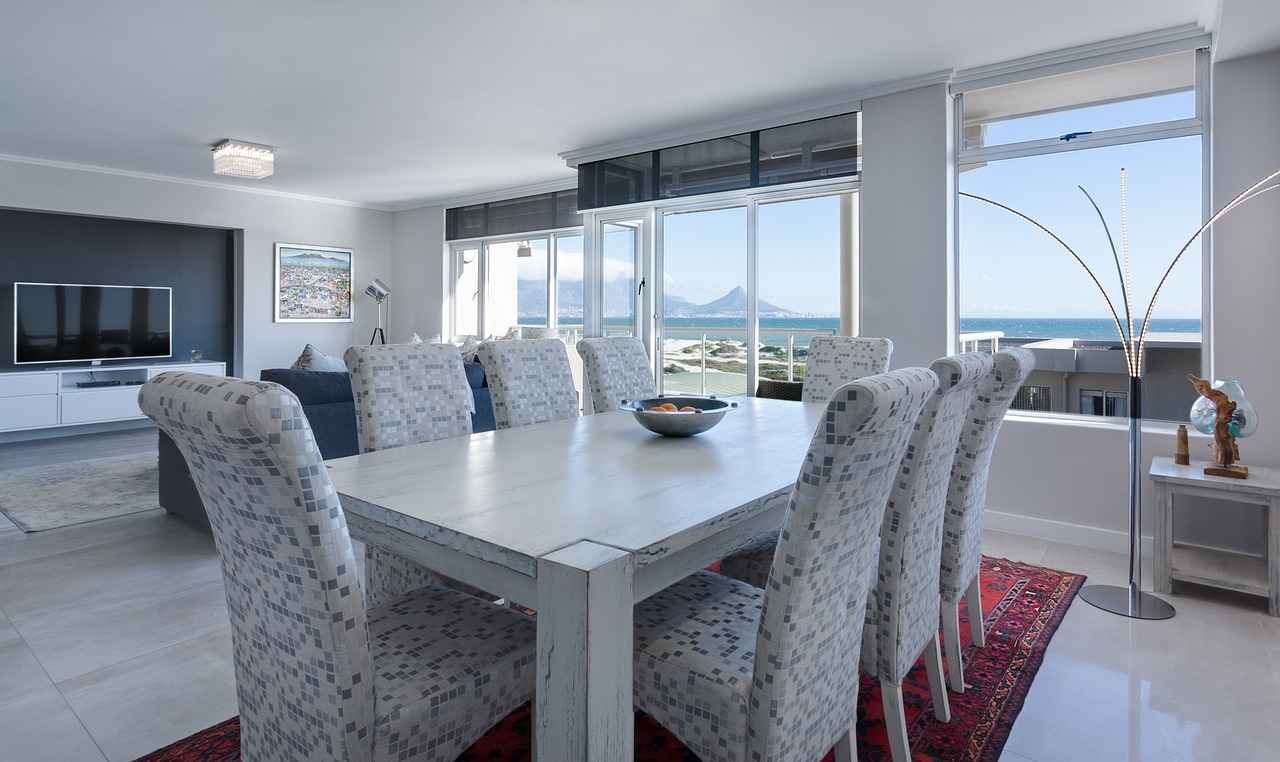
Why Choose a Temporary Room Divider?
When it comes to optimizing space in your home or office, temporary room dividers are an excellent solution. They provide a way to create distinct areas within an open layout, offering both flexibility and adaptability without the permanence of traditional walls. This is especially beneficial for renters or individuals who frequently rearrange their living spaces. In this article, we will delve deeper into the reasons why you should consider using temporary room dividers.
Temporary room dividers are versatile tools that can transform a single room into multiple functional spaces. They allow for the creation of private areas for work, relaxation, or socializing, all while maintaining an open feel. Here are some compelling reasons to opt for temporary dividers:
- Non-Permanent Solutions: Since they do not require drilling or permanent fixtures, these dividers are ideal for renters or those who frequently change their home layout.
- Cost-Effective: Compared to constructing walls, temporary room dividers are often much more affordable. They can be purchased or made from inexpensive materials, making them a budget-friendly option.
- Easy Installation: Most temporary dividers can be set up quickly and easily. Whether you opt for fabric curtains, folding screens, or furniture arrangements, the installation process is generally straightforward.
- Design Flexibility: Available in various styles, colors, and materials, temporary dividers can complement your existing decor. You can choose designs that enhance the aesthetic appeal of your space.
- Enhanced Privacy: By strategically placing dividers, you can create private nooks for activities such as reading, working, or even sleeping, making shared spaces more comfortable.
Choosing the right materials for your temporary room divider is essential for both functionality and visual appeal. Here are some popular options:
- Fabric: Lightweight and versatile, fabric dividers can be hung from tension rods or draped over furniture. They offer a soft, inviting look.
- Wood: Wooden screens provide a more sturdy option. They can be folded and moved easily, adding a rustic charm to your decor.
- Furniture: Bookshelves and cabinets can act as dividers while providing additional storage space. This dual functionality makes them an excellent choice.
If you’re looking for a personal touch, consider creating your own room divider. DIY options allow you to customize the design to fit your needs:
- Recycled Materials: Old doors, shutters, or pallets can be repurposed into unique dividers that reflect your style and promote sustainability.
- Cardboard: Surprisingly effective, cardboard can be used to craft lightweight and customizable designs that suit your space.
In conclusion, temporary room dividers offer a myriad of benefits that make them an appealing choice for anyone looking to enhance their living space. With their flexibility, cost-effectiveness, and design versatility, they can transform any area into a more functional and aesthetically pleasing environment.
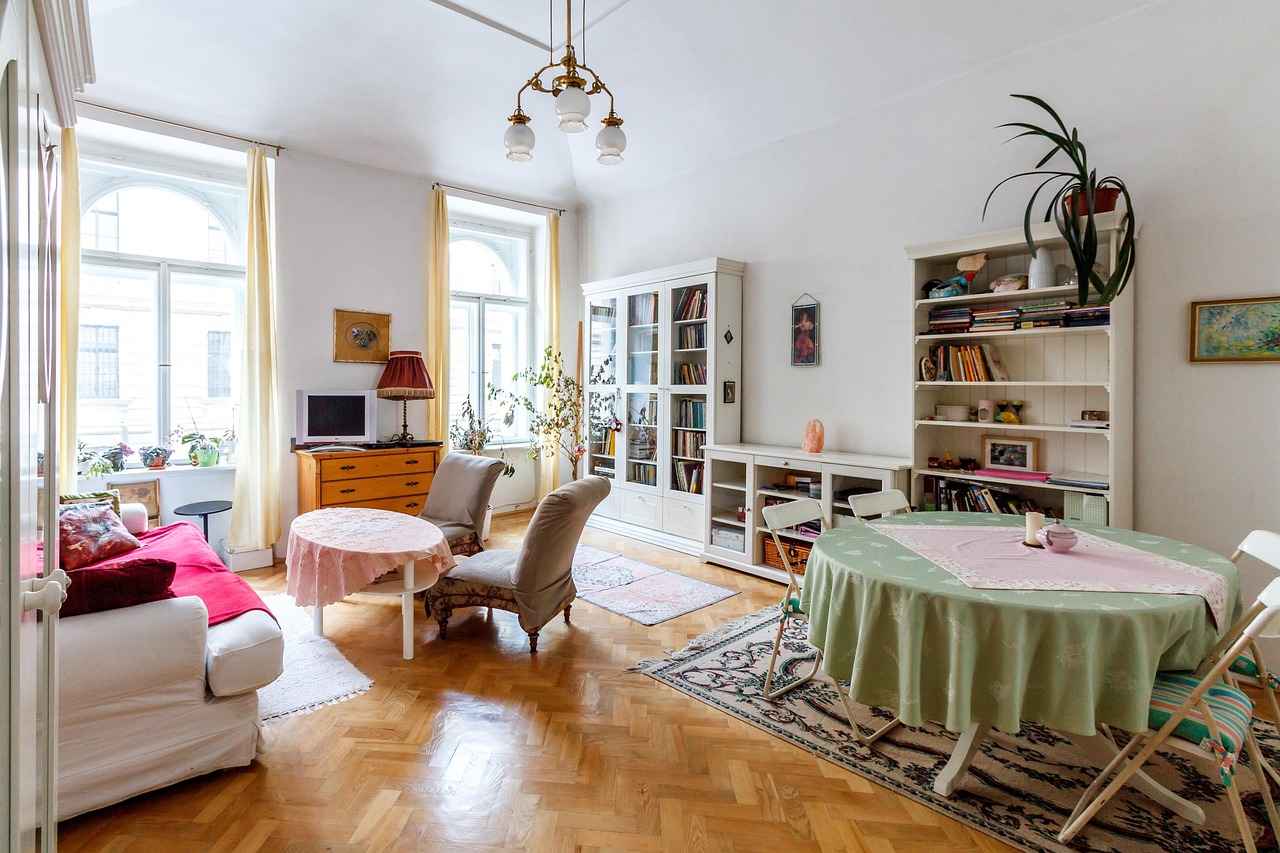
What Materials Can You Use for Room Dividers?
Creating effective room dividers involves selecting the right materials that not only meet your functional needs but also align with your personal style. With a variety of options available, it’s essential to explore different materials to find the best fit for your space. Below, we delve into some popular choices for room dividers, each offering unique benefits and aesthetic appeal.
Fabric is a versatile choice when it comes to room dividers. It allows for creativity in design and can easily complement your existing decor.
- Sheer Curtains: These lightweight curtains provide a soft separation between spaces while allowing natural light to filter through. They can be easily hung from a tension rod, making them a practical and stylish option.
- Canvas Panels: For a more structured look, canvas panels can be used. They can be customized with prints or colors to match your room’s theme, and can be hung or draped to create distinct areas.
- Quilted Fabrics: Offering both warmth and texture, quilted fabrics can add a cozy touch to your space. They work well in creating a more intimate setting.
Using furniture as room dividers is not only practical but also adds functionality to your space. Here are some ideas:
- Bookshelves: Open bookshelves can serve as a divider while providing storage for books and decorative items. This option allows you to showcase your personality while delineating spaces.
- Cabinets: Tall cabinets can create a solid barrier and offer additional storage. They can be particularly useful in small spaces where maximizing storage is essential.
- Folding Screens: These portable dividers can easily be moved and adjusted. They come in various styles, from modern to traditional, allowing you to choose one that fits your decor.
If you prefer a more organic look, consider using natural materials:
- Wood Panels: Wooden dividers can add warmth and texture to your space. They can be left raw for a rustic feel or painted to match your decor.
- Bamboo Screens: Bamboo is an eco-friendly option that offers a unique aesthetic. It provides a natural look while effectively dividing spaces.
For those who enjoy crafting, DIY room dividers can be a fun and rewarding project. Here are some materials you can use:
- Recycled Materials: Old doors or shutters can be repurposed into stylish dividers, adding character to your space.
- Cardboard: Surprisingly lightweight and customizable, cardboard can be used to create temporary dividers. With some creativity, you can design unique patterns or shapes.
In conclusion, the choice of materials for your room divider can significantly impact the functionality and aesthetic of your space. Whether you opt for fabrics, furniture, or natural materials, each option offers unique advantages. By carefully selecting the right materials, you can create a room divider that not only serves its purpose but also enhances the overall ambiance of your room.
Fabric Room Dividers
When it comes to creating distinct spaces within a room, stand out as a popular and effective solution. Their versatility and aesthetic appeal make them an excellent choice for various settings, from cozy homes to vibrant offices. In this section, we will explore the benefits, types, and creative uses of fabric as a room divider.
Fabric dividers are lightweight and easy to install, allowing for quick transformations of any space. They create a cozy atmosphere while providing a sense of separation without the permanence of traditional walls. Additionally, fabric can be easily changed or updated, making it a flexible option for those who like to refresh their decor.
- Sheer Curtains: These allow light to filter through, creating an airy feel while offering some privacy. They can be hung from a tension rod, making installation a breeze.
- Canvas Panels: For a more structured look, canvas panels can be draped or hung to define spaces. Their customizable designs can match any decor theme.
- Quilted Fabrics: These provide both sound absorption and visual separation, making them ideal for shared spaces like studios or offices.
Installing a fabric room divider is straightforward. Here’s a simple method:
1. Choose your fabric based on color, pattern, and texture.2. Measure the area where you want the divider.3. Install a tension rod or curtain track to hang your fabric.4. Attach the fabric securely, ensuring it hangs evenly.
Fabric dividers can serve multiple purposes beyond just separating spaces:
- Decorative Backdrops: Use fabric to create a beautiful backdrop for events or photos.
- Temporary Privacy Screens: Ideal for shared living arrangements, fabric dividers can provide a sense of personal space.
- Sound Barriers: Thick fabrics can help reduce noise, making them suitable for home offices or study areas.
Fabric room dividers come with numerous advantages:
- Cost-Effective: Compared to permanent solutions, fabric dividers are generally more affordable.
- Easy to Clean: Most fabric materials are machine washable, making maintenance simple.
- Variety of Designs: With countless fabric options available, you can easily find a style that fits your aesthetic.
When selecting fabric for your divider, consider the following:
- Weight: Lighter fabrics are easier to handle and install.
- Opacity: Decide how much light and visibility you want to allow through the fabric.
- Durability: Choose high-quality materials that can withstand wear and tear.
In summary, fabric room dividers are an excellent choice for those looking to enhance their space with flexibility and style. Their ease of installation, variety of designs, and practical benefits make them a favored option for anyone looking to create a more organized and aesthetically pleasing environment.
Sheer Curtains
are a versatile and stylish option for creating temporary room dividers that enhance both aesthetics and functionality. These lightweight fabrics allow natural light to filter through, creating a bright and airy atmosphere while still providing a degree of separation between spaces. They are particularly popular in homes where flexibility and adaptability are essential.
One of the primary reasons to opt for sheer curtains as room dividers is their ability to maintain an open feel while delineating areas. Unlike solid dividers, sheer curtains allow for visibility and light, making them ideal for small rooms or shared spaces. They can create a cozy nook for relaxation or a designated workspace without completely isolating the areas from one another.
Sheer curtains can be easily hung from a tension rod, which makes installation a breeze. This method eliminates the need for tools or drilling, allowing you to set up your divider quickly and efficiently. Simply measure the width of the space where you want to hang the curtains, adjust the tension rod accordingly, and place it between two walls or surfaces. This approach not only saves time but also protects your walls from damage.
When selecting sheer curtains, consider the fabric type and color. Lightweight fabrics like chiffon or voile work best, as they allow for easy movement and draping. Additionally, opt for colors that complement your existing decor while still offering a sense of brightness. Soft whites, pastels, or even subtle patterns can enhance the overall aesthetic of your space.
- Layering: Combine sheer curtains with heavier drapes for a more dramatic effect.
- Multiple Panels: Use multiple sheer panels to create a more substantial divider that can also be drawn open or closed.
- Color Blocking: Use different colored sheer curtains to define areas with distinct moods or purposes.
To keep your sheer curtains looking their best, regular maintenance is essential. Here are some simple tips:
- Washing: Check the care label for washing instructions. Most sheer fabrics can be machine washed on a gentle cycle.
- Ironing: If your curtains become wrinkled, use a low heat setting on your iron or a steamer to remove creases.
- Dusting: Regularly dust your curtains to prevent buildup that can dull their appearance.
While sheer curtains do not offer complete privacy, they can create a sense of separation without blocking out light. For added privacy, consider layering them with heavier curtains or placing them strategically to obscure certain views. This allows you to enjoy the benefits of natural light while still maintaining a personal space.
Sheer curtains can be styled in numerous ways, making them a perfect choice for any decor theme. From modern minimalist to bohemian chic, they can adapt to various interior styles. Their ability to blend seamlessly with other elements in your home makes them a practical and attractive choice for temporary room dividers.
In summary, sheer curtains are an excellent solution for creating temporary room dividers that are both functional and visually appealing. Their ease of installation, adaptability, and aesthetic versatility make them a popular choice for anyone looking to enhance their living space.
Canvas Panels
Canvas panels are an innovative and versatile solution for creating temporary room dividers that enhance the aesthetic and functionality of any space. Unlike traditional dividers, canvas panels provide a more structured option that can be hung or draped, allowing you to define distinct areas within your home or office.
One of the most significant advantages of using canvas panels is their customizability. You can choose from a variety of designs, colors, and patterns to match your existing decor. This flexibility allows you to create a cohesive look throughout your space while ensuring that the divider serves its purpose effectively.
Hanging canvas panels is a straightforward process that requires minimal tools. Here are some methods to consider:
- Tension Rods: Use tension rods to hang your canvas panels from the ceiling or between walls. This method is non-invasive and allows for easy adjustments.
- Wall Hooks: Install adhesive wall hooks to hang your canvas panels. This option is perfect for renters who want to avoid drilling holes.
- Ceiling Tracks: For a more permanent solution, consider installing ceiling tracks that allow you to slide the panels open or closed as needed.
Canvas panels offer several benefits that make them a popular choice for temporary room dividers:
- Lightweight: Canvas is a lightweight material, making it easy to handle and install.
- Durability: High-quality canvas is durable and can withstand wear and tear, ensuring longevity.
- Easy to Clean: Most canvas materials can be wiped clean with a damp cloth, making maintenance a breeze.
- Sound Absorption: Canvas panels can help absorb sound, providing a quieter environment.
Canvas panels can be used in various creative ways beyond traditional room dividers:
- Artistic Displays: Use printed canvas panels featuring artwork or photography to create a gallery wall that also serves as a divider.
- Privacy Screens: Hang canvas panels around a workspace to create a private nook in an open-plan office.
- Outdoor Spaces: Use weather-resistant canvas panels to create shaded areas or windbreaks on patios and balconies.
When selecting canvas panels for your room divider, consider the following:
- Weight: Choose lightweight options for easy installation and mobility.
- Design: Pick designs that complement your decor style, whether it’s modern, rustic, or eclectic.
- Material: Opt for high-quality, durable materials that can withstand the test of time.
In summary, canvas panels are a flexible and stylish option for creating temporary room dividers. Their ability to be customized to fit any decor, combined with their ease of installation and maintenance, makes them an excellent choice for anyone looking to enhance their living or working space.
Furniture as Dividers
When it comes to maximizing space in your home, presents a highly effective and stylish solution. Not only does it create defined areas within a room, but it also adds functionality and aesthetic appeal. This innovative approach allows you to repurpose items you already own, transforming them into practical room dividers that suit your needs.
Utilizing furniture as room dividers is an excellent choice for several reasons:
- Cost-Effective: Repurposing existing furniture eliminates the need for additional purchases.
- Flexibility: Unlike permanent walls, furniture can be easily rearranged or moved.
- Style: Well-chosen pieces can enhance the overall decor of your space.
Several types of furniture can effectively serve as room dividers:
- Bookshelves: These not only provide a physical barrier but also offer storage and display space for books, plants, and decorative items.
- Cabinets: Tall cabinets can create a visual separation while providing ample storage, making them practical for both organization and division.
- Screen Partitions: Folding screens are lightweight and can be easily moved or adjusted, making them perfect for temporary divisions.
Selecting the right furniture for your room divider is crucial. Consider the following factors:
- Height: Taller items create more privacy, while shorter ones maintain an open feel.
- Material: Choose materials that complement your existing decor. Wood, metal, or fabric can all work well.
- Functionality: Ensure that the furniture serves a dual purpose, such as storage or display, to maximize its utility.
Here are some creative ways to utilize furniture as room dividers:
- Open Shelving Units: These can separate spaces while allowing light to pass through, maintaining an airy atmosphere.
- Repurposed Doors: Old doors can be mounted vertically to create a unique and rustic divider.
- Sectional Sofas: Arranging a sectional sofa can create distinct areas for lounging and entertaining.
The benefits of using furniture as room dividers extend beyond mere aesthetics:
- Enhanced Privacy: Furniture can provide a sense of privacy in shared living spaces without the need for permanent walls.
- Defined Areas: It helps in delineating spaces for different activities, such as work, relaxation, or dining.
- Easy to Change: Unlike traditional walls, furniture arrangements can be easily modified to refresh your space or adapt to new needs.
Incorporating furniture as room dividers is a practical, stylish, and flexible solution for enhancing your living space. By choosing the right pieces and arranging them thoughtfully, you can create distinct areas that cater to your lifestyle while maintaining an inviting atmosphere. Whether you opt for bookshelves, cabinets, or screens, the possibilities are endless. Embrace this innovative approach to redefine your space and enjoy the benefits it brings.

How to Use Tension Rods for Dividers?
When it comes to creating temporary room dividers, tension rods emerge as a versatile and practical solution. These rods provide a simple and effective way to separate spaces without the need for drilling or permanent fixtures. In this section, we will explore how to use tension rods for dividers, emphasizing their ease of installation, adaptability, and the variety of materials that can be utilized.
Tension rods are adjustable rods that can be placed between two surfaces, relying on pressure to stay in place. They are particularly useful for creating temporary dividers in homes, offices, and other spaces where flexibility is key. Their non-invasive installation means that renters or those who frequently change their layouts can benefit from their use without damaging walls or ceilings.
Installing tension rods is a straightforward process:
- Measure the Space: Begin by measuring the area where you intend to place the tension rod. Ensure that you account for any obstructions like furniture or fixtures.
- Adjust the Rod: Next, extend the tension rod to the measured length. Most tension rods can be adjusted easily by twisting them.
- Position the Rod: Place the rod between the two surfaces, such as walls or furniture, ensuring it fits snugly and securely.
This simple installation process allows for quick setup and removal, making it ideal for temporary arrangements.
Tension rods can hold a variety of lightweight materials, allowing for creative room divider solutions:
- Sheer Curtains: These allow light to filter through while providing a degree of separation. They can be easily hung from tension rods, adding a soft touch to your space.
- Fabric Panels: Using fabric panels can create a more solid divider. Choose fabrics that complement your decor for a cohesive look.
- Decorative Screens: Lightweight folding screens can also be suspended from tension rods, offering an artistic flair to your room division.
While tension rods are excellent for lightweight materials, their capacity for heavier items is limited. For heavier dividers, consider using multiple rods for added support or exploring other mounting options. Always check the manufacturer’s specifications for weight limits to ensure safety and stability.
Customization is key to making your tension rod dividers unique and functional:
- Fabric Choices: Choose fabrics that reflect your personal style, whether it’s bold patterns or calming neutrals.
- Layering: Consider layering different materials for added texture and visual interest.
- Height Variations: Adjust the height of the tension rod to create varying levels of privacy or openness, depending on your needs.
Using tension rods for dividers comes with numerous advantages:
- Flexibility: Easily move or adjust the dividers as your needs change.
- Cost-Effective: Tension rods are generally affordable, making them a budget-friendly option for temporary solutions.
- No Damage: Since they require no drilling, tension rods preserve the integrity of your walls and ceilings.
In conclusion, tension rods offer a practical and aesthetically pleasing way to create temporary room dividers. Their ease of installation, adaptability to various materials, and flexibility make them an excellent choice for anyone looking to enhance their living or working space without making permanent changes.
Installing Tension Rods
is a simple yet effective way to create temporary room dividers without the need for drilling. This method is particularly advantageous for renters or anyone looking to maintain the integrity of their walls while still achieving a functional space separation.
To begin, measure your space accurately. This is crucial as it ensures that the tension rod fits snugly between the two surfaces you intend to use. Use a tape measure to determine the distance between the walls or surfaces where you plan to install the rod. Once you have your measurements, you can proceed to adjust the tension rod accordingly.
Next, adjust the rod to fit the measured space. Most tension rods are designed with a spring mechanism that allows you to extend or retract the rod easily. Make sure the rod is tight enough to stay in place without slipping, but not so tight that it damages the surfaces. A good rule of thumb is to apply just enough pressure to secure the rod without causing any stress on the walls.
Once adjusted, place the rod between the two walls or surfaces. Ensure that it is level and securely in position. This step is crucial, as a misaligned rod can lead to an unstable divider. After positioning the rod, you can now hang your chosen divider material, whether it be curtains, fabric panels, or other lightweight materials.
When selecting materials for your divider, consider lightweight options that can easily be hung from the tension rod. Fabrics like sheer curtains or lightweight canvas are popular choices, as they provide a degree of privacy while still allowing light to filter through. Ensure that the fabric you choose complements your existing decor and enhances the overall aesthetic of your space.
In addition, tension rods can be used in various creative ways. For instance, you can use multiple rods to create a series of dividers, effectively breaking up larger spaces into more intimate areas. This is particularly useful in studios or shared living environments where privacy is a concern.
Furthermore, the versatility of tension rods means they can be easily removed or adjusted as your needs change. If you decide to rearrange your space or no longer need the divider, simply take down the rod and store it for future use. This flexibility makes tension rods an ideal solution for those who frequently change their living arrangements.
In summary, is a practical, non-invasive method for creating temporary room dividers. By following these simple steps—measuring your space, adjusting the rod, and selecting the right materials—you can enhance your living environment without the hassle of drilling or permanent alterations. Whether you’re looking to define areas in a shared space or simply want to add a decorative touch, tension rods offer a quick and efficient solution.
Choosing the Right Fabric for Tension Rods
When it comes to creating a temporary room divider using tension rods, choosing the right fabric is crucial. The fabric you select not only contributes to the overall aesthetic of your space but also plays a significant role in functionality. Lightweight fabrics are particularly advantageous, as they allow for easy movement and a seamless look.
The choice of fabric can greatly influence the ambiance and utility of your room divider. A well-selected fabric can enhance the visual appeal of your space while providing the necessary separation. Here are some key factors to consider:
- Transparency: Depending on your privacy needs, you may want to choose sheer fabrics that allow light to filter through while still providing some separation.
- Texture: The texture of the fabric can add depth and interest to your divider. Consider fabrics like linen or cotton for a soft, inviting feel.
- Durability: Ensure that the fabric is strong enough to withstand movement and potential wear, especially if you plan to adjust the divider frequently.
Here are some popular fabric options that work well with tension rods:
- Sheer Curtains: These are a favorite for their ability to diffuse light while offering a degree of privacy. They can be easily installed and removed, making them perfect for temporary setups.
- Canvas: For a more structured look, canvas panels provide durability and can be customized with colors or patterns that match your decor.
- Muslin: This lightweight cotton fabric is easy to work with and can create a soft, flowing look. It’s also budget-friendly and available in various colors.
- Velvet: If you’re aiming for a more luxurious feel, velvet can add richness and warmth to your space. However, keep in mind that it may require more care and maintenance.
Once you’ve selected your fabric, the next step is to hang it correctly. Here’s how:
1. Measure the width of your space to determine the length of the tension rod.2. Cut the fabric to your desired length, allowing for some extra for hems.3. If necessary, hem the edges of the fabric to prevent fraying.4. Slide the fabric onto the tension rod, using clips or rings if desired.5. Adjust the tension rod to fit snugly between the walls or surfaces.
To ensure your fabric room divider remains in good condition:
- Regular Cleaning: Depending on the fabric, regular washing or spot cleaning may be necessary to keep it looking fresh.
- Check for Damage: Periodically inspect the fabric for any tears or wear, especially if it’s in a high-traffic area.
- Storage: If you need to take down the divider, store the fabric properly to avoid wrinkles or damage.
Choosing the right fabric for your tension rod room divider is essential for achieving both aesthetic appeal and practical functionality. By considering factors like transparency, texture, and durability, you can create a space that is both beautiful and versatile. With the right materials and care, your fabric divider can enhance your living area while providing the separation you need.
Are There DIY Options for Room Dividers?
Creating your own room divider can be a fun and cost-effective project that allows you to express your creativity while enhancing your living space. Whether you are looking to add privacy, define areas, or simply decorate, there are numerous DIY ideas that cater to different skill levels and design preferences. In this article, we will explore a variety of innovative DIY options for room dividers that can transform any space.
DIY room dividers can range from simple to complex projects, depending on your skills and the materials you have on hand. Below are some popular ideas to consider:
- Fabric Panels: Using fabric is a versatile way to create a divider. You can sew or even use fabric glue to attach fabric to a frame or tension rod. Choose fabrics that complement your decor for a cohesive look.
- Wooden Pallets: Repurposing wooden pallets is an eco-friendly option. You can stand them upright or lay them flat to create a rustic divider. Paint or stain them to match your interior.
- Hanging Plants: For a natural touch, consider hanging plants from a frame or ceiling. This not only serves as a divider but also enhances air quality and adds beauty.
- Bookshelves: An open bookshelf can function as a stylish room divider while providing storage. Fill it with books, decorative items, or plants to make it visually appealing.
Using recycled materials not only saves money but also promotes sustainability. Here are some creative ways to utilize recycled items:
- Old Doors: Repurpose old doors by hinging them together to create a folding screen. You can paint or decorate them to fit your style.
- Window Shutters: Shutters can be transformed into a unique divider. They can be painted or left in their natural state for a vintage look.
- Cardboard: Surprisingly, cardboard can be an effective material for temporary dividers. With some creativity, you can create lightweight and customizable designs that fit your needs.
Before starting your DIY project, gather the necessary tools to ensure a smooth process:
- Basic Hand Tools: Hammer, screwdriver, and scissors are essential for most projects.
- Measuring Tape: Accurate measurements are crucial for fitting your divider perfectly in your space.
- Adhesives: Depending on your materials, you may need glue, nails, or screws to hold everything together.
Absolutely! Many DIY room divider options are budget-friendly. Here are a few tips to keep costs low:
- Shop Second-Hand: Look for materials at thrift stores, garage sales, or online marketplaces.
- Use What You Have: Before purchasing new materials, consider items you already own that can be repurposed.
- Get Creative: Sometimes, the most unique dividers come from thinking outside the box. Use everyday items in unexpected ways.
By exploring these DIY options, you can create a room divider that not only serves its purpose but also reflects your personal style. Whether you opt for a simple fabric panel or a more intricate design using recycled materials, the possibilities are endless. Embrace your creativity and enjoy the process of transforming your space!
Recycled Materials
In today’s world, where sustainability is increasingly important, using recycled materials for home decor has become a popular trend. Not only does this practice help the environment, but it also allows individuals to express their creativity and style. One of the most innovative ways to utilize recycled materials is in the creation of temporary room dividers. These dividers can transform a space while being eco-friendly and cost-effective.
Choosing recycled materials for your room dividers offers numerous benefits:
- Cost-Effective: Utilizing materials that are already available can significantly reduce expenses.
- Environmentally Friendly: It promotes sustainability by minimizing waste and reducing the demand for new resources.
- Unique Aesthetics: Recycled materials can add character and a personal touch to your space, making it feel unique.
When considering recycled materials for your room dividers, think outside the box. Here are some innovative ideas:
- Old Doors: Repurposing old doors can create stunning dividers that also serve as conversation pieces. You can paint or distress them to match your decor.
- Shutters: Vintage shutters can be hinged together to form a charming divider that adds rustic appeal to any room.
- Pallets: Wooden pallets can be disassembled and reconfigured into a stylish divider. Sand them down and apply a finish for a polished look.
Crafting a room divider from recycled materials is a rewarding project. Here’s a step-by-step guide:
1. Gather your materials: Old doors, shutters, or pallets.2. Clean and prepare the materials: Remove any hardware and sand down rough edges.3. Design your layout: Decide how you want the divider to look and measure the space.4. Assemble the pieces: Use hinges or brackets to connect the materials as needed.5. Finish the surface: Paint or stain the divider to enhance its appearance.6. Install the divider: Position it in your desired location and adjust as necessary.
Utilizing recycled materials for room dividers not only enhances your space but also contributes positively to the environment. Here are some key benefits:
- Flexibility: Recycled dividers can be easily moved or adjusted, allowing for versatile room layouts.
- Durability: Many recycled materials, like solid wood, are robust and long-lasting, providing a practical solution.
- Personalization: The use of unique materials allows for a highly personalized touch that reflects your style.
To ensure your recycled room divider remains in great condition, consider the following maintenance tips:
- Regular Cleaning: Dust and clean your divider regularly to keep it looking fresh.
- Inspect for Damage: Periodically check for any signs of wear and tear, and address them promptly.
- Refinish as Needed: Depending on the material, you may need to repaint or re-stain your divider every few years.
In summary, creating room dividers from recycled materials is an excellent way to save money while also promoting sustainability. Whether you choose old doors, shutters, or pallets, these unique dividers can reflect your personal style and enhance your living space. Embrace the creativity of repurposing and enjoy the benefits of a more sustainable home.
Crafting with Cardboard
can be a fun and innovative way to create temporary room dividers. This versatile material offers a range of possibilities, allowing for customization and creativity without the need for permanent fixtures.
Cardboard is not only lightweight but also affordable and easy to manipulate. It can be easily cut, folded, and painted, making it an ideal choice for those looking to create temporary dividers. Here are some reasons why cardboard stands out:
- Cost-effective: It can be sourced for free or at a minimal cost.
- Eco-friendly: Cardboard is recyclable, making it a sustainable option.
- Customizable: You can personalize your dividers to match your decor.
Creating your own cardboard room divider is a simple process. Follow these steps to design a divider that suits your needs:
- Gather Materials: You will need large cardboard sheets, a utility knife, a ruler, and adhesive tape or glue.
- Design Your Divider: Sketch out your desired design. Consider whether you want a simple flat panel or a more intricate structure with cut-outs or patterns.
- Cut the Cardboard: Using a utility knife, carefully cut the cardboard according to your design. Ensure you have a stable surface to work on.
- Assemble the Pieces: If your design consists of multiple parts, use adhesive tape or glue to secure them together.
- Decorate: Paint or cover the cardboard with fabric or wallpaper to enhance its appearance.
There are numerous ways to get creative with cardboard. Here are some ideas:
- Geometric Shapes: Cut the cardboard into various geometric shapes to create a modern look.
- Foldable Panels: Design foldable panels that can be easily moved or stored when not in use.
- Artwork Display: Use the divider as a canvas to display artwork or photographs.
Cardboard dividers offer several benefits:
- Lightweight: They can be easily moved or repositioned as needed.
- Temporary Solutions: Perfect for those who rent or frequently change their space layout.
- Easy to Dispose: At the end of their life, cardboard dividers can be recycled without hassle.
To ensure the longevity of your cardboard divider, consider the following maintenance tips:
- Avoid Moisture: Keep the divider in a dry area to prevent warping.
- Regular Cleaning: Dust the surface regularly to maintain its appearance.
- Repair Damages: Use tape to fix any tears or damages promptly.
In conclusion, crafting with cardboard can be an enjoyable and practical way to create temporary room dividers. With a little creativity and effort, you can design lightweight and customizable solutions that meet your specific needs while enhancing your living space.

What Are the Benefits of Portable Room Dividers?
Portable room dividers are increasingly becoming a popular choice for those looking to enhance their living spaces without making permanent changes. These versatile solutions provide a range of benefits that cater to different needs and preferences. Below, we explore the key advantages of using portable room dividers in your home or workspace.
One of the most significant benefits of portable room dividers is their flexibility. Unlike traditional walls, these dividers can be easily moved or adjusted to suit your changing needs. Whether you want to create a cozy reading nook in your living room or separate workspaces in a home office, portable dividers can be repositioned with minimal effort, allowing for a dynamic living environment.
Portable room dividers are designed for easy installation. Many options require no tools or drilling, making them perfect for renters or those who prefer not to make permanent alterations to their spaces. This convenience allows you to set up and take down dividers quickly, adapting your space as needed without the hassle of construction.
In shared living or working environments, privacy can be a concern. Portable room dividers can significantly enhance privacy by creating distinct areas within a larger space. By strategically placing these dividers, you can establish personal zones that help reduce distractions and foster a more focused atmosphere, whether at home or in the office.
Investing in portable room dividers is often more cost-effective than constructing permanent walls. They provide a budget-friendly way to redefine spaces without the expense of renovation. With various styles and materials available, you can find options that fit your aesthetic preferences and budget, making them an accessible solution for many.
Portable room dividers come in a wide variety of designs, colors, and materials, allowing you to choose options that complement your existing decor. From fabric to wood, each material offers unique aesthetic qualities. This design versatility enables you to express your personal style while effectively dividing spaces.
Another often-overlooked benefit of portable room dividers is their ability to improve acoustics in a space. Many dividers are designed to absorb sound, which can help reduce noise levels in busy environments. This is particularly beneficial in open-plan offices or shared living spaces, where noise can be a significant distraction.
Maintaining portable room dividers is generally straightforward. Depending on the materials used, many dividers can be wiped down or vacuumed to keep them looking fresh. This ease of maintenance ensures that your dividers remain functional and visually appealing over time.
Whether you’re hosting guests or need to create temporary workspaces, portable room dividers provide an excellent solution. Their temporary nature allows you to adjust your space according to immediate needs without committing to permanent changes. This adaptability is especially useful for those who frequently entertain or work from home.
In summary, portable room dividers offer numerous advantages, including flexibility, easy installation, enhanced privacy, and cost-effectiveness. They are a practical choice for anyone looking to optimize their living or working spaces, providing a range of solutions that cater to a variety of needs.
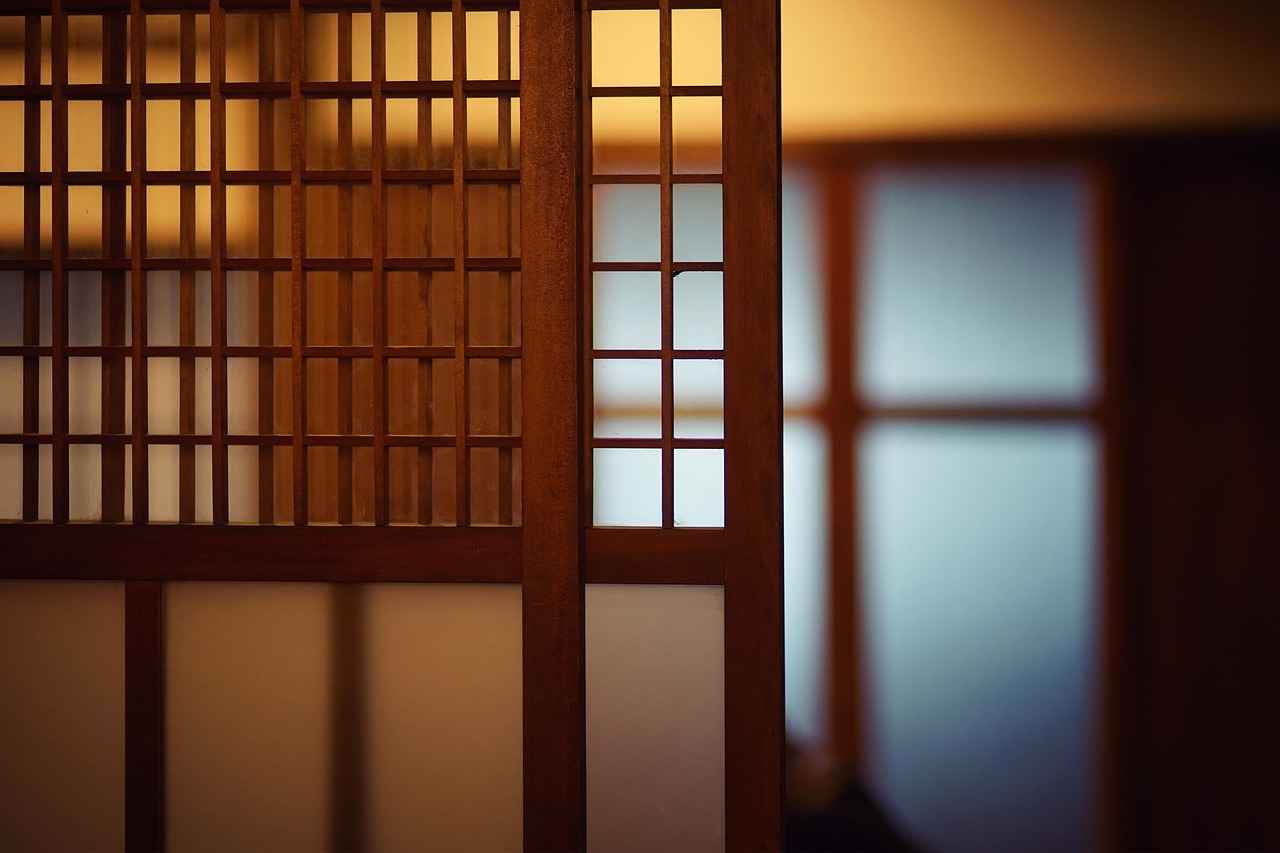
How to Maintain Your Temporary Room Divider?
Maintaining your temporary room divider is essential for ensuring its longevity and functionality. With proper care, these dividers can remain a stylish and practical solution in your living space for years to come. Below are some effective tips and strategies for keeping your temporary room dividers in top condition.
Dust and dirt can accumulate on your room divider, detracting from its appearance. To maintain a fresh look, consider the following cleaning methods:
- Dusting: Use a microfiber cloth or a duster to gently remove dust from the surface of the divider. This should be done regularly to prevent buildup.
- Spot Cleaning: For fabric dividers, use a damp cloth with mild soap to tackle stains or spills. Always test a small area first to ensure that the fabric does not discolor.
- Vacuuming: If your divider is made of fabric, vacuum it occasionally using an upholstery attachment to remove embedded dirt and allergens.
Routine inspections are crucial to catch any potential issues early. Look for:
- Wear and Tear: Check for frayed edges, loose seams, or any signs of damage. Addressing these issues promptly can prevent further deterioration.
- Structural Integrity: For dividers made from furniture or other materials, ensure that they remain sturdy and stable. Tighten any loose screws or fittings as needed.
The environment in which your temporary room divider is placed can impact its longevity. Consider the following:
- Humidity Levels: High humidity can cause mold and mildew, particularly in fabric dividers. Ensure proper ventilation in the area to maintain air circulation.
- Sunlight Exposure: Prolonged exposure to direct sunlight can fade colors and weaken materials. If possible, position your divider away from harsh sunlight or use UV-protective treatments.
If you need to store your room divider, follow these guidelines to prevent damage:
- Clean Before Storing: Ensure your divider is clean and dry before packing it away to avoid mold growth.
- Use Protective Covers: If storing fabric dividers, consider using breathable covers to protect them from dust and pests.
- Disassemble If Possible: For furniture-based dividers, disassemble them if space allows. Store them flat to prevent warping.
To keep your temporary room divider looking its best, consider occasional updates:
- Accessorizing: Add decorative elements such as fairy lights or artwork to enhance the visual appeal of your divider.
- Rearranging: Changing the position of your divider can refresh your space and give it a new look.
- Updating Fabrics: If your divider is fabric-based, consider changing the fabric or adding a new design to keep things interesting.
In summary, regular maintenance of your temporary room divider not only prolongs its life but also ensures it remains a functional and attractive feature in your home. By following these simple tips, you can keep your dividers looking fresh and inviting.
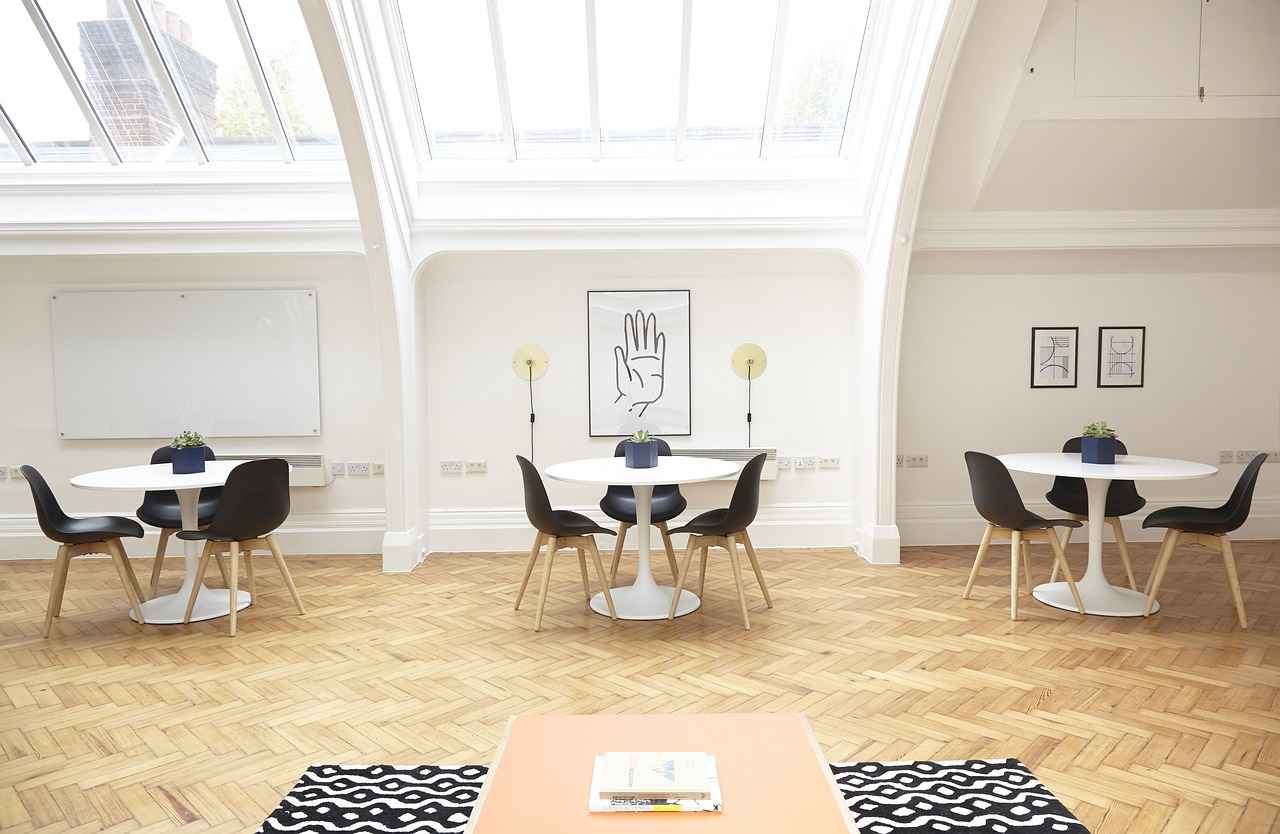
Can Room Dividers Enhance Privacy?
In today’s open-concept living spaces, privacy can often feel compromised. This is where room dividers come into play, offering a practical solution for enhancing privacy while still maintaining an airy and spacious environment. In this article, we will explore how strategically placing dividers can create personal areas without completely closing off your space.
Privacy is essential for comfort and well-being. In shared living environments, such as apartments or co-living spaces, the absence of privacy can lead to stress and discomfort. Room dividers serve as a functional tool to establish personal boundaries, allowing individuals to enjoy their own space while still being part of a larger area. By incorporating dividers, you can create a sense of ownership over your personal area.
- Defining Zones: Use dividers to create distinct zones for sleeping, working, or relaxing. This helps to mentally separate activities, enhancing focus and relaxation.
- Creating Visual Barriers: Position dividers to block sight lines between different areas. This can be particularly effective in studio apartments where the living and sleeping areas are combined.
- Utilizing Vertical Space: Tall dividers can draw the eye upward, making the space feel larger while still providing privacy. Consider using bookshelves or tall plants for this purpose.
There are several types of room dividers that can effectively enhance privacy:
- Fabric Screens: Lightweight and versatile, fabric screens can be easily moved and adjusted. They offer a soft barrier that can absorb sound, further enhancing privacy.
- Bookshelves: Using bookshelves as dividers not only creates a physical barrier but also provides storage. This dual functionality makes them a popular choice in smaller spaces.
- Folding Screens: These are portable and can be easily set up or taken down as needed. They come in various designs and materials, allowing you to choose one that complements your decor.
While the primary function of room dividers is to enhance privacy, it’s crucial to maintain an open feel in your space. Here are some tips:
- Choose Light Materials: Opt for materials that allow light to pass through, such as sheer curtains or slatted wood. This creates a sense of openness while still providing separation.
- Incorporate Mirrors: Placing mirrors on or near dividers can reflect light and make the area feel larger, counteracting the closed-off effect.
- Use Color Wisely: Light, neutral colors can help dividers blend into the background, making the space feel less cluttered.
In summary, room dividers can significantly enhance privacy in shared spaces when placed strategically. By defining zones, creating visual barriers, and utilizing various types of dividers, you can enjoy personal areas without sacrificing the open feel of your living environment. Whether you opt for fabric screens, bookshelves, or folding dividers, the key is to select options that align with your style and functional needs. With thoughtful placement and design choices, you can transform your shared space into a more private and comfortable home.
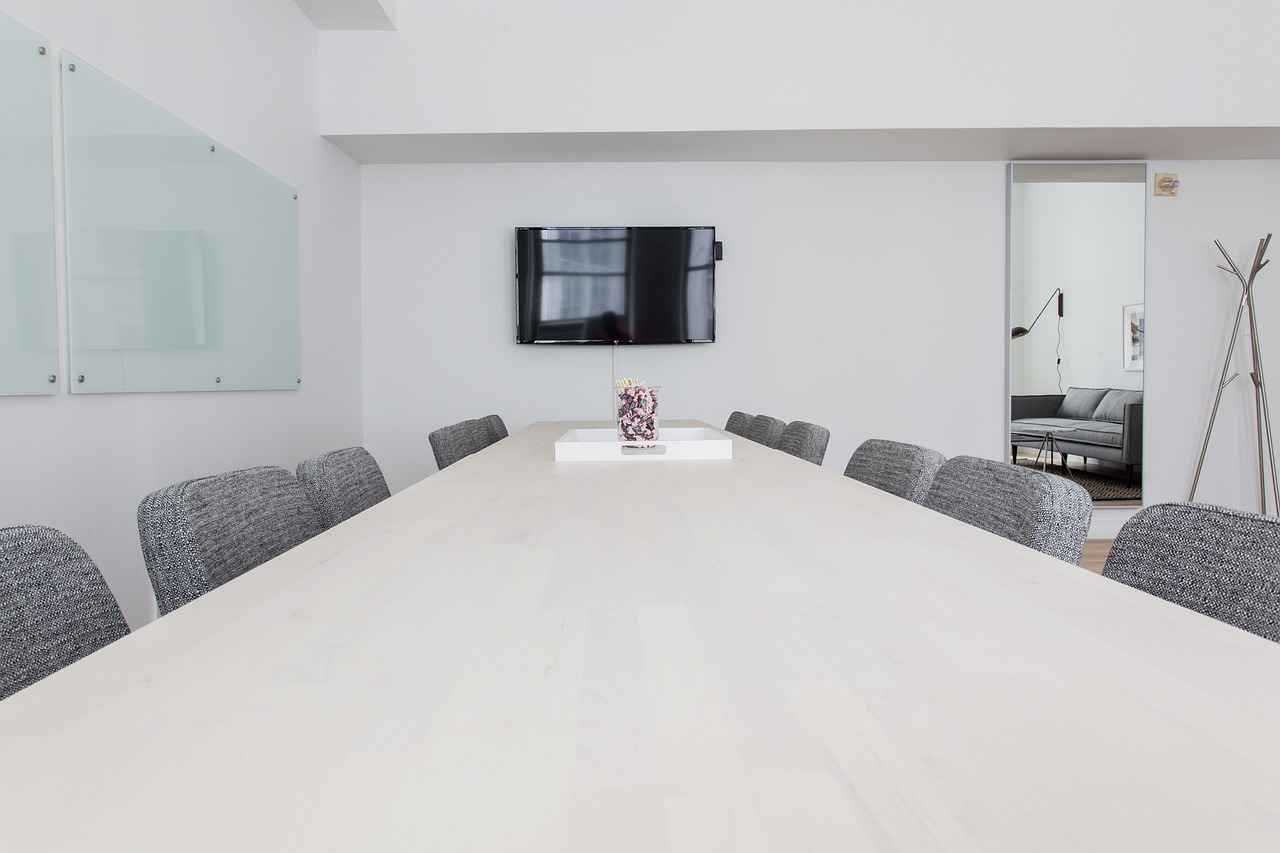
What Are the Best Room Divider Ideas for Small Spaces?
When it comes to managing small spaces, the right room divider can make all the difference. Thoughtful divider designs not only enhance the functionality of a room but also maintain an open and airy feel. Here, we delve into some of the best room divider ideas tailored specifically for small areas, ensuring that you can maximize your space without feeling overwhelmed.
One of the most practical solutions for small spaces is to use bookshelves as room dividers. They provide a dual purpose: creating separation while offering storage. Open shelving allows light to pass through, making the space feel larger. You can style the shelves with books, plants, and decorative items to enhance the aesthetic appeal.
Curtains are a versatile option for creating temporary dividers. They can be drawn open or closed as needed, allowing you to adjust the level of privacy. Using a tension rod, you can easily hang curtains in any doorway or nook. Choose light fabrics to maintain visibility and airiness in the room.
Folding screens are another excellent choice for small spaces. They come in various designs, from traditional to modern, making it easy to find one that complements your decor. These screens can be easily moved or folded away when not in use, providing flexibility without permanent commitment.
Area rugs can serve as subtle dividers in a small room. By placing a rug under a seating area, you can visually define that space and create a cozy atmosphere. Choose rugs that contrast with the flooring to enhance the separation effect.
If you’re looking for a budget-friendly option, consider using recycled pallets to create a rustic room divider. Pallets can be painted or stained to match your decor and can be positioned vertically to create a unique partition. This DIY approach not only saves money but also adds a personal touch to your space.
For a sleek and contemporary feel, glass partitions can be an excellent choice. They allow light to flow freely while providing a sense of separation. These can be custom-made to fit your space and can be framed or frameless, depending on your style preference.
Incorporating plants into your decor can also serve as a natural room divider. Tall plants like fiddle leaf figs or snake plants can create a barrier while adding life to your space. Arrange them strategically to define areas without blocking light or airflow.
Investing in multi-functional furniture can help you maximize your space while serving as a divider. Consider items like storage ottomans or benches that can be used for seating and storage. These pieces can help delineate areas while keeping your space organized.
Sometimes, simply using different colors or textures can act as a divider. Painting one wall a different color or using contrasting wallpaper can visually separate spaces without the need for physical barriers. This tactic is particularly effective in open floor plans.
In summary, small spaces can greatly benefit from creative room divider solutions. By utilizing bookshelves, curtains, folding screens, and even plants, you can create functional and aesthetically pleasing areas that enhance your living environment without overwhelming it. Choose the right divider based on your needs and style preferences, and enjoy a space that feels both organized and inviting.
Frequently Asked Questions
- What are the benefits of using temporary room dividers?
Temporary room dividers offer flexibility, allowing you to create distinct spaces without making permanent changes. They’re perfect for renters or anyone who likes to frequently rearrange their living area.
- How can I install a tension rod for my room divider?
Installing a tension rod is super simple! Just measure the space you want to divide, adjust the rod to fit, and place it between two walls or surfaces. It’s a quick way to create a divider without any drilling!
- Can I use furniture as a room divider?
Absolutely! Repurposing items like bookshelves, cabinets, or decorative screens not only divides your space but also adds functionality and style to your room.
- What materials work best for DIY room dividers?
You can get creative with various materials! Consider using recycled items like old doors or pallets, or even lightweight materials like cardboard for easy and customizable designs.
- How do I maintain my temporary room divider?
Keeping your divider in good shape is easy! Regularly dust and clean it according to the material. This simple upkeep will help it look fresh and functional for a long time.
- Can room dividers enhance privacy in shared spaces?
Yes, they can! Strategically placing dividers can create personal areas, allowing for privacy while maintaining an open feel in shared spaces.
- What are some room divider ideas for small spaces?
For small spaces, think vertical! Use tall bookshelves or hanging fabric dividers to maximize functionality without overwhelming the area. Creative solutions can make a big difference!


