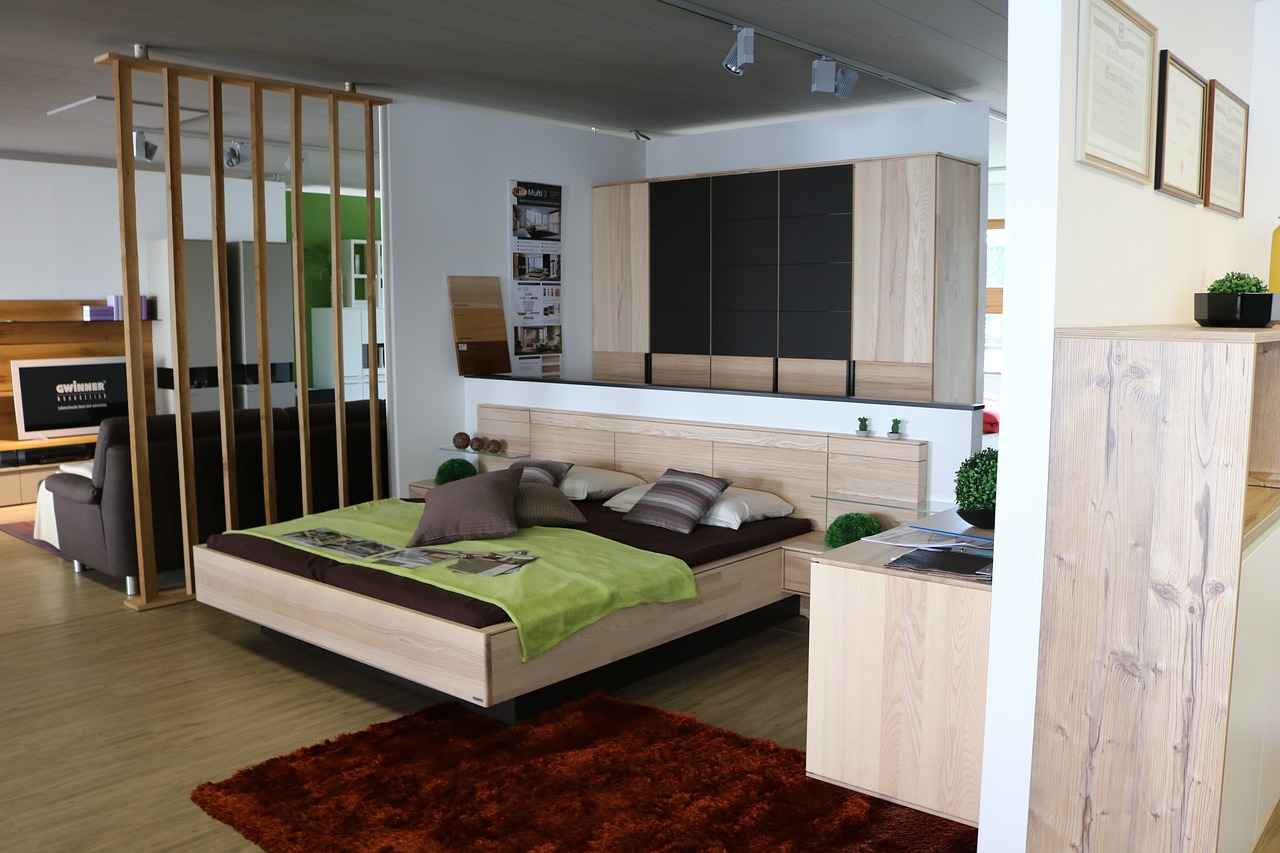
This article provides a step-by-step guide to creating a modern minimalist room divider. It includes design ideas, materials needed, and practical tips for a successful DIY project.
A modern minimalist room divider is a stylish and functional element that effectively separates spaces while maintaining a clean aesthetic. These dividers often feature clean lines and a neutral color palette, allowing them to blend seamlessly into various interior designs.
Opting for a minimalist design can create a sense of calm and order in any room. Minimalism emphasizes essential elements and promotes versatility, making it easy to integrate into different styles while keeping a clutter-free environment.
Choosing the right materials is crucial for both durability and aesthetic appeal. Commonly used materials for minimalist room dividers include:
- Wood: Offers warmth and can be stained or painted.
- Fabric: Provides texture and can be easily changed.
- Metal: Adds a sleek, modern touch.
Before starting your DIY room divider, gather the following essential tools:
- Saw: For cutting wood or metal.
- Drill: For making holes and securing materials.
- Measuring tape: To ensure accuracy.
- Level: To keep everything straight.
Follow this comprehensive guide to construct your room divider:
Accurate measurements are essential. Determine the desired height and width of your divider based on the space available and your aesthetic preferences.
Once measurements are finalized, cut your materials to size. Ensure each piece fits perfectly for a polished look.
The style of your room divider should enhance your existing decor. Consider options such as:
- Sliding panels: Ideal for small spaces.
- Folding screens: Versatile and easy to move.
- Open shelving: Combines function with display.
Adding color and texture can significantly enhance the visual appeal of your room divider. Opt for neutral tones or soft pastels to maintain a minimalist look, and consider textured materials for added depth.
Properly securing your room divider is essential for stability. Explore different methods such as:
- Brackets: For wall-mounted dividers.
- Wall anchors: To provide additional support.
- Weighted bases: For freestanding dividers.
To keep your minimalist room divider looking fresh, regular maintenance is key. Simple actions like:
- Dusting: Regularly remove dust.
- Cleaning: Use appropriate cleaners for the materials.
- Checking fittings: Ensure everything remains secure.
By following these steps, you can create a modern minimalist room divider that not only serves its purpose but also enhances the overall aesthetic of your space.
What is a Modern Minimalist Room Divider?
A modern minimalist room divider is more than just a functional element in interior design; it is a statement piece that embodies the principles of simplicity and elegance. These dividers are designed to create distinct areas within a space without overwhelming the overall decor. By utilizing clean lines and neutral colors, a minimalist room divider enhances the aesthetic of any room while serving a practical purpose.
One of the key features of a modern minimalist room divider is its ability to maintain an open and airy feel. Unlike bulky traditional dividers, modern options often incorporate lightweight materials and innovative designs that allow light to flow freely between spaces. This not only contributes to a sense of spaciousness but also promotes a calm and serene environment.
In terms of functionality, these dividers can serve various purposes. They can create privacy in shared living spaces, delineate areas for different activities, or even serve as a backdrop for decorative elements. The versatility of a minimalist room divider allows it to adapt to various settings, from homes to offices, making it a popular choice for those looking to enhance their interiors.
When considering a modern minimalist room divider, it is essential to think about the design elements that will best suit your space. Options include:
- Sliding Panels: These can be effortlessly moved to open or close off areas as needed.
- Folding Screens: Ideal for temporary divisions, they can be easily stored when not in use.
- Open Shelving: This style not only divides spaces but also provides storage and display options.
In addition to the design, the material choice plays a crucial role in achieving the desired look and feel. Common materials used in minimalist dividers include:
- Wood: Offers warmth and a natural aesthetic.
- Fabric: Provides softness and can introduce texture.
- Metal: Adds a contemporary touch and durability.
Furthermore, incorporating color and texture into your room divider can enhance its visual appeal. Sticking to a palette of neutral tones or soft pastels aligns with minimalist principles, while textured materials can add depth without cluttering the space.
To ensure that your divider is both functional and stylish, proper installation is essential. Depending on the design, you may need to use brackets, wall anchors, or weighted bases to secure the divider in place. This not only enhances stability but also ensures that the divider remains a permanent fixture in your space.
Maintaining your modern minimalist room divider is also important for longevity. Regular dusting, cleaning, and checking for any loose fittings will keep it looking fresh and functional. With the right care, your divider can remain a beautiful and practical addition to your home for years to come.
In summary, a modern minimalist room divider is a versatile and stylish solution for creating defined spaces within an open floor plan. By focusing on simplicity, functionality, and aesthetics, these dividers can transform any area into a harmonious and organized environment.
Why Choose a Minimalist Design?
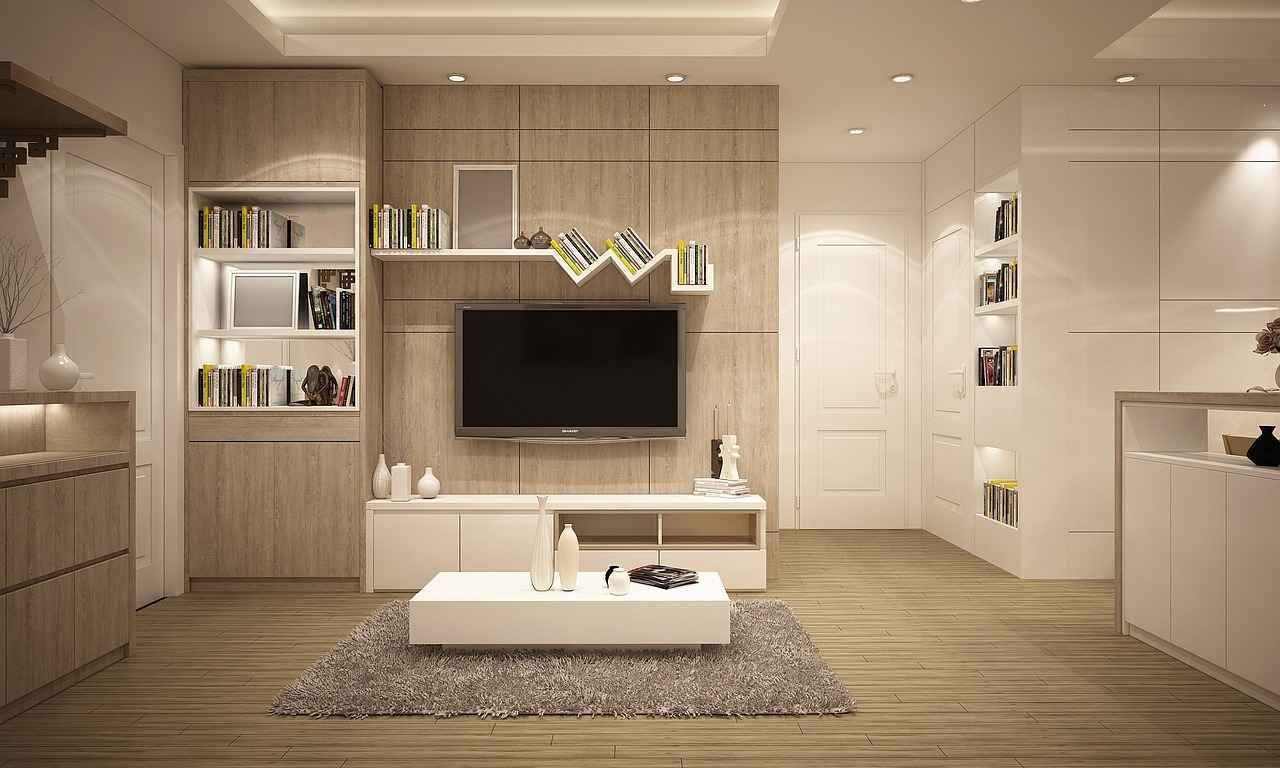
When it comes to interior design, minimalist design stands out as a popular choice for many homeowners and decorators. This approach is not just about reducing clutter; it’s about creating a space that feels open, calm, and inviting. In this section, we will explore the reasons why choosing a minimalist design can be beneficial for your home.
- Promotes Calmness: Minimalist designs create a serene environment by eliminating distractions. With fewer items in a room, your mind can relax, leading to reduced stress levels.
- Enhances Order: A minimalist aesthetic emphasizes organization and simplicity. This orderliness can lead to a more productive atmosphere, whether in a home office or a living space.
- Versatility: Minimalist designs can easily blend with various interior styles. Whether your home features modern, traditional, or eclectic elements, a minimalist approach allows for seamless integration.
- Focus on Essentials: By concentrating on what truly matters, minimalist design encourages you to choose high-quality, meaningful items. This not only elevates the overall aesthetic but also promotes sustainability.
- Easy Maintenance: With fewer items to clean and organize, maintaining a minimalist space is significantly easier. This can save you time and effort in your daily routine.
Embracing a minimalist design can also spark creativity. When your environment is free from clutter, your mind is more likely to wander and explore new ideas. A clean, open space can serve as a blank canvas, allowing your imagination to flourish.
- Neutral Color Palette: Minimalist spaces often feature soft, neutral colors that create a cohesive look. Shades of white, gray, and beige can make a room feel more spacious and light-filled.
- Clean Lines: Furniture and decor with straight lines and geometric shapes contribute to the overall simplicity of a minimalist design. This focus on clean lines helps to maintain an uncluttered feel.
- Functional Furniture: Every piece of furniture in a minimalist space should serve a purpose. Multi-functional furniture, such as a bed with storage underneath, is ideal for maximizing space.
Incorporating minimalist design into your home doesn’t require a complete overhaul. Start by decluttering your space—remove items that no longer serve a purpose or bring you joy. Next, consider investing in quality over quantity. Select a few statement pieces that resonate with you and enhance the overall aesthetic of your home.
Finally, focus on lighting and open spaces. Natural light can significantly enhance the feeling of openness in a minimalist room. Consider using sheer curtains or leaving windows unobstructed to maximize light flow.
Essential Materials for Your Room Divider
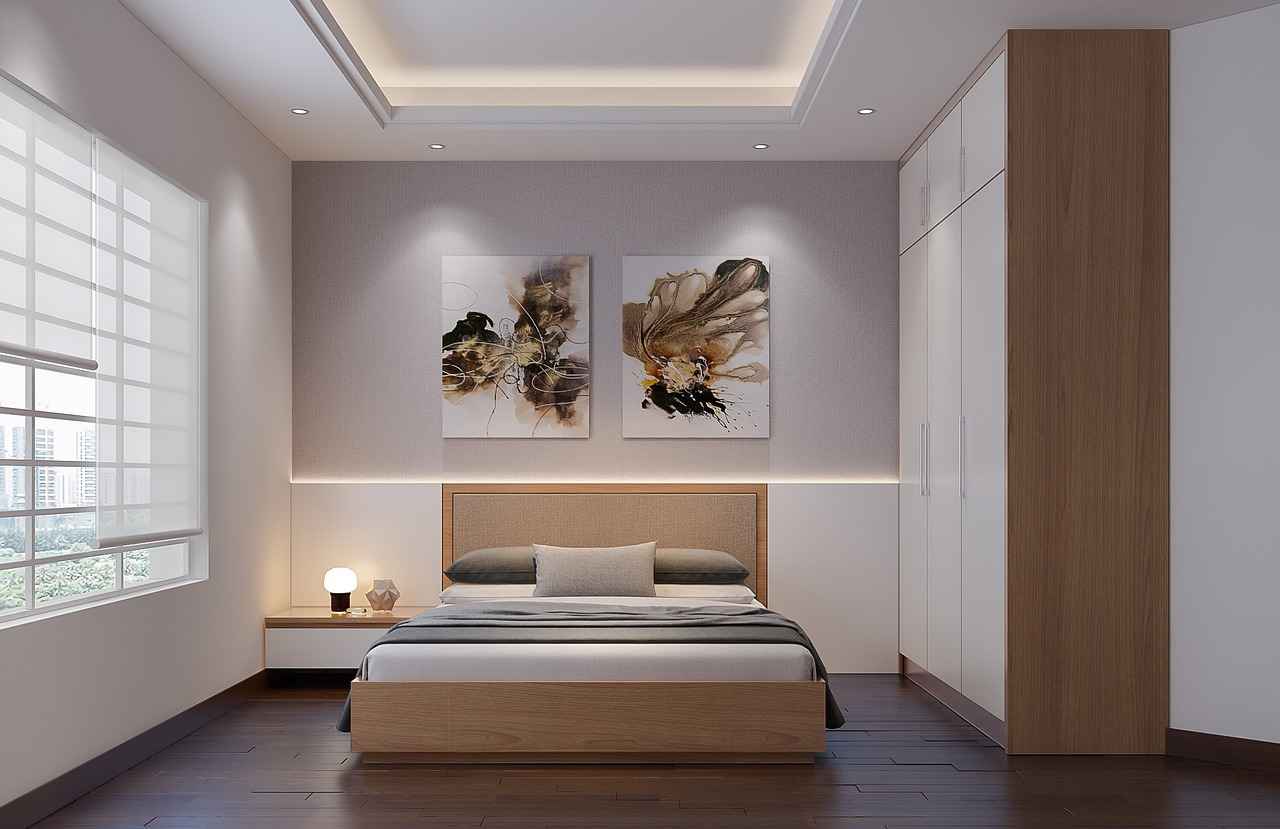
When embarking on the journey to create a modern minimalist room divider, the choice of materials is paramount. The right materials not only ensure durability but also enhance the overall aesthetic appeal of the space. In this section, we will explore various materials commonly used for room dividers, highlighting their unique benefits and how they can align with a minimalist design philosophy.
The materials you choose for your room divider can significantly impact its functionality and style. A well-selected material can create a cohesive look that complements your existing decor while offering practical benefits such as sound absorption, light filtration, and structural integrity.
Wood is a classic choice for room dividers, offering a warm and inviting feel. Its natural grain patterns and colors can add character to any space. Here are some reasons to consider wood:
- Durability: Quality wood can last for years with proper care.
- Versatility: Available in various finishes, wood can fit into any design scheme.
- Eco-Friendly: Sustainable wood options are available, making them a great choice for environmentally conscious consumers.
Fabric dividers are ideal for creating a softer, more intimate atmosphere. They can be easily customized in terms of color and pattern, fitting seamlessly into your minimalist aesthetic. Consider the following:
- Lightweight: Fabric dividers are easy to move and rearrange.
- Textural Variety: Different fabrics can add depth and interest to your space.
- Sound Absorption: Fabric can help reduce noise levels, enhancing privacy.
For a truly contemporary look, metal is an excellent choice. Its clean lines and industrial feel can make a bold statement in a minimalist room. Key benefits include:
- Strength: Metal dividers are incredibly durable and can withstand wear and tear.
- Low Maintenance: Metal surfaces are easy to clean and maintain.
- Design Flexibility: Available in various finishes, metals can be incorporated into both modern and traditional settings.
Don’t hesitate to mix and match materials to create a unique room divider that reflects your personal style. For example, a combination of wood and metal can provide a stunning contrast while maintaining a minimalist vibe. Experimenting with different textures and colors can lead to a one-of-a-kind piece that serves both functional and aesthetic purposes.
In conclusion, selecting the right materials for your room divider is essential for achieving both durability and a harmonious aesthetic. Whether you prefer the warmth of wood, the softness of fabric, or the sleekness of metal, each material offers distinct advantages. By carefully considering your options and how they fit into your overall design vision, you can create a stunning minimalist room divider that enhances your living space.
Tools You Will Need for the Project
When embarking on your DIY room divider project, it is vital to gather all the necessary tools to ensure a smooth and efficient construction process. Having the right equipment on hand not only enhances the quality of your work but also makes the experience more enjoyable. Below is a detailed list of essential tools you will need to successfully create your modern minimalist room divider.
- Measuring Tape: Accurate measurements are crucial. A measuring tape allows you to determine the dimensions of your space and the materials you will use, ensuring everything fits perfectly.
- Saw: Whether you choose a hand saw or a power saw, this tool is essential for cutting wood or metal to the desired size. Ensure you select the appropriate saw based on the material you are working with.
- Drill: A drill is necessary for making holes in your materials, especially when you need to attach pieces together or secure your divider to the wall. A cordless drill can offer extra convenience.
- Level: To ensure that your room divider stands straight and true, a level is indispensable. This tool helps you avoid any unsightly tilts or unevenness in your project.
- Screwdriver Set: You will need a variety of screwdrivers to assemble your divider and secure different components. Make sure to have both flathead and Phillips screwdrivers on hand.
- Sandpaper: If you are working with wood, sandpaper will help you smooth out any rough edges, giving your divider a polished and professional look.
- Clamps: These are useful for holding pieces together while the adhesive sets or while you are drilling screws. They provide extra stability during assembly.
- Safety Gear: Don’t forget to wear safety goggles and a dust mask to protect yourself from debris and dust while working.
By gathering these tools before you start, you can ensure that your DIY project runs smoothly and efficiently. Each tool plays a significant role in achieving a high-quality finish for your room divider. Taking the time to prepare will not only save you from potential frustrations but also contribute to the overall success of your project.
In addition to these tools, consider preparing a clean and organized workspace. A clutter-free environment will help you focus better on your tasks and reduce the risk of accidents. Remember, the key to a successful DIY project lies in meticulous planning and preparation.
As you gather your tools, take a moment to familiarize yourself with each one. Understanding how to use them correctly will enhance your confidence and efficiency during the construction process. With the right tools and a positive mindset, you are well on your way to creating a stunning modern minimalist room divider that enhances your space.
Step-by-Step Guide to Building Your Divider
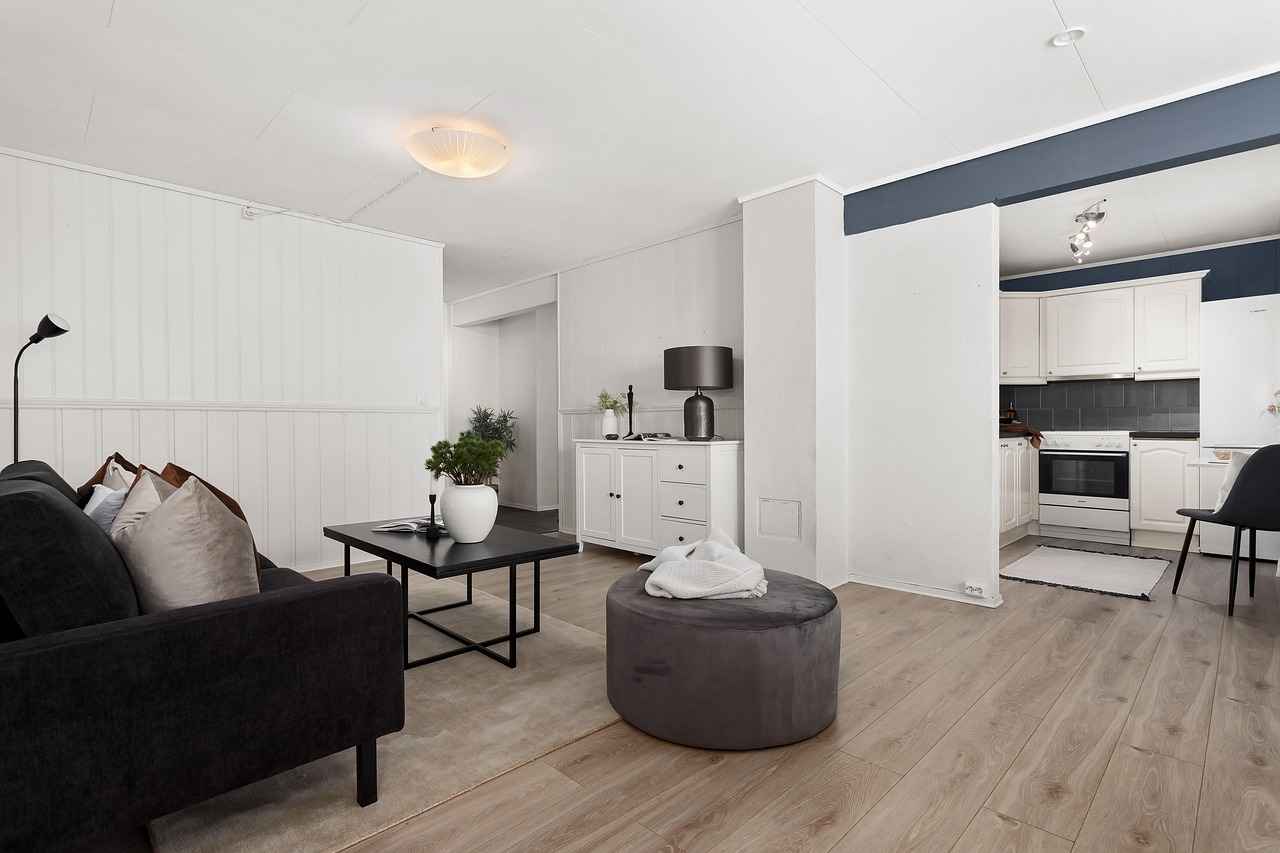
Creating a room divider can transform your living space, adding functionality and style. This step-by-step guide will walk you through the entire process of building your own room divider, ensuring a smooth DIY experience from start to finish.
By following these detailed steps, you’ll be able to construct a room divider that not only serves its purpose but also enhances your home decor.
Begin by accurately measuring the area where you want to place your room divider. Consider the following:
- Height: Decide how tall you want your divider to be. A height of 6 to 7 feet is typical for most spaces.
- Width: Measure the width based on how much space you want to separate. Ensure it fits comfortably within the area.
- Placement: Think about the flow of the room and how the divider will impact movement.
Selecting the right materials is crucial for both aesthetics and durability. Here are some popular options:
- Wood: Offers a classic look and can be stained or painted.
- Fabric: Lightweight and versatile, fabric can add texture and color.
- Metal: Provides a modern touch and is highly durable.
Before you start building, make sure you have the following tools:
- Saw: For cutting wood or metal to size.
- Drill: Essential for making holes and securing materials.
- Measuring Tape: To ensure accurate measurements.
- Level: To keep your divider straight and stable.
Once your measurements are finalized, it’s time to cut your materials. Here’s how:
1. Mark your measurements clearly on each piece.2. Use a saw for wood or metal, ensuring smooth cuts.3. For fabric, use sharp scissors for clean edges.
With your pieces cut, it’s time to assemble:
- Frame: Start by building the frame of your divider. Use screws or brackets to secure the corners.
- Panels: Attach your panels (wood, fabric, or metal) to the frame. Ensure they fit snugly.
- Finishing Touches: Sand down rough edges and apply paint or stain as desired.
For stability, consider the following methods:
- Brackets: Use wall brackets to secure the divider if it’s tall.
- Weighted Base: Adding weights at the bottom can prevent tipping.
- Wall Anchors: If your divider is fixed against a wall, make sure to anchor it properly.
To keep your room divider looking its best:
- Regular Cleaning: Dust your divider regularly to maintain its appearance.
- Check Stability: Periodically check for any loose screws or fittings.
- Refresh Finishes: Repaint or restain as needed to keep it looking new.
By following these steps, you can create a stunning and functional room divider that enhances your space. Enjoy your DIY journey!
Step 1: Measure Your Space
When embarking on a DIY project, particularly one as impactful as creating a room divider, accurate measurements are essential for success. The first step in this process is to measure your space carefully. This ensures that the divider will fit perfectly within the intended area, enhancing both functionality and aesthetics.
To begin, consider the height and width of your divider. These dimensions should be determined based on the specific space you are working with and the overall design you envision. For instance, if you are dividing a large living area, you may want a taller divider that reaches close to the ceiling, while a smaller, more intimate space might benefit from a lower divider that encourages an open feel.
- Height Considerations: Standard room dividers typically range from 4 to 8 feet in height. Assess the height of your ceiling and the desired level of privacy or separation. A taller divider can create a more enclosed atmosphere, while a shorter one can maintain openness.
- Width Considerations: The width of your divider should complement the available space. A width of 2 to 4 feet is common, but this can vary based on your design choice. Make sure to leave enough room for movement and accessibility.
After determining the dimensions, it’s important to visualize the divider in your space. You can use painter’s tape to outline the intended area on the floor and walls. This technique allows you to get a better sense of how the divider will look and feel in the room. Consider the desired aesthetic as well; a minimalist design often favors clean lines and simple shapes, so ensure your measurements align with these principles.
In addition to height and width, think about the thickness of the materials you plan to use. Thicker materials can provide more stability, while thinner options may offer a lighter, more airy feel. Consider how the thickness will affect the overall look and functionality of your divider.
Finally, take into account any furniture or decor that will be near the divider. Ensure that your measurements do not obstruct pathways or interfere with existing elements in the room. By carefully considering all these factors, you can achieve a harmonious balance that enhances your space.
In summary, taking the time to measure your space accurately is a crucial step in creating a modern minimalist room divider. This foundational work will set the stage for a successful and aesthetically pleasing project, allowing you to enjoy the benefits of your new divider for years to come.
Step 2: Cut Your Materials
After taking precise measurements, the next critical step in creating your modern minimalist room divider is to cut your materials to size. This process is vital for ensuring that each component fits seamlessly together, contributing to a polished and professional appearance.
To begin, gather your materials based on your design choice. For those using wood, a saw is the ideal tool. A circular saw or a miter saw can provide clean, straight cuts, while a jigsaw is perfect for more intricate shapes. If you are working with metal, a hacksaw or a metal cutting saw will be necessary to achieve precise cuts without damaging the material.
For fabric dividers, sharp scissors or a rotary cutter are recommended. Ensure your fabric is laid flat and wrinkle-free before cutting to avoid uneven edges. It’s advisable to use a cutting mat to protect your surfaces and maintain accuracy.
When cutting, always remember to wear appropriate safety gear, such as goggles and gloves, to protect yourself from any potential accidents. Additionally, double-check your measurements before making any cuts; it’s better to measure twice and cut once to avoid costly mistakes.
As you cut each piece, pay special attention to the dimensions. Each segment should align perfectly with your design plan, whether you’re creating a simple panel or a more complex folding screen. If you are using multiple materials, such as combining wood with fabric, ensure that the cuts are consistent in size to maintain a cohesive look.
Once all pieces are cut, it’s beneficial to lay them out in your desired configuration. This step allows you to visualize the final product and make any necessary adjustments before assembly. If you find that any pieces do not fit as expected, you can make further adjustments or recut as needed.
Finally, after ensuring all pieces are correctly sized, take a moment to sand down any rough edges, especially on wood or metal. This will not only enhance the look of your divider but also prevent any potential injuries from sharp edges.
By following these detailed steps in cutting your materials, you’ll set a solid foundation for the remainder of your DIY room divider project. The key is to focus on precision and attention to detail, which will ultimately lead to a successful and aesthetically pleasing result.

Choosing the Right Style for Your Divider
When it comes to designing your space, the style of your room divider plays a crucial role in defining the overall aesthetic. A carefully chosen divider not only serves a functional purpose but also enhances the beauty of your existing decor. Here are some key considerations and options to help you select the perfect style for your room divider.
- Consider Your Existing Decor: The first step is to evaluate your current interior style. Is it modern, traditional, or eclectic? Your room divider should seamlessly blend with your existing elements. For instance, a sleek metal divider works well in a contemporary setting, while a wooden folding screen may be more suited to a rustic environment.
- Functionality Matters: Think about how you intend to use the divider. If you need flexibility, consider sliding panels or folding screens that can be easily moved or adjusted. For those looking for a more permanent solution, a built-in shelving unit can provide both separation and storage.
- Space Considerations: The size of your room will influence your choice. In smaller spaces, opt for open shelving which creates a sense of openness while still providing division. In larger rooms, a more substantial divider, such as a tall screen, can help define areas without making the space feel cramped.
- Material Selection: The materials you choose will affect the overall look and feel of your divider. Wood adds warmth, metal introduces a modern edge, and fabric can soften a space. Consider using a combination of materials to create a unique, layered effect.
- Color and Texture: Neutral tones are often favored in minimalist designs, but don’t shy away from incorporating color or texture. A vibrant fabric screen or a textured wood panel can serve as an eye-catching focal point.
By considering these factors, you can select a room divider that not only fulfills its purpose but also enhances your overall decor.
There are several popular styles of room dividers to choose from:
- Sliding Panels: Ideal for modern interiors, sliding panels can be made from glass or wood and are perfect for creating a seamless transition between spaces.
- Folding Screens: These versatile dividers can easily be moved and adjusted, making them great for temporary setups or for creating privacy when needed.
- Open Shelving: This style not only divides spaces but also provides additional storage and display options, making it both functional and decorative.
- Bookcase Dividers: A bookcase can serve as a stylish divider while showcasing your favorite books and decor items.
Ultimately, the right style for your room divider will depend on your personal taste, the functionality you require, and how well it integrates with your overall design scheme. By carefully considering these elements, you can create a space that is both stylish and functional.
Incorporating Color and Texture
When it comes to designing a room divider, is a vital aspect that can significantly enhance its visual appeal. The right choice of colors and materials not only adds character but also complements the overall aesthetic of your space. In this section, we will explore various ways to effectively incorporate color and texture into your room divider, ensuring it serves as a stylish focal point in your home.
Color plays a crucial role in setting the mood of a room. For a minimalist look, consider using neutral tones such as whites, grays, and beiges. These shades promote a sense of calm and spaciousness, making them ideal for smaller areas. Alternatively, if you wish to add a touch of warmth, soft pastels like pale blues or blush pinks can create an inviting atmosphere without overwhelming the senses.
In addition to color, the texture of your room divider can add an extra layer of interest. Textured materials such as woven fabrics, wood grain finishes, or even metallic accents can create visual depth and contrast. For instance, a divider made from reclaimed wood not only introduces a rustic charm but also features unique grain patterns that draw the eye. Similarly, incorporating fabrics with subtle textures can soften the look of a divider while enhancing its tactile appeal.
To achieve a harmonious look, it’s essential to strike the right balance between color and texture. Here are some practical tips:
- Layering: Combine different materials by layering textured fabrics over a solid base. This technique adds depth while maintaining a cohesive color scheme.
- Accent Pieces: Consider using bold colors as accents. For example, a neutral divider can be paired with colorful accessories like vases or artwork that draw attention without clashing.
- Monochromatic Schemes: Explore a monochromatic color palette, using varying shades of a single color to create a sophisticated and unified look.
Here are some inspiring combinations to consider:
| Color Palette | Texture | Effect |
|---|---|---|
| Soft Beige and Cream | Woven Fabric | Warm and Inviting |
| Cool Gray and White | Brushed Metal | Modern and Sleek |
| Pale Blue and Soft Pink | Textured Wallpaper | Calming and Serene |
Incorporating color and texture into your room divider is an excellent way to enhance its visual appeal and create a cohesive design in your space. By carefully selecting neutral tones or soft pastels and choosing textured materials, you can achieve a minimalist look that is both functional and aesthetically pleasing. Remember, the key is to find a balance that resonates with your personal style while enhancing the overall atmosphere of your home.
How to Secure Your Room Divider
When creating a room divider, ensuring its stability is crucial for both safety and aesthetics. A well-secured room divider not only enhances the visual appeal of your space but also prevents accidents and damage. In this section, we will explore various methods to effectively secure your room divider, ensuring it remains sturdy and functional.
- Brackets: Utilizing brackets is one of the most reliable methods to secure your room divider. These metal supports can be attached to the wall or the floor, providing a solid anchor point. They are particularly useful for taller dividers, where stability is paramount. Choose brackets that match the style of your divider for a cohesive look.
- Wall Anchors: If your divider is designed to stand against a wall, wall anchors can be an excellent choice. These anchors are inserted into the wall and can hold screws that secure the divider in place. This method is especially effective for lightweight dividers made of materials like fabric or thin wood.
- Weighted Bases: For free-standing dividers, weighted bases can provide the necessary stability. By adding weight to the bottom of your divider, you can prevent it from tipping over. Options include using sandbags, concrete blocks, or specially designed weighted feet that blend seamlessly with your design.
- Adjustable Feet: Consider using adjustable feet for your room divider. These feet can be modified to ensure that the divider stands level, even on uneven surfaces. This is particularly useful in spaces where flooring may vary, such as older homes.
- Magnetic Strips: For a more innovative approach, magnetic strips can be used to secure lightweight dividers. By attaching magnetic strips to both the wall and the divider, you can create a strong bond that allows for easy removal when needed.
When selecting a method to secure your room divider, consider the following factors:
1. The weight and size of the divider2. The type of flooring in your space3. The overall design aesthetic you wish to maintain4. The frequency with which you may want to move the divider
Each method has its advantages and can be chosen based on your specific needs and preferences. For example, if you prefer a permanent solution, brackets or wall anchors may be ideal. Conversely, if you want flexibility, weighted bases or adjustable feet might be more suitable.
In addition to these methods, regularly checking the stability of your room divider is essential. Over time, wear and tear can affect its structural integrity. Ensure that all components are secure and replace any worn-out parts promptly to maintain safety.
By implementing these securing techniques, you can enjoy a beautifully designed room divider that not only enhances your space but also stands firm and secure. This will ultimately contribute to the overall functionality and aesthetic of your interior design.

Maintenance Tips for Longevity
To ensure your minimalist room divider remains a stunning focal point in your space, regular maintenance is essential. A few simple practices can keep it looking fresh and functional for years to come. Here are some key maintenance tips to consider:
- Dust Regularly: Dust can accumulate quickly on surfaces, dulling the overall appearance of your room divider. Use a soft, dry cloth to gently wipe down the surface at least once a week. For more intricate designs, consider using a microfiber cloth to reach into crevices.
- Occasional Deep Cleaning: Depending on the material of your divider, a deeper clean may be necessary. For wooden dividers, a damp cloth with a mild wood cleaner can help restore shine. For fabric dividers, check the care instructions; some may be machine washable, while others may require spot cleaning.
- Inspect for Damage: Regularly check your room divider for any signs of wear and tear. Look for loose fittings, scratches, or dents. Addressing these issues promptly can prevent further damage and extend the life of your divider.
- Reinforce Stability: If your room divider is freestanding, ensure that it remains stable. Periodically check the weight distribution and consider adding weights if it feels wobbly. For wall-mounted dividers, inspect the brackets and anchors to ensure they are secure.
- Protect from Direct Sunlight: Prolonged exposure to sunlight can fade colors and materials. If your divider is near a window, consider using sheer curtains or window films to diffuse sunlight and protect your divider.
- Reapply Finish or Sealant: For wooden dividers, consider reapplying a finish or sealant every few years to protect against moisture and wear. This will keep the wood looking vibrant and prevent damage.
By incorporating these maintenance tips into your routine, you can ensure that your minimalist room divider not only enhances your space aesthetically but also serves its purpose effectively for many years. Remember, a little care goes a long way in preserving the beauty and functionality of your home decor.
Frequently Asked Questions
- What materials are best for a minimalist room divider?
When it comes to a minimalist room divider, wood, fabric, and metal are top choices. Each offers a unique aesthetic while maintaining the clean lines that define minimalism. Wood gives warmth, fabric adds softness, and metal brings a modern touch.
- How do I ensure my room divider is stable?
Stability is key! You can use brackets, wall anchors, or even weighted bases to keep your divider secure. Think of it like building a house; a solid foundation makes all the difference!
- Can I customize my room divider?
Absolutely! Customization is where the fun begins. You can play with color, texture, and even the style of the divider to match your decor. It’s like dressing your space in a way that reflects your personality!
- How often should I maintain my room divider?
Regular maintenance is a breeze! A simple duster or a soft cloth will keep it looking fresh. Check for any loose fittings every few months to ensure it stays in tip-top shape.


