This article provides a comprehensive guide on creating a stylish and functional half-wall room divider, exploring design ideas, materials, and step-by-step instructions for a successful DIY project.
A half-wall room divider is a partial wall structure that separates spaces without completely closing them off. This innovative design offers both aesthetic appeal and practical functionality in interior design, making it an excellent choice for various layouts.
- Enhanced Space Utilization: Half-wall dividers help define areas without sacrificing openness.
- Increased Privacy: They offer a degree of separation while maintaining a sense of connection.
- Architectural Interest: These dividers can serve as a focal point, adding character to your space.
Selecting the appropriate location for your half-wall is crucial. It should complement the flow of your space and enhance functionality without obstructing natural light. Consider areas where you want to create distinct zones, such as between a living room and dining area.
Gathering the right tools and materials is vital for a successful DIY project. Common items include:
- Lumber
- Drywall
- Screws
- Finishing materials like paint or wallpaper
- Tools such as a saw, drill, and level
Follow these detailed steps to construct your half-wall, from measuring and cutting materials to assembling and securing the structure for stability and durability:
Accurate measurements are essential for a well-fitting half-wall. Plan your design carefully, considering the height and width that will best suit your room’s dimensions. Use a tape measure and mark your intended locations on the floor and ceiling.
Prepare your materials by cutting them to the required dimensions. This step ensures a smooth assembly process and helps avoid any miscalculations during construction. Always double-check your measurements before making cuts.
Once your half-wall is built, adding paint or decorative elements can enhance its aesthetic appeal and help it blend seamlessly with your existing decor. Consider using colors that complement your room’s palette or adding wallpaper for a unique touch.
Integrating lighting fixtures into your half-wall design can create ambiance and highlight specific areas, making your space feel more inviting and functional. Wall sconces or recessed lighting can provide both style and illumination.
Being aware of common pitfalls, such as incorrect measurements or inadequate support, can save you time and resources during your DIY project. Always ensure that your half-wall is securely anchored and that you follow safety guidelines.
Proper maintenance ensures the longevity of your half-wall. Regular inspections and touch-ups can keep it looking fresh and prevent any structural issues over time. Consider repainting every few years to maintain its appeal.

What is a Half-Wall Room Divider?
A half-wall room divider is a versatile design element that serves as a partial wall structure, effectively separating spaces while maintaining an open atmosphere. Unlike full walls, these dividers do not completely close off areas, allowing for a seamless transition between rooms. This unique feature makes half-walls a popular choice in contemporary interior design, where the emphasis is often placed on creating spacious and airy environments.
Half-wall room dividers can be constructed using various materials, including wood, drywall, or even glass, depending on the desired aesthetic and functional requirements. They can be designed to match the existing decor of a home, offering both style and practicality. For instance, a wooden half-wall can add a rustic touch to a modern kitchen, while a glass divider can enhance the feeling of openness in a living room.
One of the primary advantages of using a half-wall room divider is its ability to enhance space utilization. In open-concept layouts, these dividers can create distinct areas for different activities, such as dining, working, or relaxing, without completely isolating them from one another. This functionality is particularly beneficial in smaller homes or apartments, where maximizing space is essential.
Moreover, half-walls can provide a degree of privacy without sacrificing light. Unlike full walls that can make spaces feel cramped, half-walls allow natural light to flow freely between areas, making rooms feel more inviting and expansive. This balance of separation and openness is ideal for modern living, where the flow of light and air is crucial for creating a comfortable atmosphere.
In addition to their practical benefits, half-wall room dividers also add architectural interest to a space. They can be adorned with decorative elements such as shelves, artwork, or plants, which can further enhance the aesthetic appeal of a room. This customization allows homeowners to express their personal style while also improving the functionality of their living spaces.
When considering a half-wall room divider, it is essential to select the right location. The divider should complement the natural flow of the space, enhancing functionality without obstructing pathways or light. For example, positioning a half-wall between a kitchen and dining area can create a defined cooking space while still allowing for easy interaction with guests.
In summary, a half-wall room divider is an excellent solution for those looking to define spaces within their homes without sacrificing openness. Whether for aesthetic purposes or functional needs, these dividers offer a stylish way to enhance interior design. With careful planning and execution, a half-wall can transform any room into a more organized and visually appealing environment.

Benefits of Using a Half-Wall Room Divider
In contemporary interior design, the use of half-wall room dividers has gained significant traction. These versatile structures not only serve as functional elements but also enhance the overall aesthetic of a space. Below, we delve into the benefits that make half-wall room dividers a favored choice among homeowners and designers alike.
- Enhanced Space Utilization: Half-walls allow for the effective division of spaces without completely isolating them. This promotes a sense of openness while still defining areas for specific purposes, such as separating a living room from a dining area.
- Increased Privacy: These dividers provide a level of privacy that is often required in shared spaces. For instance, they can create a cozy nook for reading or working without the need for full walls that can make a room feel cramped.
- Architectural Interest: A half-wall can serve as a striking architectural feature that adds character to your home. Whether painted in a bold color or adorned with decorative elements, it can become a focal point that enhances your interior decor.
- Improved Natural Light: Unlike full walls, half-walls allow light to flow freely between spaces. This is particularly beneficial in open-concept layouts where maintaining brightness and an airy feel is essential.
- Flexibility in Design: Half-walls can be customized to fit various design styles, from modern to rustic. This adaptability makes them suitable for any room, whether it’s a home office, a living room, or even a kitchen.
Half-wall dividers can be strategically placed to improve the functionality of your home. For example, they can be used to create a designated workspace in a larger room, allowing for productivity without sacrificing the overall flow of the area. Additionally, they can help in organizing furniture arrangements, making it easier to define areas for different activities.
From an aesthetic perspective, half-walls can be visually appealing. They can be designed to complement existing decor and can incorporate various materials such as wood, stone, or glass. By adding shelves or decorative elements to a half-wall, you can create a unique display area that enhances the room’s overall style.
Constructing a half-wall can be a cost-effective solution compared to building full walls. They require fewer materials and less labor, making them an economical choice for those looking to improve their living space without breaking the bank. Furthermore, they can increase the value of your home by adding functional living areas.
Maintaining a half-wall is relatively straightforward. Regular cleaning and occasional touch-ups can keep it looking fresh. Additionally, inspecting for any structural issues ensures that it remains a safe and functional part of your home.
In summary, half-wall room dividers offer a multitude of benefits that enhance both the functionality and aesthetic appeal of your home. Their ability to create defined spaces while maintaining openness makes them a popular choice in modern design. Whether you seek increased privacy, improved light flow, or a unique architectural feature, a half-wall can be the perfect solution.
Choosing the Right Location for Your Divider
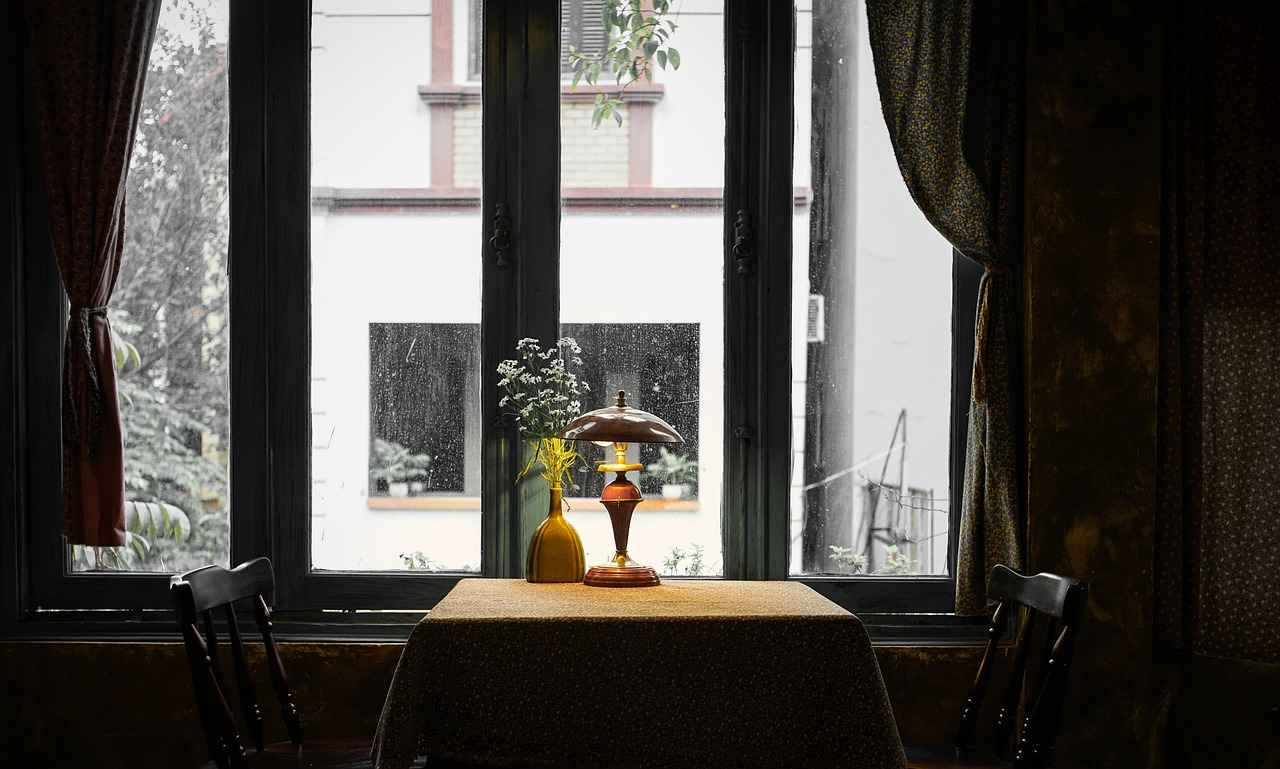
When embarking on the journey of creating a half-wall room divider, one of the most significant considerations is the location of your divider. This choice can dramatically influence both the functionality and aesthetic appeal of your space. A well-placed half-wall not only enhances the flow of your room but also ensures that it serves its purpose effectively.
Choosing the right location for your half-wall is crucial; it should complement the flow of your space and enhance functionality without obstructing natural light. A poorly placed divider can disrupt the visual continuity of your room and make it feel cramped. Therefore, understanding the dynamics of your space is essential.
Begin by observing how you and others move through the area. Identify high-traffic zones and consider how a half-wall can redirect or enhance movement. The goal is to create a natural transition between spaces. A strategically positioned half-wall can guide the eye and create a sense of separation while maintaining openness.
Another vital aspect to consider is natural light. A half-wall should not obstruct light sources, as this can lead to a darker, less inviting environment. Instead, aim to position your divider in a way that maximizes light flow. For example, placing the half-wall parallel to windows can help maintain brightness while still delineating spaces.
Think about the functionality of the areas you are dividing. If one side of the half-wall is meant for dining and the other for lounging, ensure that the divider does not interfere with activities. The height and design of the wall can also play a role in its functionality. A taller half-wall may provide more privacy, while a lower one allows for interaction and visibility.
In addition to practical considerations, a half-wall can serve as a design element. Consider using materials that complement your existing decor. For instance, a wooden half-wall can add warmth, while a sleek, modern design might suit a contemporary space. Incorporating decorative elements, such as shelves or artwork, can also enhance the visual appeal.
Before making any permanent decisions, use painter’s tape to outline the proposed location of your half-wall on the floor. This simple step allows you to visualize the space and assess how the divider will affect the overall layout. Walk around the area and see how it feels; this can provide valuable insights into the best placement.
In summary, selecting the right location for your half-wall room divider is a multifaceted decision that involves considering flow, light, functionality, and aesthetics. By carefully analyzing these factors, you can create a space that is not only stylish but also practical and inviting.

Essential Tools and Materials Needed
When embarking on a DIY project, having the right tools and materials is crucial for ensuring success. Whether you’re creating a half-wall room divider or any other home improvement task, a well-thought-out selection of items can make a significant difference in both the process and the final result.
To start, let’s explore the essential tools required for building a half-wall room divider:
- Measuring Tape: Accurate measurements are vital, so invest in a reliable measuring tape to ensure precise dimensions.
- Level: A level will help you maintain straight lines and ensure your half-wall is perfectly vertical.
- Saw: Depending on your materials, a circular saw or a miter saw will be necessary for cutting lumber and drywall.
- Drill: A power drill is essential for making holes and driving screws into your materials.
- Hammer: A simple yet effective tool for driving nails and securing components.
- Stud Finder: This tool will help you locate wall studs behind drywall, ensuring your half-wall is securely anchored.
Next, let’s delve into the materials you’ll need:
- Lumber: Select quality lumber for the frame of your half-wall. Common choices include 2x4s for the structure.
- Drywall: This will form the surface of your half-wall. Choose the thickness based on your design needs.
- Screws: Use drywall screws for attaching the drywall to the frame, ensuring a secure fit.
- Finishing Materials: Depending on your design preference, you may want paint, wallpaper, or decorative panels to enhance the appearance of your half-wall.
- Trim: Baseboards or crown molding can add a polished finish to your half-wall.
Gathering all these tools and materials beforehand can significantly streamline your project. Having everything on hand means you won’t have to make multiple trips to the hardware store, saving you time and preventing interruptions in your workflow. Furthermore, being well-prepared allows you to focus on the construction process, leading to a more efficient and enjoyable DIY experience.
When selecting materials, consider the following tips:
- Quality Over Cost: While it may be tempting to choose cheaper materials, investing in quality items can enhance the durability and appearance of your project.
- Check for Defects: Always inspect lumber and drywall for warps, cracks, or other defects that could compromise your build.
- Consider Aesthetic: Choose colors and textures that will complement your existing decor to ensure your half-wall integrates seamlessly into your space.
In summary, gathering the right tools and materials is the foundation of a successful DIY project. By ensuring you have quality items and a well-structured plan, you can create a stylish and functional half-wall room divider that enhances your living space.

Step-by-Step Guide to Building a Half-Wall
Building a half-wall can be a rewarding DIY project that enhances the functionality and style of your living space. This step-by-step guide will walk you through the essential phases of constructing a half-wall, ensuring that you achieve a sturdy and aesthetically pleasing result.
Begin by accurately measuring the area where you plan to install your half-wall. Use a tape measure to determine the length and height that will best fit your room’s dimensions. Mark these measurements on the floor and wall with a pencil to visualize the layout. This careful planning is crucial to avoid any miscalculations during the construction process.
To successfully build your half-wall, you will need several materials, including:
- Lumber: 2×4 boards for the frame.
- Drywall: For covering the frame.
- Screws: To secure the structure.
- Finishing materials: Such as paint or wallpaper.
Additionally, ensure you have the necessary tools, including a saw, drill, level, and measuring tape.
Once you have your materials ready, it’s time to cut them to the required dimensions. Use a saw to cut the lumber according to your measurements. Ensure that the cuts are straight and accurate to facilitate a smooth assembly process. Preparation is key to avoid any complications during the construction phase.
With your materials cut, assemble the frame of the half-wall. Start by laying out the bottom plate and securing it to the floor using screws. Next, attach the vertical studs at regular intervals, ensuring they are plumb (vertically straight) using a level. Finally, add the top plate to complete the frame structure.
After the frame is assembled, it’s time to install the drywall. Cut the drywall sheets to fit the frame and secure them using drywall screws. Be sure to leave a small gap at the bottom to allow for expansion and contraction. Once installed, tape and mud the seams to create a smooth surface.
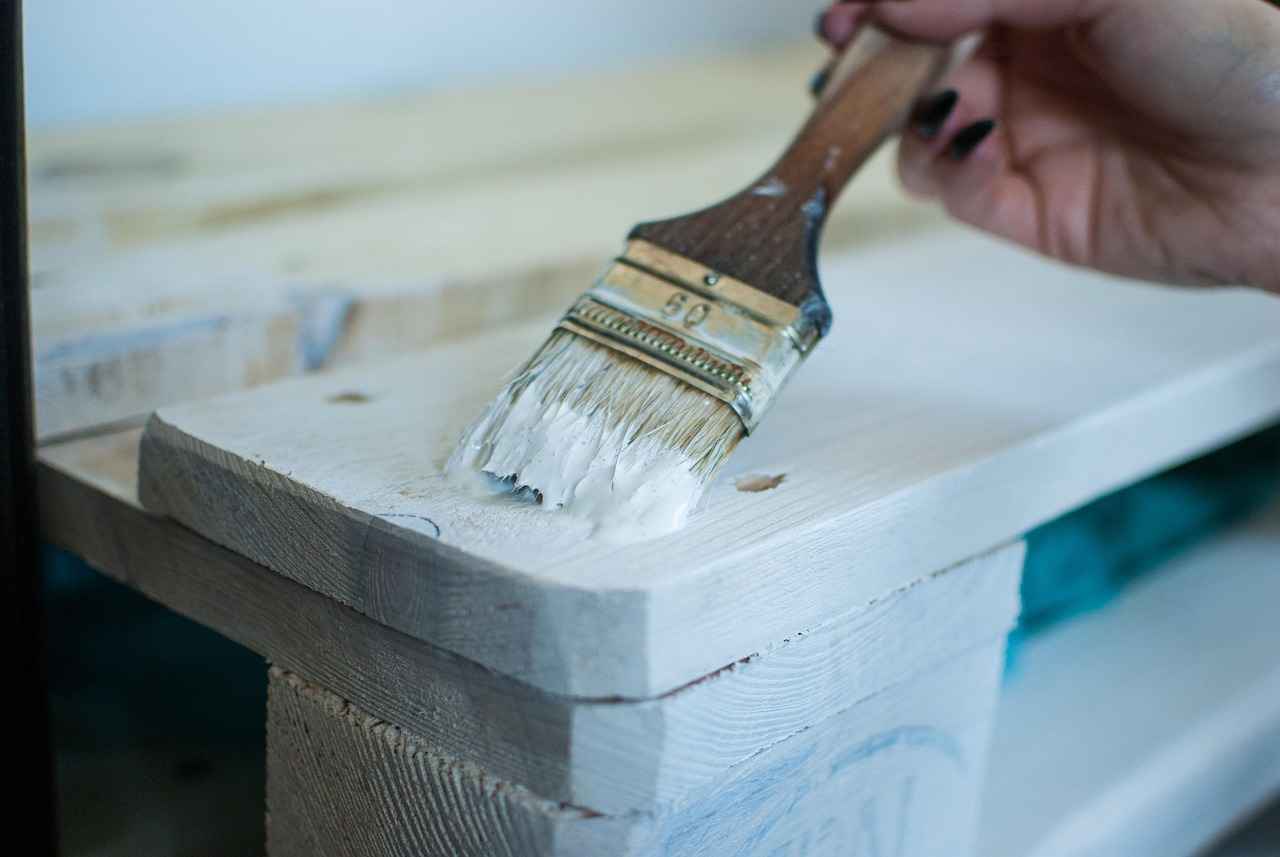
Now that your half-wall is constructed, it’s time to add the finishing touches. Consider painting or applying wallpaper to match your existing decor. This is an opportunity to express your style and make the half-wall a focal point in your room.
To enhance the functionality of your half-wall, think about incorporating shelves or decorative elements. This can provide additional storage and display space, making your half-wall not only a divider but also a useful feature in your home.
Once your half-wall is complete, it’s important to maintain it properly. Regularly inspect for any signs of wear or damage, and perform touch-ups as needed. This will ensure that your half-wall remains a beautiful and functional part of your home for years to come.
By following these detailed steps, you can successfully build a half-wall that enhances your living space while providing a stylish and functional room divider.
Measuring and Planning Your Space
When embarking on the project of building a half-wall room divider, accurate measurements are not just important; they are absolutely essential for achieving a well-fitting structure. The success of your DIY project largely depends on how well you plan your design, taking into account the specific dimensions of your room. A thoughtful approach to height and width will ensure that your half-wall complements your space rather than detracts from it.
In the world of DIY home improvement, precision is key. A half-wall that is too tall can overwhelm a room, while one that is too short may fail to provide the desired separation of spaces. Therefore, before you begin cutting materials, it’s vital to measure the area where you plan to install the divider. Use a tape measure to determine the distance from the floor to the ceiling, as well as the width of the space you want to divide.
- Step 1: Start by measuring the height of the room. If your ceiling is unusually high, consider how tall you want your half-wall to be. A common height for a half-wall is between 36 to 42 inches, which provides a good balance between openness and privacy.
- Step 2: Next, measure the width of the area you want to divide. This will help you determine how long your half-wall should be. It’s often best to have the half-wall extend the full width of the space for a more cohesive look.
- Step 3: Mark your measurements clearly on the floor and walls with a pencil or painter’s tape. This visual aid will help you better visualize the proposed divider and ensure that your measurements are accurate.
When planning your half-wall, think about the overall dimensions of your room. The design should enhance the flow of the space rather than disrupt it. For instance, in a small room, a shorter half-wall may help maintain an open feel while still providing a degree of separation. Conversely, in larger areas, a taller half-wall can help define different zones without completely closing off areas from one another.
If you want to take your planning a step further, consider using design software or apps that allow you to create a digital layout of your room. These tools can help you visualize how the half-wall will look in relation to your existing furniture and decor. You can adjust measurements easily and see how different heights and widths will affect the overall aesthetic.
Once you have your measurements and design finalized, you can move on to the next steps of gathering materials and beginning construction. Remember to double-check all measurements before cutting your materials, as even a small error can lead to significant issues during assembly.
By taking the time to measure and plan your space carefully, you ensure that your half-wall will not only be functional but also a stylish addition to your home. So grab your tools, and let’s get started on creating a beautiful and practical room divider!
Cutting and Preparing Materials
When embarking on a DIY project, particularly when constructing a half-wall room divider, the importance of cutting and preparing your materials cannot be overstated. This essential step lays the groundwork for a successful assembly process and significantly reduces the likelihood of errors during construction.
Properly cutting your materials to the required dimensions ensures that each piece fits together seamlessly. This precision not only enhances the overall appearance of your half-wall but also contributes to its structural integrity. Miscalculations in material size can lead to gaps, uneven surfaces, and even compromise the stability of the divider.
Before you begin, gather the following tools to make the cutting process efficient:
- Measuring Tape: For accurate measurements.
- Square: To ensure your cuts are straight and accurate.
- Saw: A miter saw or circular saw is ideal for cutting wood or drywall.
- Safety Gear: Always wear safety goggles and gloves to protect yourself.
Follow these steps to prepare your materials effectively:
- Measure Twice, Cut Once: Take precise measurements of the space where the half-wall will be installed. Write down the dimensions and double-check them to avoid mistakes.
- Mark Your Cuts: Use a pencil to mark where you will cut. This will help you visualize the final product and ensure accuracy.
- Cut the Material: Using your saw, carefully cut along the marked lines. Take your time to ensure clean, straight cuts.
- Sand the Edges: After cutting, sand down any rough edges to prevent splinters and ensure a smooth finish.
To further enhance your cutting process, consider these helpful tips:
- Use a Straight Edge: When marking your cuts, use a straight edge or a level to ensure your lines are perfectly straight.
- Work on a Stable Surface: Ensure your work surface is stable and secure, minimizing movement while cutting.
- Take Breaks: If you feel tired or rushed, take a break. Rushing can lead to mistakes that could be costly in terms of both time and materials.
Once your materials are cut and ready, the next step is to prepare for assembly. Organize your materials in a way that allows for easy access during the building process. This organization will streamline your workflow and help you maintain focus.
In conclusion, cutting and preparing your materials is a fundamental step in building a half-wall room divider. By taking the time to measure accurately, cut precisely, and prepare adequately, you set the stage for a smooth assembly process. This attention to detail not only enhances the quality of your project but also contributes to a more enjoyable DIY experience.
Finishing Touches: Painting and Decorating
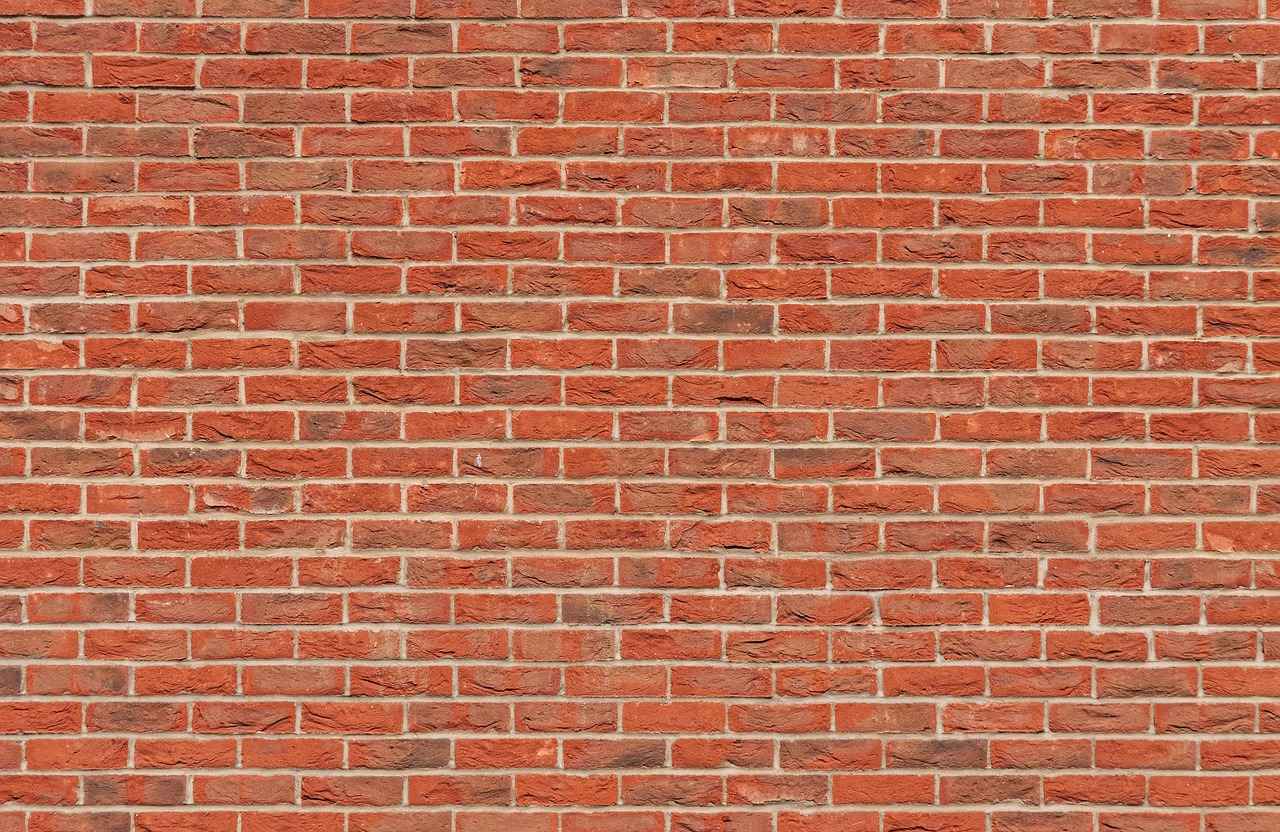
Once your half-wall is constructed, the next step is to focus on the finishing touches that will elevate its visual appeal and ensure it complements your overall interior design. Adding paint or decorative elements can significantly enhance the aesthetic value of your half-wall, making it not just a functional divider but also a stunning feature in your space.
Painting your half-wall is an essential step that allows you to personalize the space. Choosing the right color can create harmony with your existing decor, making the half-wall feel like an integral part of the room rather than an afterthought. Light colors can make a space feel larger, while darker shades can add depth and coziness.
When selecting paint, consider the finish that best suits your needs. A satin or eggshell finish is often ideal for a half-wall, as it provides a slight sheen that reflects light without being overly glossy. This choice not only enhances durability but also makes cleaning easier, especially in high-traffic areas.
Beyond paint, there are numerous decorative elements you can use to enhance your half-wall. Here are some ideas:
- Wall Art: Hang artwork or photos to create a gallery wall effect.
- Shelves: Install floating shelves to display plants, books, or decorative items.
- Accent Lighting: Use wall sconces or LED strip lighting to highlight the half-wall and create ambiance.
If you’re looking for something more unique, consider using wallpaper or textured finishes. Wallpaper can add patterns and colors that paint alone cannot achieve. Textured finishes, like stucco or shiplap, can also create visual interest and depth, making your half-wall a standout feature.
To achieve a seamless look, it’s crucial to ensure that your half-wall complements your existing decor. Consider the color palette of your room and choose shades that harmonize with your furniture and accessories. Additionally, think about the style of your decor—whether it’s modern, rustic, or traditional—so that your half-wall feels cohesive with the overall theme.
In addition to aesthetic appeal, you can incorporate functional decor into your half-wall. For example, adding a small bar area or a built-in desk can enhance usability while still keeping the space visually appealing. This approach not only maximizes functionality but also ensures that your half-wall serves multiple purposes.
Ultimately, the finishing touches you apply to your half-wall can transform it from a mere structural element to a stylish focal point in your home. By carefully selecting paint colors, decorative elements, and functional features, you can create a half-wall that enhances both the beauty and functionality of your space. Remember to keep your personal style in mind and let your creativity shine through every choice you make.
Incorporating Lighting into Your Design
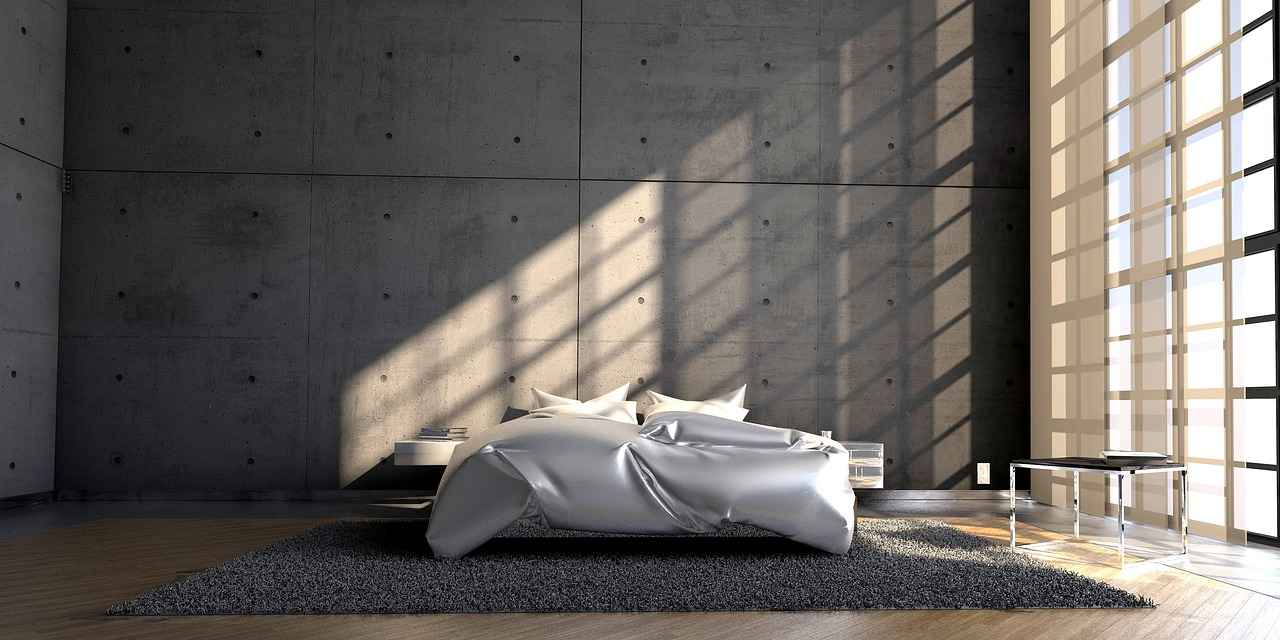
When it comes to enhancing the visual appeal and functionality of your half-wall room divider, incorporating lighting fixtures is an innovative approach that can transform your space. Lighting not only serves a practical purpose but also plays a pivotal role in setting the mood and ambiance of a room. Here’s how you can effectively integrate lighting into your half-wall design.
Integrating lighting fixtures into your half-wall design can create ambiance and highlight specific areas, making your space feel more inviting and functional. Proper lighting can draw attention to artwork, plants, or decorative elements placed on or near the half-wall, enhancing the overall aesthetic.
- Wall Sconces: These fixtures can be mounted directly on the half-wall, providing directed light that can illuminate specific areas.
- LED Strip Lights: Flexible and easy to install, LED strips can be placed along the top edge of the wall or within shelves to create a soft glow.
- Pendant Lights: Hanging from the ceiling above the half-wall can add a stylish flair while providing ample lighting for the adjacent areas.
When selecting lighting fixtures, consider the overall style of your room. For a modern aesthetic, sleek and minimalistic designs work best, while vintage or rustic styles may call for more elaborate fixtures. Additionally, think about the brightness and color temperature of the lights; warmer tones create a cozy atmosphere, while cooler tones can make the space feel more open and airy.
Placement is crucial for achieving the desired effect with your lighting. Here are some tips:
- Highlight Features: Position lights to draw attention to artwork or decorative items on the half-wall.
- Layer Lighting: Use a combination of ambient, task, and accent lighting to create depth and interest.
- Consider Height: Ensure that lights are installed at a height that maximizes their effectiveness without causing glare.
When choosing lighting, consider energy-efficient options such as LED bulbs. They not only reduce energy consumption but also last longer, making them a practical choice for your half-wall lighting.
Regular maintenance is essential to keep your lighting fixtures in top condition. Dusting them periodically and checking for any burnt-out bulbs will ensure that your half-wall remains a focal point in your room.
Incorporating lighting into your half-wall design not only enhances the visual appeal but also increases the functionality of your space. By selecting the right fixtures, considering placement, and ensuring proper maintenance, you can create an inviting atmosphere that resonates with style and practicality.
Common Mistakes to Avoid When Building a Half-Wall
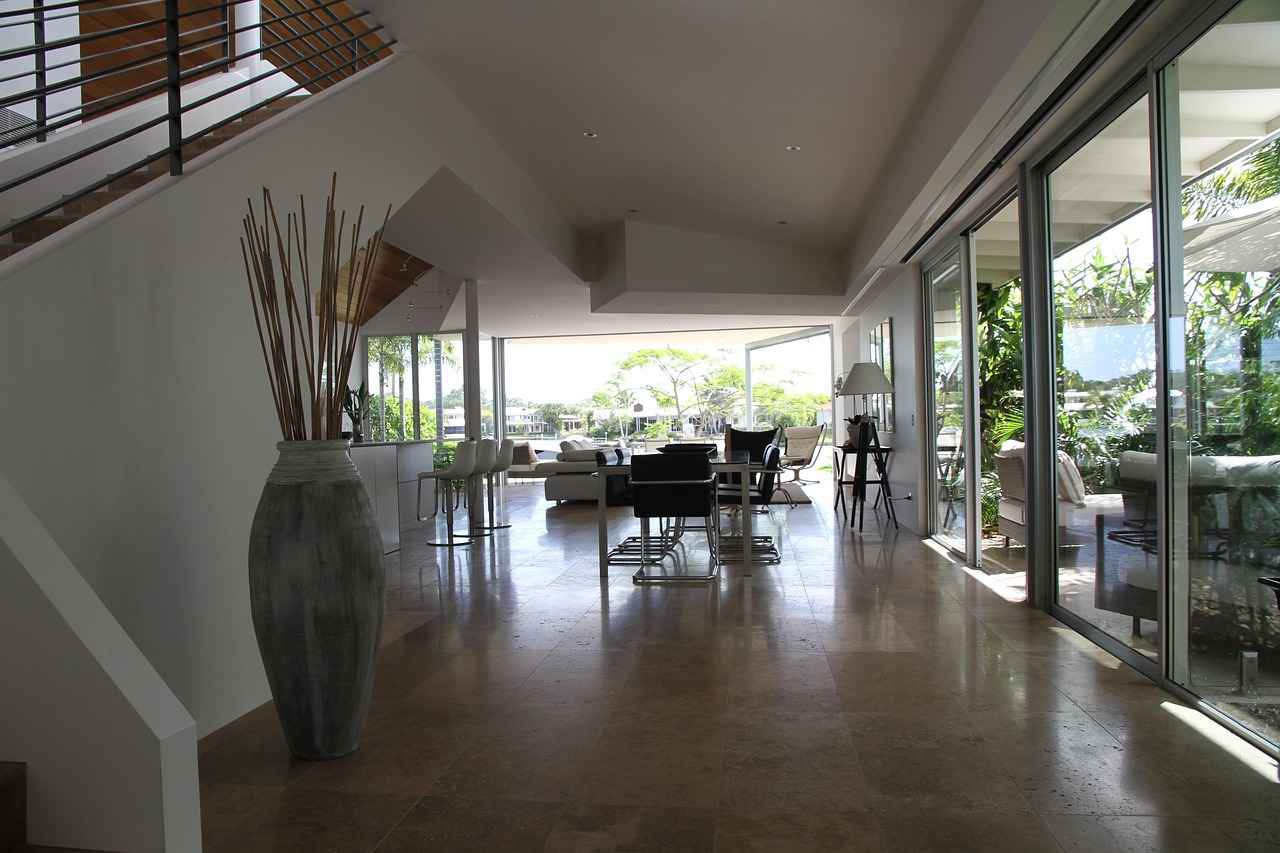
When embarking on a DIY project to build a half-wall room divider, it’s essential to be aware of potential pitfalls that could derail your efforts. Common mistakes can lead to wasted time, resources, and even frustration. This guide highlights key errors to avoid, ensuring your project runs smoothly and successfully.
One of the most frequent mistakes DIYers make is incorrect measurements. Taking precise dimensions is vital for a half-wall to fit seamlessly into your space. Measure twice and cut once to prevent costly errors. Use a level to ensure that your wall is straight, as even minor discrepancies can affect the overall appearance and stability of your divider.
Another common oversight is selecting inadequate materials. Not all materials are suitable for building a half-wall. For instance, using lightweight materials might compromise the structure’s integrity. Opt for sturdy options like plywood or drywall, which provide the necessary strength and durability. Additionally, consider the aesthetic aspect; choose materials that complement your existing decor.
Many DIY builders overlook the importance of adequate support for their half-wall. A poorly supported wall can lead to sagging or even collapse over time. Ensure that your half-wall is anchored securely to the floor and ceiling, using appropriate brackets and fasteners. If you’re unsure, consult a professional or refer to reliable DIY resources for guidance.
Rushing through the design phase can result in a half-wall that does not meet your functional or aesthetic needs. Take the time to think about the overall layout and how the wall will impact the flow of your space. Consider factors such as height, width, and positioning to ensure that the half-wall enhances rather than hinders your room’s functionality.
Another mistake to avoid is disregarding local building codes and regulations. Before starting your project, check with your local authorities to understand any requirements or restrictions. Compliance with building codes not only ensures safety but also avoids potential legal issues down the line.
Finally, many DIY enthusiasts underestimate the importance of finishing touches. Once the structure is built, it’s crucial to invest time in painting, decorating, and adding any necessary trim. These details can significantly enhance the appearance of your half-wall and make it a cohesive part of your home decor.
By being aware of these common mistakes, you can approach your half-wall project with confidence. Remember, careful planning and attention to detail are key to achieving a stylish and functional room divider that enhances your living space.
Maintenance Tips for Your Half-Wall Room Divider
Maintaining your half-wall room divider is essential to ensure its longevity and aesthetic appeal. Just like any other feature in your home, regular care will help prevent wear and tear, keeping your space looking fresh and inviting. In this section, we will explore key maintenance tips that will help you preserve the integrity and beauty of your half-wall.
Regular maintenance not only enhances the visual appeal of your half-wall but also prevents potential structural issues that may arise over time. A well-maintained half-wall can serve as a stylish focal point in your room, while neglect can lead to costly repairs or replacements.
- Check for Cracks: Inspect the wall for any visible cracks or signs of wear. Addressing these issues early can prevent further damage.
- Examine the Paint: Look for peeling or fading paint. A fresh coat can revitalize the look of your half-wall.
- Assess Stability: Ensure that the half-wall remains securely anchored. Any wobbling or movement can indicate structural concerns.
Keeping your half-wall clean is vital for its upkeep. Use a damp cloth to wipe down surfaces regularly and avoid harsh chemicals that can damage the paint or finish. For tougher stains, a mild soap solution can be effective.
Over time, your half-wall may require touch-ups to maintain its appearance. Choose a paint that matches the original color and finish. Apply touch-up paint sparingly with a small brush to avoid noticeable patches.
Consider using protective coatings or sealants that can guard against moisture and stains, especially in areas prone to spills or humidity. Additionally, placing furniture away from the wall can prevent scratches and dents.
Conducting seasonal maintenance checks can help identify issues before they become major problems. In the spring and fall, inspect the half-wall and surrounding areas for any signs of damage or wear. This proactive approach can save you time and money in the long run.
If you notice significant structural issues or extensive damage, it may be time to consult a professional. An expert can provide a thorough assessment and recommend the best course of action to restore your half-wall.
In summary, maintaining your half-wall room divider requires regular inspections, cleaning, and timely touch-ups. By following these maintenance tips, you can ensure that your half-wall remains a stylish and functional element in your home for years to come.
Frequently Asked Questions
- What materials do I need to build a half-wall room divider?
To create your half-wall, you’ll typically need lumber, drywall, screws, and finishing materials like paint or wallpaper. Think of it as building a sturdy sandwich: you need the bread (lumber) and the filling (drywall) to make it complete!
- How high should my half-wall be?
The height of your half-wall can vary, but a common range is between 36 to 48 inches. This height offers enough separation without making the space feel closed off. It’s like a friendly wave between rooms!
- Can I add lighting to my half-wall?
Absolutely! Incorporating lighting can enhance the ambiance and highlight specific areas. Consider using wall sconces or LED strips to create a warm glow—think of it as giving your half-wall a stylish makeover!
- What are common mistakes to avoid when building a half-wall?
Some common pitfalls include incorrect measurements and inadequate support. Always double-check your dimensions and ensure your structure is stable. It’s like making sure your foundation is solid before building a house!
- How do I maintain my half-wall room divider?
Regular inspections and touch-ups are key to keeping your half-wall looking fresh. A quick coat of paint or a check for any loose screws can go a long way—think of it as giving your wall a little TLC!
