This article provides a comprehensive guide to creating a stylish room divider using vintage windows, offering practical tips and insights for DIY enthusiasts.
Vintage windows are architectural elements typically salvaged from older buildings. They add character and charm to modern spaces, making them perfect for creative home projects. Their unique designs can serve as a focal point in any room.
Using vintage windows as room dividers not only enhances aesthetics but also provides functional separation while allowing light to flow between spaces. This creates an open yet defined atmosphere, perfect for small apartments or large rooms needing a bit of division.
Selecting the appropriate vintage windows is crucial for your project. Consider factors like size, style, and condition to ensure they fit seamlessly into your design. Here are some tips:
- Size: Measure your space to find windows that fit well.
- Style: Choose a style that complements your existing decor.
- Condition: Look for windows that are structurally sound.
Explore local salvage yards, antique shops, and online marketplaces to find vintage windows. Each source offers unique options and pricing, so shop around for the best fit. Websites like eBay or Craigslist can also yield great finds.
A well-organized workspace is essential for a successful DIY project. Gather necessary tools and materials to streamline the process and enhance safety. Here are some essential tools:
- Screwdriver
- Drill
- Level
- Measuring tape
Ensure your workspace is safe by wearing gloves, goggles, and a mask if sanding or painting. This will protect you from dust and debris during the project.
Explore various design ideas to create a unique room divider that complements your home’s decor. Vintage windows can be styled in numerous ways to fit your aesthetic:
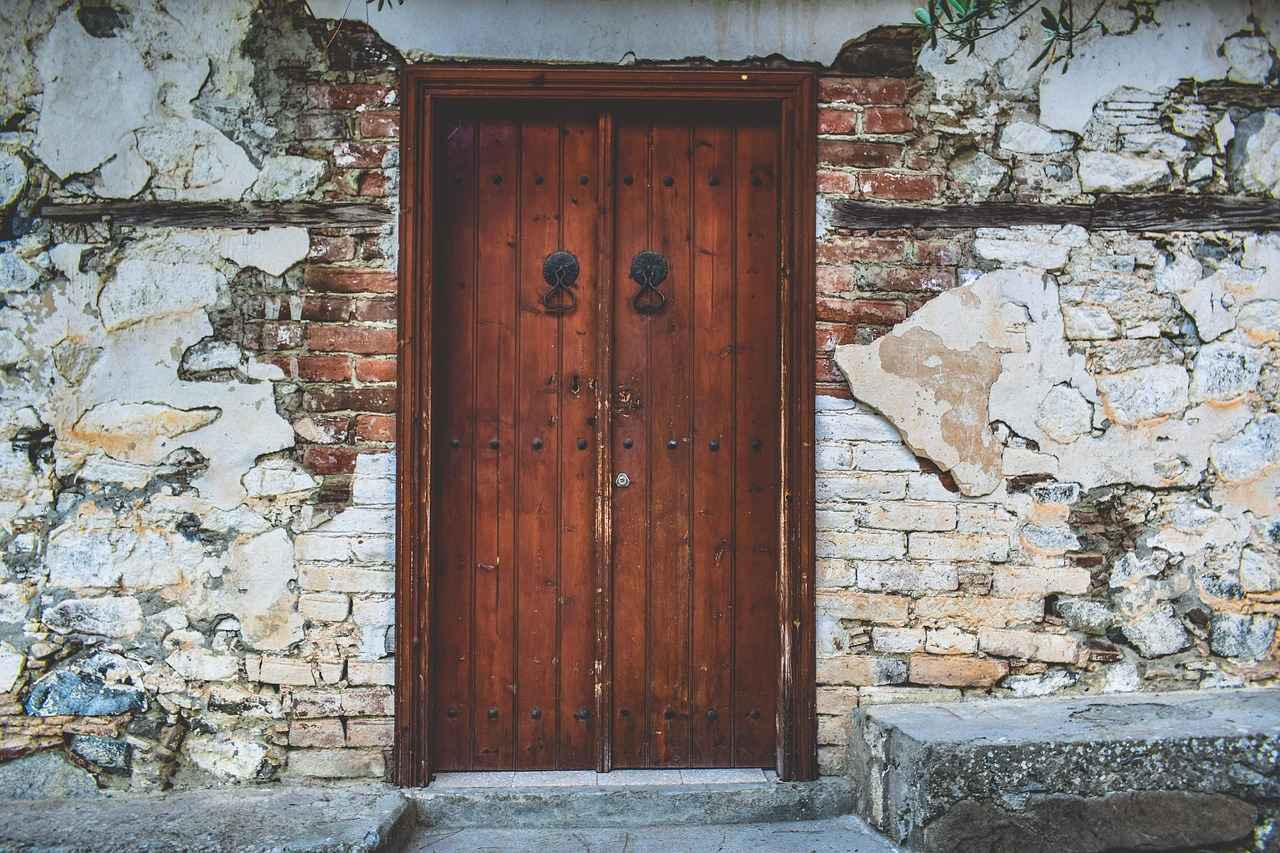
- Rustic Farmhouse Style: Consider leaving windows unpainted or using distressed finishes to enhance the vintage appeal.
- Modern Minimalist Approach: Opt for a sleek, painted finish in neutral colors to emphasize simplicity.
Follow a detailed step-by-step guide to assemble your vintage window room divider:
1. Measuring and Marking Your Space: - Measure the area where the divider will be placed. - Mark the dimensions on the wall for accurate placement.2. Securing the Windows Together: - Use brackets or hinges to secure the vintage windows. - Ensure stability while allowing for easy movement.
Add finishing touches to enhance your room divider’s overall look. Consider:
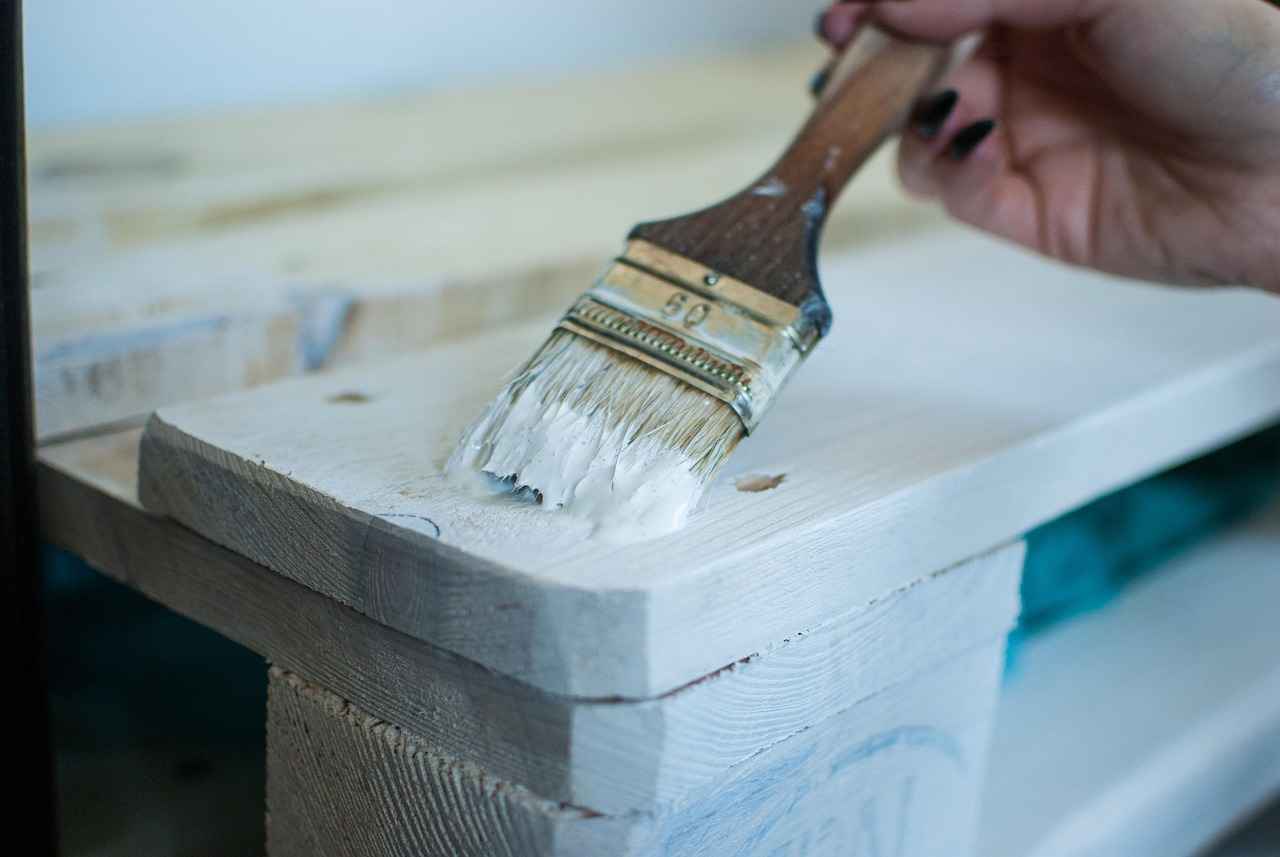
- Paint and Stain Options: Choose colors that complement your interior design.
- Incorporating Accessories: Add decorative knobs, lights, or plants to personalize the divider.
Creating a room divider with vintage windows is not only a fun DIY project but also a way to bring history and style into your home. With the right preparation and creativity, you can transform your space beautifully.

What Are Vintage Windows?
Vintage windows are more than just remnants of the past; they are architectural treasures that can bring a unique charm to contemporary spaces. Typically salvaged from older buildings, these windows possess a character that modern materials often lack. Their intricate designs and historical significance make them an excellent choice for various creative home projects, especially when it comes to enhancing the aesthetic appeal of a room.
In essence, vintage windows serve as a bridge between history and modernity, allowing homeowners to incorporate elements of the past into their current designs. This fusion of styles can create a visually striking focal point in any room, whether used as decorative accents, functional dividers, or even as part of a larger renovation project.
When considering home decor, one might ask, “What makes vintage windows a worthwhile investment?” The answer lies in their ability to transform spaces. Unlike standard modern windows, vintage options often feature unique designs, textures, and colors that can add depth and interest to any interior. Furthermore, their use in room dividers allows for an open yet defined atmosphere, enabling light to flow freely while still providing separation between areas.
Choosing the right vintage windows involves careful consideration of several factors:
- Size: Measure your space to ensure the windows will fit appropriately.
- Style: Consider the architectural style of your home and select windows that complement it.
- Condition: Inspect the windows for any signs of wear, rot, or damage that could affect their usability.
Finding vintage windows can be an adventure in itself. Here are some popular sources:
- Salvage Yards: Local salvage yards often have a wide variety of windows at competitive prices.
- Antique Shops: These shops may carry rare finds that can add a unique touch to your project.
- Online Marketplaces: Websites like eBay or Etsy can connect you with sellers offering vintage windows from various locations.
Before diving into your project, it’s essential to prepare your workspace to ensure a smooth and efficient process. Here are a few tips:
- Gather Tools: Make sure you have all necessary tools, including a screwdriver, drill, and level.
- Safety First: Wear gloves and goggles to protect yourself from dust and debris.
When it comes to incorporating vintage windows into your home, the possibilities are endless. Here are a few design ideas:
- Rustic Farmhouse: Keep the windows unpainted or use distressed finishes for a warm, inviting look.
- Modern Minimalist: Opt for a sleek, painted finish in neutral colors to emphasize simplicity.
In conclusion, vintage windows are not just functional elements; they are a celebration of history that can enhance the beauty of any modern home. By choosing the right windows and employing creative design strategies, you can create a stunning room divider that reflects your personal style while paying homage to the past.
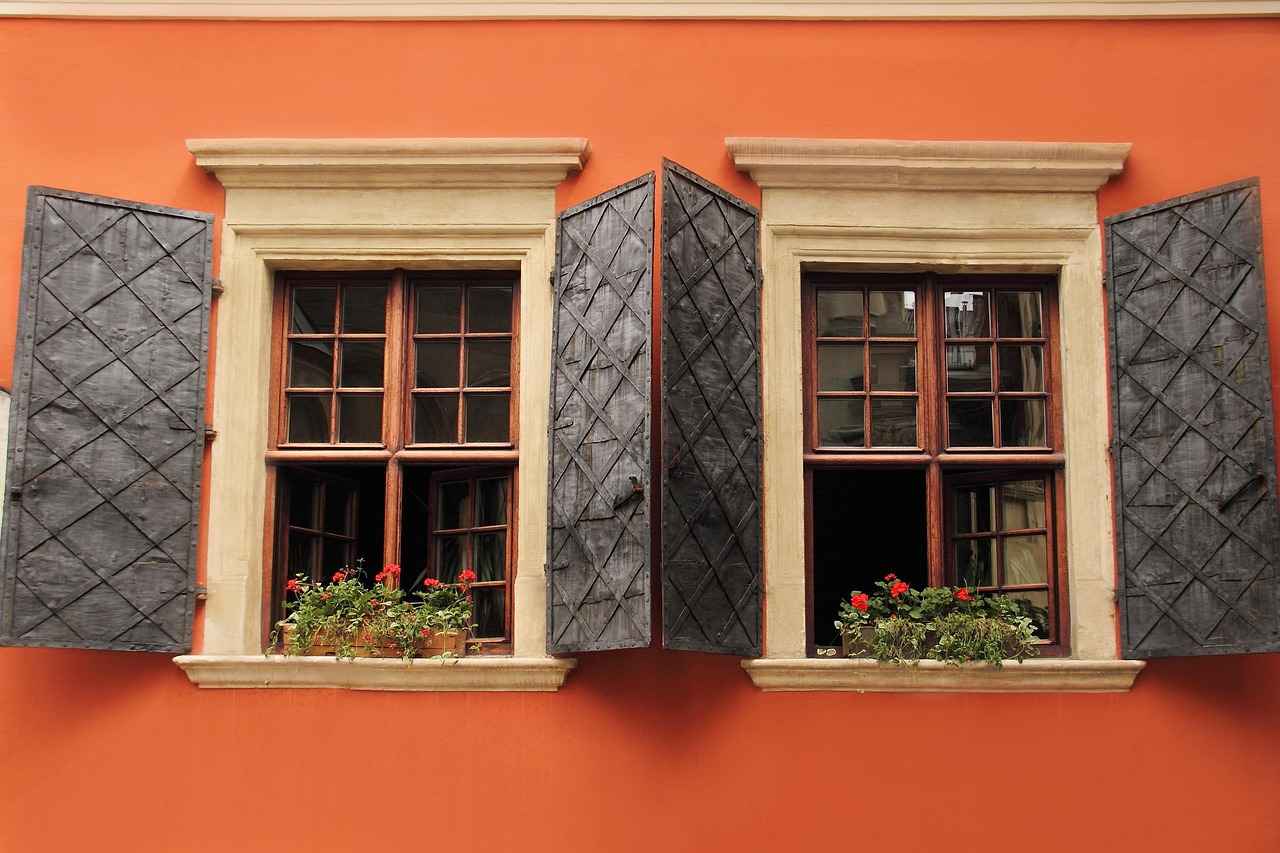
Why Use Vintage Windows for Room Dividers?
When considering unique and stylish ways to define spaces within your home, vintage windows emerge as a stunning choice. Not only do they add a touch of history and charm, but they also serve a practical function. In this section, we will explore the various reasons why using vintage windows as room dividers is an excellent option for homeowners looking to enhance their interior design.
- Aesthetic Appeal: Vintage windows bring an undeniable character to any room. Their worn edges and unique designs can serve as a conversation starter, adding layers of visual interest to your decor.
- Functional Separation: While they create distinct areas within a room, vintage windows allow for an open flow of light. This helps maintain a sense of spaciousness, making even smaller rooms feel larger and more inviting.
- Natural Light: One of the most significant advantages of using vintage windows is their ability to let in natural light. This feature brightens up spaces, making them feel airy and vibrant, which is especially beneficial in darker areas of your home.
- Versatility: Vintage windows can be used in various ways, whether as a full divider or a partial screen. This flexibility allows you to customize your space according to your needs and preferences.
- Environmental Impact: By repurposing vintage windows, you contribute to sustainability. This eco-friendly approach not only reduces waste but also adds a unique story to your home.
Using vintage windows as room dividers helps create a seamless transition between areas. Unlike solid walls that can feel confining, these dividers maintain an open atmosphere while defining spaces. This is particularly useful in open-concept homes where you want to delineate areas for different purposes without sacrificing light or openness.
Absolutely! Vintage windows offer a canvas for creativity. You can paint them in colors that complement your existing decor, or even add decorative elements such as stained glass or mirrors to enhance their aesthetic appeal. This customization allows you to create a unique room divider that reflects your personal style.
Finding the right vintage windows for your project can be an exciting adventure. Consider exploring local antique shops, salvage yards, and online marketplaces. Each source offers a variety of options, ensuring you find windows that perfectly suit your design vision.
- Size: Ensure that the windows you choose are appropriate for your space. Measure the area where you plan to install the divider to avoid any sizing issues.
- Style: Look for windows that match the overall aesthetic of your home. Whether you prefer a rustic farmhouse look or a more modern vibe, there are vintage windows to fit every style.
- Condition: Inspect the windows for any signs of damage or rot. It’s essential to choose windows that are structurally sound to ensure safety and longevity.
In summary, using vintage windows as room dividers not only enhances your home’s aesthetics but also provides functional separation while allowing light to flow between spaces. This creates an open yet defined atmosphere, making it a popular choice among homeowners looking to elevate their interior design.
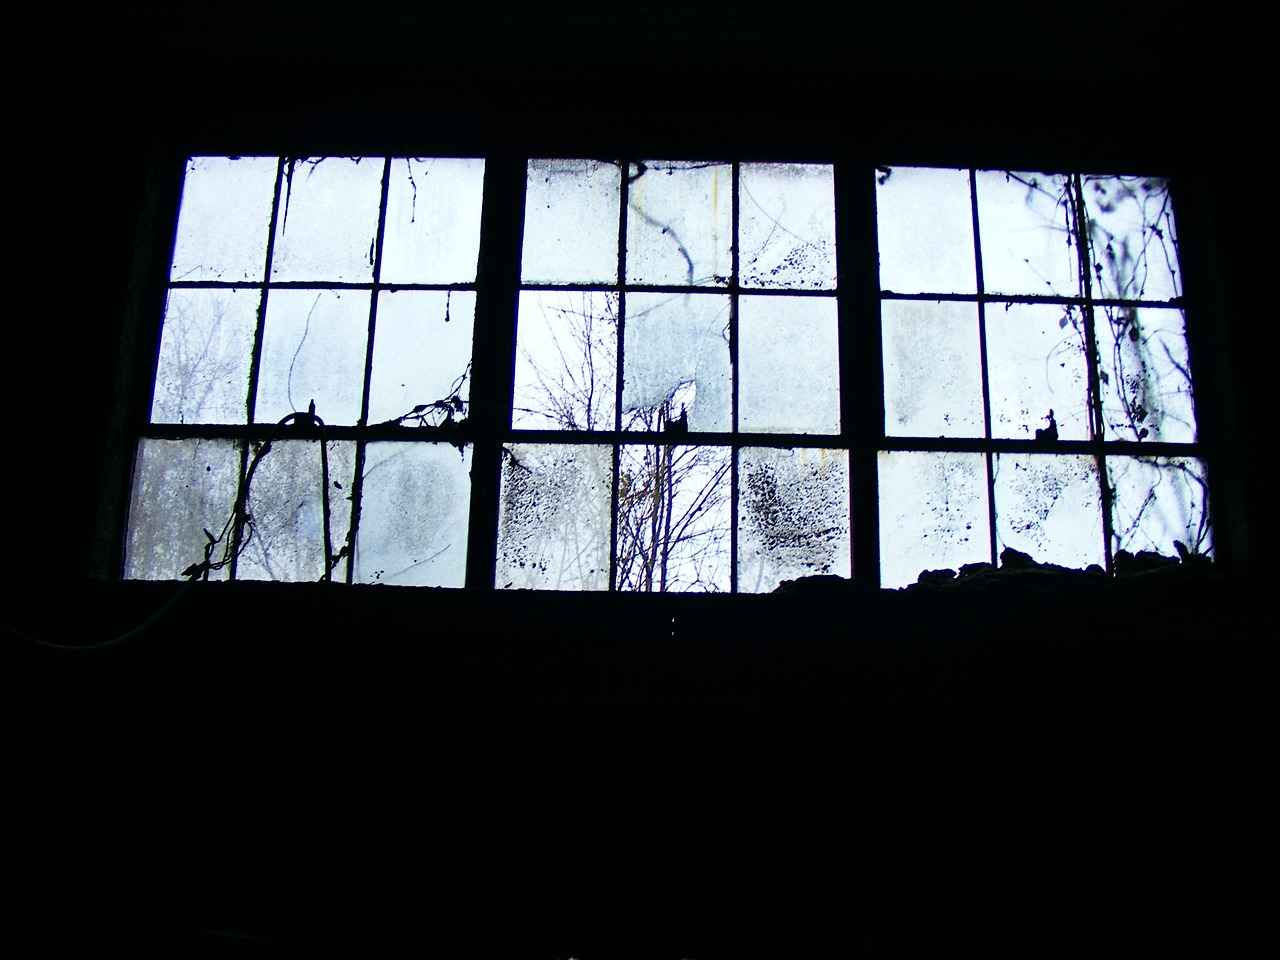
Choosing the Right Vintage Windows
When it comes to creating a stunning room divider with vintage windows, choosing the right windows is a pivotal step in ensuring your project’s success. Vintage windows not only serve a functional purpose but also add a unique aesthetic appeal to your space. Here, we will explore essential factors to consider when selecting vintage windows, along with practical tips to guide your decision-making process.
- Size: Measure the space where you plan to install the divider. Vintage windows come in various sizes, so it’s crucial to select windows that fit your intended area without overwhelming or underwhelming the space.
- Style: Consider the architectural style of your home. Vintage windows can range from ornate Victorian designs to simple farmhouse styles. Choose windows that complement your existing decor and enhance the overall look of your room.
- Condition: Inspect the windows thoroughly for any signs of wear and tear. Look for issues such as rot, cracks, or missing glass panes. Windows in good condition will not only be safer but will also require less restoration work.
Before making a purchase, it’s essential to assess the condition of the vintage windows you are considering. Here are some tips:
- Check for Rot: Inspect the wooden frames for soft spots or decay. Press gently on the wood to see if it gives way, indicating rot.
- Look for Structural Damage: Ensure that the window frames are straight and not warped. A warped frame can compromise the stability of your room divider.
- Examine Glass Panes: Look for cracks or chips in the glass. Damaged panes can be replaced, but this process can be costly and time-consuming.
Finding the perfect vintage windows requires some exploration. Here are some recommended sources:
- Salvage Yards: These locations often have a wide selection of vintage windows at reasonable prices. You can find unique pieces that tell a story.
- Antique Shops: While prices may be higher, antique shops often curate their collections, ensuring quality and authenticity.
- Online Marketplaces: Websites like eBay and Etsy feature numerous listings for vintage windows. Always check seller ratings and reviews to ensure a reliable purchase.
Once you’ve selected your vintage windows, it’s important to ensure they fit seamlessly into your design. Here are some tips:
- Consider Color and Finish: If the windows are not in your desired color, consider painting or staining them to match your decor.
- Think About Placement: The way you position the windows can dramatically affect the light flow and visual appeal. Experiment with different arrangements before finalizing.
- Incorporate Decorative Elements: Adding hardware or decorative accents can enhance the vintage charm of the windows and tie them into your overall design theme.
In conclusion, selecting the appropriate vintage windows is crucial for your project. By considering factors like size, style, and condition, you can ensure that your vintage windows fit seamlessly into your design, enhancing both the functionality and appeal of your room divider.
Assessing Window Condition
When considering the use of vintage windows for your DIY room divider, it is essential to thoroughly evaluate their condition. This assessment ensures that your project not only looks great but also functions safely and effectively.
Assessing the condition of vintage windows is crucial for several reasons:
- Structural Integrity: Windows that are compromised can lead to safety hazards.
- Usability: Damaged windows may not serve their intended purpose as dividers.
- Aesthetic Appeal: Windows in poor condition can detract from the overall look of your project.
When inspecting vintage windows, be vigilant for the following signs:
- Rot: Look for soft or crumbling wood, especially around the corners and edges. This indicates that the wood has been compromised by moisture.
- Damage: Check for cracks or breaks in the glass panes. Missing or shattered glass can affect both safety and appearance.
- Missing Hardware: Ensure that essential components like hinges and locks are intact. Missing hardware can make it difficult to secure the windows properly.
Follow these steps to perform a comprehensive inspection of vintage windows:
- Visual Inspection: Start with a close examination of the window frame and panes. Look for any visible signs of wear or damage.
- Tap Test: Gently tap the wood with a tool. A hollow sound may indicate rot or damage inside the frame.
- Check for Moisture: Use a moisture meter to assess the wood. High moisture levels can lead to rot and mold issues.
If you discover issues during your assessment, consider the following options:
- Repair: Minor issues like small cracks can often be repaired with epoxy or wood filler.
- Replace: If the damage is extensive, it may be more practical to replace the affected panes or even the entire window.
- Consult an Expert: For significant damage or structural concerns, it’s wise to consult a professional for advice.
By taking the time to carefully assess the condition of vintage windows before purchasing, you can ensure that your DIY room divider project is both beautiful and functional. Remember, investing in quality materials will save you time and effort in the long run. With the right windows, your room divider can become a stunning focal point in your home.
Finding Vintage Windows
When embarking on a DIY project to create a room divider with vintage windows, one of the most crucial steps is finding the right vintage windows. These unique pieces can transform your space, adding character and charm. Here, we’ll explore various avenues to source vintage windows, ensuring you find the perfect fit for your project.
There are numerous places to search for vintage windows, each offering distinct options and pricing. Here are some of the most effective sources:
- Local Salvage Yards: Salvage yards are treasure troves for DIY enthusiasts. They often stock a variety of architectural elements, including vintage windows. Visiting these yards allows you to inspect the windows personally, ensuring they meet your quality standards.
- Antique Shops: Antique shops frequently carry vintage windows, and their staff can provide valuable insights about the pieces. While prices may vary, you might find unique designs that are not available elsewhere.
- Online Marketplaces: Websites like eBay, Etsy, and Facebook Marketplace offer a vast selection of vintage windows. You can filter your search by location, condition, and price, making it easier to find windows that fit your needs.
- Estate Sales and Auctions: Estate sales and auctions can be excellent opportunities to acquire vintage windows at reasonable prices. Keep an eye on local listings to find events in your area.
As you explore these sources, it’s essential to keep several factors in mind to ensure you make a wise purchase:
- Condition: Always inspect the windows for signs of damage, such as rot, cracks, or missing panes. A well-maintained window will not only look better but will also be easier to work with during your project.
- Size: Measure the space where you intend to install the room divider. Ensure the windows you choose fit within those dimensions to avoid any modifications that could compromise their integrity.
- Style: Vintage windows come in various styles, from ornate to simple. Choose a style that complements your existing decor and enhances the overall aesthetic of your space.
When shopping for vintage windows, you may have the opportunity to negotiate prices, especially at salvage yards or flea markets. Here are some tips:
- Do Your Research: Familiarize yourself with the typical prices for vintage windows in your area. This knowledge will give you leverage during negotiations.
- Be Polite and Respectful: Approach sellers with a friendly demeanor. A respectful attitude can often lead to better deals.
- Bundle Purchases: If you find multiple windows you like, ask the seller if they can offer a discount for buying in bulk.
By exploring these sources and considering key factors, you can successfully find vintage windows that will serve as stunning room dividers in your home. Remember, each window tells a story, and incorporating them into your decor will not only enhance your space but also preserve a piece of history.
Preparing Your Workspace
Creating a room divider with vintage windows is an exciting DIY project that can transform your living space. However, before diving into the fun part, it’s crucial to focus on . A well-organized workspace is not just about aesthetics; it plays a vital role in ensuring the success of your project. Here’s how to set up your workspace effectively.
Having a well-organized workspace is essential for multiple reasons:
- Efficiency: A clean and organized area allows you to find tools and materials quickly, reducing downtime.
- Safety: Keeping your workspace tidy minimizes the risk of accidents, such as tripping over tools or materials.
- Focus: An uncluttered environment helps maintain concentration, allowing you to work on your project without distractions.
Before you start your DIY project, gather all the necessary tools and materials. Here’s a list of essential items you might need:
| Tool/Material | Purpose |
|---|---|
| Screwdriver | To tighten or loosen screws during assembly. |
| Drill | For making holes and securing windows together. |
| Level | To ensure your divider is straight and even. |
| Measuring Tape | To accurately measure the space and windows. |
| Sandpaper | For smoothing surfaces before painting. |
Safety should always be a priority when engaging in DIY projects. Here are some important precautions:
- Wear Protective Gear: Always wear gloves, goggles, and a mask, especially when sanding or painting.
- Ventilation: Ensure your workspace is well-ventilated to avoid inhaling fumes from paint or adhesives.
- Clear Clutter: Remove unnecessary items from your workspace to prevent accidents.
Now that you have your tools and materials ready, it’s time to set up your workspace:
1. Choose a spacious area: Ensure you have enough room to move around comfortably.2. Organize tools: Use toolboxes or shelves to keep your tools accessible yet organized.3. Create a designated workspace: Use a sturdy table or workbench for assembling your divider.4. Keep materials nearby: Store your vintage windows and other materials within reach to streamline the process.
To keep your project on track, consider these tips for maintaining an efficient workflow:
- Plan Your Steps: Outline the steps you’ll take during the project to avoid confusion.
- Take Breaks: Don’t forget to take short breaks to refresh your mind and body.
- Stay Hydrated: Keep water nearby to stay hydrated while working.
By following these guidelines for , you’ll set yourself up for a successful and enjoyable DIY experience. With everything organized and within reach, you can focus on transforming those vintage windows into a beautiful room divider that enhances your home.
Essential Tools for Your Project
When embarking on a DIY project, especially one as creative as making a room divider from vintage windows, having the right tools is essential. The tools you choose can significantly influence the efficiency and quality of your work. Below, we will explore the essential tools you need for your project, ensuring you are fully prepared to tackle the task at hand.
Using the appropriate tools not only streamlines the process but also enhances safety and accuracy. With the right equipment, you can avoid common pitfalls that may arise during assembly, leading to a more polished and professional-looking result.
- Screwdriver: A versatile tool, a screwdriver is essential for securing various components together. Having both flathead and Phillips screwdrivers will cover most of your needs.
- Drill: A power drill is invaluable for creating holes for screws and anchors. Consider using a drill with adjustable speeds for better control.
- Level: To ensure your room divider is straight and properly aligned, a level is crucial. It helps maintain a professional appearance and prevents future adjustments.
- Measuring Tape: Accurate measurements are key to any DIY project. A measuring tape allows you to precisely gauge the dimensions of your windows and the space where they will be installed.
- Safety Gear: Don’t forget to protect yourself! Safety glasses, gloves, and a mask are essential, especially when dealing with older windows that may have dust or lead paint.
In addition to the must-have tools, consider incorporating the following tools to enhance your project:
- Clamps: These are useful for holding pieces in place while you work, ensuring stability and accuracy.
- Sandpaper or Sander: If you plan to refinish your vintage windows, sandpaper or an electric sander will help smooth out rough surfaces and prepare for painting or staining.
- Paintbrushes and Rollers: For those finishing touches, having a selection of brushes and rollers will allow for a smooth application of paint or stain.
- Utility Knife: This can be handy for cutting through materials or trimming excess components as needed.
Before you start, take a moment to organize your workspace. Having a clean and orderly area will not only improve your efficiency but also reduce the risk of accidents. Lay out your tools within easy reach, and ensure you have ample space to maneuver as you work on your room divider.
By gathering the right tools and preparing your workspace, you set the stage for a successful DIY project. Remember, the effort you put into preparing will pay off in the quality of your finished room divider. Embrace the process, and enjoy the transformation of your space!
Safety Precautions
When embarking on a DIY project, especially one that involves working with materials like vintage windows, prioritizing safety is essential. Taking the right precautions not only protects you from potential hazards but also ensures a smoother and more enjoyable crafting experience.
Understanding the importance of safety precautions can significantly reduce the risk of accidents. Whether you’re sanding, painting, or handling old windows, you may encounter dust, sharp edges, and harmful chemicals. By implementing safety measures, you can safeguard your health and well-being throughout the project.
- Gloves: Wearing gloves protects your hands from splinters, sharp edges, and chemical exposure. Choose gloves that are durable and appropriate for the materials you are working with.
- Goggles: Safety goggles shield your eyes from dust and debris that can become airborne during sanding or cutting. Ensure they fit snugly for maximum protection.
- Mask: A mask is crucial when sanding or painting, as it prevents inhalation of harmful dust and fumes. Opt for a mask rated for particulate filtration to ensure safety.
A well-organized workspace is key to maintaining safety. Here are some steps to create a safe environment:
- Clear the Area: Remove any unnecessary items from your workspace to prevent tripping hazards and ensure easy access to tools.
- Good Ventilation: Ensure your workspace is well-ventilated, especially when using paints or solvents. Open windows or use fans to circulate air.
- Proper Lighting: Adequate lighting helps you see clearly and reduces the risk of accidents. Use bright overhead lights or portable work lights as needed.
In addition to wearing PPE and preparing your workspace, consider the following safety tips:
- Read Labels: Always read the labels on paints, stains, and other materials to understand any hazards or necessary precautions.
- Keep a First Aid Kit Handy: Accidents can happen, so having a first aid kit nearby ensures you can address minor injuries promptly.
- Stay Focused: Avoid distractions while working. Turn off your phone or other devices to maintain concentration on the task at hand.
When working with vintage windows, special care is required:
- Inspect Before Use: Check for any broken glass or loose parts before handling. If you find any damage, repair or replace the window before proceeding.
- Use Proper Lifting Techniques: Vintage windows can be heavy and awkward to handle. Bend your knees and lift with your legs to avoid strain.
- Secure Your Workspace: Ensure that the windows are stable and secured during the project to prevent them from falling or shifting unexpectedly.
By following these safety precautions, you can enjoy a safer DIY experience while creating your vintage window room divider. Remember, safety is not just a checklist; it’s an ongoing practice that enhances your overall project outcome.

Design Ideas for Your Room Divider
When it comes to enhancing your living space, a room divider can serve both functional and aesthetic purposes. can vary widely, especially when incorporating vintage windows, which can add a touch of charm and uniqueness to your home. Here, we will explore various creative approaches to using vintage windows as room dividers that complement your home’s decor.
Vintage windows are not just architectural relics; they are versatile design elements that can be transformed into stunning room dividers. Their unique character can enhance the ambiance of any room while maintaining an open feel. By allowing light to filter through, they create a sense of separation without completely cutting off spaces from one another.
- Rustic Charm: For a cozy, rustic look, consider using vintage windows with natural wood finishes. Leaving them unpainted or applying a light stain can enhance their inherent beauty. This style pairs wonderfully with farmhouse or cottage decor.
- Industrial Edge: Combine vintage windows with metal frames or hardware to achieve an industrial feel. This design can be particularly striking in urban settings, adding a modern twist to traditional elements.
- Artistic Displays: Use the panes of the vintage windows to display art or photographs. This can turn your room divider into a gallery piece, showcasing your personality and creativity.
- Colorful Accents: Don’t shy away from paint! Brightly colored vintage windows can serve as bold statement pieces. Opt for shades that complement your existing decor to create a cohesive look.
- Glass Inserts: If you prefer a more contemporary style, consider replacing the glass panes with frosted or colored glass. This adds privacy while still allowing light to pass through.
While aesthetics are important, functionality should not be overlooked. When designing your room divider, consider the following:
- Size and Scale: Ensure that the dimensions of your vintage windows fit well within the space. A room divider that is too large can overwhelm a room, while one that is too small may not provide the desired separation.
- Mobility: If you want flexibility in your layout, consider using hinges or wheels. This allows you to easily reposition the divider as needed.
- Stability: Ensure that your divider is securely assembled. Use brackets or anchors to provide stability, especially if you have children or pets.
To further personalize your vintage window room divider, consider adding accessories:
- Lighting: String lights or small sconces can illuminate your divider, creating a warm and inviting atmosphere.
- Plants: Incorporate small shelves or hooks to hang plants. This not only adds greenery but also enhances the visual appeal of the divider.
- Decorative Elements: Use decorative knobs or handles to add a unique touch. This can be a fun way to incorporate your personal style into the design.
In conclusion, designing a room divider with vintage windows offers endless possibilities. From rustic charm to modern elegance, the right approach can transform your space while maintaining functionality. With thoughtful consideration of design and accessories, your vintage window room divider can become a stunning focal point in your home.
Rustic Farmhouse Style
When it comes to achieving a , one of the most captivating elements is the use of vintage windows. These architectural pieces not only serve a functional purpose but also add a unique charm that enhances the overall aesthetic of any space. If you’re considering incorporating vintage windows into your home decor, here are some insightful tips to guide you.
Vintage windows bring a sense of history and character to your home. Their unpainted surfaces or distressed finishes can evoke a nostalgic feel that resonates with the rustic farmhouse theme. This style is particularly appealing because it creates a warm and inviting atmosphere, making your space feel lived-in and cozy.
Leaving your vintage windows unpainted allows the natural wood grain and imperfections to shine through. This approach not only highlights the unique characteristics of each window but also embraces the beauty of imperfection, which is a fundamental aspect of rustic decor. Alternatively, using a distressed finish can enhance this effect by giving the windows an aged appearance, making them look as though they’ve been a part of your home for generations.
To seamlessly integrate vintage windows into your farmhouse decor, consider the following tips:
- Pair with Natural Materials: Use wooden furniture, jute rugs, and cotton fabrics to create a cohesive look.
- Incorporate Earthy Colors: Opt for a color palette that includes soft whites, muted greens, and warm browns to complement the rustic theme.
- Decorate with Vintage Accessories: Add antique items like old books, vintage lanterns, or rustic wall art to enhance the overall aesthetic.
Consider positioning your vintage windows as a focal point in a room. You can hang them as art pieces on a wall or use them as a room divider. This not only draws attention to their unique beauty but also serves a practical purpose by defining spaces within an open floor plan.
To keep your vintage windows looking their best, regular maintenance is essential. Here are some tips:
- Clean Regularly: Dust and clean the glass and frames to keep them looking fresh.
- Inspect for Damage: Regularly check for any signs of rot or damage, particularly if they are exposed to the elements.
- Seal and Protect: Consider applying a protective sealant to preserve the wood and prevent deterioration.
Whether you choose to leave them unpainted or apply a distressed finish, vintage windows can significantly enhance your home’s rustic charm. They offer endless possibilities for creativity and personalization, allowing you to express your unique style while embracing the timeless appeal of farmhouse decor.
In conclusion, vintage windows are more than just architectural elements; they are a way to tell a story and create a warm, inviting atmosphere in your home. By focusing on their natural beauty and integrating them thoughtfully into your design, you can achieve a stunning rustic farmhouse style that is both functional and aesthetically pleasing.
Modern Minimalist Approach
When it comes to interior design, a can transform your space into a serene and stylish environment. This design philosophy emphasizes clean lines, functionality, and an uncluttered aesthetic, making it an ideal choice for those looking to create a peaceful retreat in their homes.
Modern minimalism is characterized by simplicity and the use of neutral color palettes. The goal is to create a space that feels open and airy, allowing the beauty of the architecture and decor to shine through without overwhelming the senses. A key aspect of this style is the use of vintage windows as room dividers, which can enhance the aesthetic while providing functional separation.
Opting for a sleek, painted finish in neutral colors such as whites, grays, and beiges is fundamental in modern minimalist design. These colors create a cohesive look that is both calming and sophisticated. They serve as a backdrop that allows the vintage windows’ charm to take center stage, highlighting their unique features without competing for attention.
- Keep It Simple: Avoid excessive decorations around the windows. Instead, let their inherent beauty speak for itself.
- Choose the Right Location: Position your vintage windows where they can maximize light flow while still providing separation between areas.
- Use Complementary Accessories: Incorporate minimalistic decor items such as simple plants or geometric shapes that enhance the overall look without cluttering the space.
Integrating vintage windows into a modern minimalist design offers several advantages:
- Enhanced Natural Light: Vintage windows can allow natural light to flood into your space, making it feel larger and more inviting.
- Unique Character: Each vintage window carries its own history and charm, adding a layer of personality to your minimalist design.
- Functional Separation: They provide a clear division between spaces without completely closing off areas, maintaining an open feel.
To successfully implement a modern minimalist approach with vintage windows, consider the following:
- Focus on Quality: Invest in high-quality finishes for your vintage windows to ensure durability and aesthetic appeal.
- Maintain Balance: Ensure that the vintage windows are proportionate to the surrounding space, maintaining a balanced visual weight.
- Embrace Negative Space: Allow for empty spaces around your vintage windows to enhance their impact and create a sense of calm.
When selecting colors for your vintage windows in a modern minimalist design, consider:
| Color | Effect |
|---|---|
| White | Brightens the space and creates a clean look. |
| Gray | Offers a sophisticated and contemporary feel. |
| Beige | Provides warmth while maintaining neutrality. |
In summary, embracing a modern minimalist approach with vintage windows can significantly enhance the aesthetic of your home. By focusing on simplicity, functionality, and a neutral color palette, you can create a space that is both inviting and stylish. This design choice not only showcases the charm of vintage elements but also promotes a sense of tranquility and balance in your living environment.
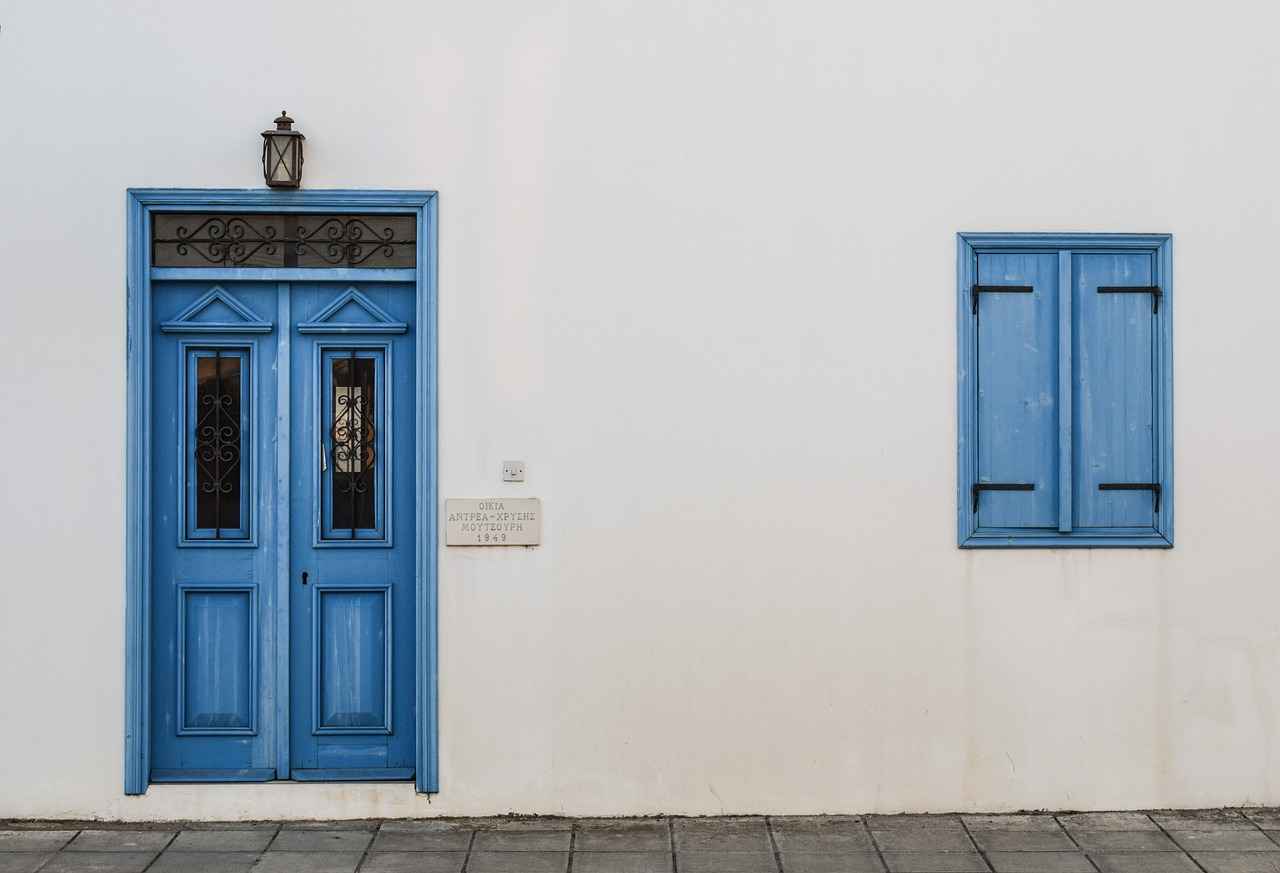
Step-by-Step Guide to Assembling Your Divider
Assembling a room divider using vintage windows can be a rewarding DIY project that adds both style and functionality to your home. In this step-by-step guide, we will walk you through the entire process, ensuring that you create a sturdy and visually appealing divider that enhances your living space.
Before you begin, it’s essential to gather all necessary materials and tools. You will need:
- Vintage windows (ensure they are in good condition)
- Brackets or hinges for securing the windows
- Wooden boards for a base or frame
- Measuring tape for accurate dimensions
- Drill and screwdriver for assembly
- Paint or stain for finishing touches
- Sandpaper for smoothing edges
Creating a safe and organized workspace is crucial. Choose a well-lit area where you can comfortably work. Lay down a protective covering on the floor to avoid any damage from paint or debris. Make sure to wear protective gear, such as gloves and goggles, especially when sanding or using power tools.
Start by measuring the desired height and width of your room divider. Use these measurements to cut the wooden boards for the base or frame. A stable base is essential for the overall stability of your divider, so ensure that the cuts are precise.
Once you have your base ready, it’s time to attach the vintage windows. Lay them out in the desired configuration and use brackets or hinges to secure them together. This will allow for flexibility in movement while ensuring that the divider remains sturdy. Make sure to drill pilot holes to prevent the wood from splitting.
With the windows secured, attach them to your wooden base. Use screws to firmly fasten the windows to the base, ensuring that everything is aligned correctly. A level can help you make sure that the divider stands straight.
After assembling the divider, smooth out any rough edges using sandpaper. This step is crucial for safety and aesthetics. Once sanded, you can choose to paint or stain the wood and windows to match your home decor. Light colors can create a bright and airy feel, while darker shades can add a touch of elegance.
To personalize your room divider, consider adding decorative elements. You might want to incorporate:
- Decorative knobs for a vintage flair
- String lights to create a warm ambiance
- Plants to bring a touch of nature indoors
Finally, place your newly assembled room divider in the desired location. Make sure it is stable and secure. Adjust any elements as needed to ensure that it fits well within your space.
By following these detailed steps, you can successfully create a vintage window room divider that is both functional and visually appealing. Enjoy the new charm and character it brings to your home!
Measuring and Marking Your Space
Creating a room divider using vintage windows can be a rewarding DIY project that adds both functionality and charm to your home. One of the most critical steps in this process is accurately. This ensures that your divider will fit perfectly and look great in your chosen area.
Accurate measurements are essential for several reasons:
- Ensures Proper Fit: A well-fitted divider enhances the visual appeal of your space.
- Prevents Wasted Materials: Incorrect measurements can lead to unnecessary expenses and wasted materials.
- Facilitates Easier Assembly: Knowing the exact dimensions simplifies the assembly process, making it smoother and more efficient.
To begin, follow these simple steps:
- Gather Your Tools: You will need a measuring tape, pencil, and a level to ensure accuracy.
- Identify the Area: Decide where you want to install the room divider. Consider the flow of the room and how the divider will impact the space.
- Measure the Height: Measure from the floor to the ceiling or the desired height of the divider. Make a note of this measurement.
- Measure the Width: Determine how wide you want the divider to be. Measure the space between walls or furniture to ensure a snug fit.
- Mark the Dimensions: Use your pencil to mark the height and width on the wall. This will serve as a reference point during assembly.
To further enhance your measuring process, consider the following tips:
- Double-Check Measurements: Always measure twice to avoid mistakes.
- Use a Level: Ensure your markings are straight by using a level. This will help you maintain a professional look.
- Consider Adjustments: If your vintage windows are not uniform in size, plan for adjustments in your design.
While measuring, it’s easy to make mistakes. Here are some common pitfalls to watch out for:
- Ignoring Baseboards: Remember to account for any baseboards or moldings that may affect the height of your divider.
- Not Considering Furniture Placement: Ensure that the divider will not obstruct any furniture or pathways.
- Forgetting About Light Flow: Think about how the divider will affect natural light in the room.
By taking the time to measure and mark your space accurately, you set the foundation for a successful room divider project. This attention to detail not only enhances the aesthetics of your home but also ensures that your DIY endeavor is both enjoyable and rewarding.
Securing the Windows Together
Creating a room divider using vintage windows is a fantastic way to blend style with functionality in your home. One of the key steps in this DIY project is . This process not only enhances the stability of your divider but also allows for flexibility in movement. Here’s a detailed look at how to effectively secure your vintage windows.
Brackets and hinges serve as essential components in the assembly of your vintage window divider. Using brackets provides a strong, fixed connection between the windows, ensuring they remain aligned and stable. On the other hand, hinges offer the advantage of mobility, allowing you to open or close sections of the divider as needed. This is particularly useful in multifunctional spaces where flexibility is key.
When selecting brackets or hinges, consider the weight and size of your vintage windows. Heavy windows will require more robust hardware to ensure they are securely fastened. Look for heavy-duty brackets and sturdy hinges that can withstand the weight and movement of the windows.
- Gather Your Materials: Before you start, ensure you have all necessary tools and materials, including brackets, hinges, screws, a drill, and a screwdriver.
- Position the Windows: Arrange your vintage windows in the desired configuration. Make sure they are aligned properly for a neat appearance.
- Attach Brackets: Begin by securing the brackets to the frames of the windows. Use a drill to fasten the screws tightly, ensuring a solid connection.
- Install Hinges: If you prefer a movable divider, attach hinges to the sides of the windows. This will allow you to pivot the windows open or closed as needed.
- Check Stability: Once all fasteners are in place, gently test the structure for stability. Ensure that there is no wobbling or movement.
For added stability, consider using corner braces at the base of your divider. These braces can prevent the divider from tipping over, especially in high-traffic areas. Additionally, you can anchor the bottom of the divider to the floor for extra support.
Once your vintage window divider is assembled, it’s important to maintain its condition. Regularly check the brackets and hinges for any signs of wear or loosening. Tighten screws as necessary to keep the structure secure. If you notice any rust on metal components, clean them promptly to prevent further deterioration.
In summary, securing your vintage windows together with brackets or hinges is a crucial step in creating a functional and stylish room divider. By carefully selecting your fasteners and following the assembly steps, you can ensure a stable and aesthetically pleasing addition to your home.
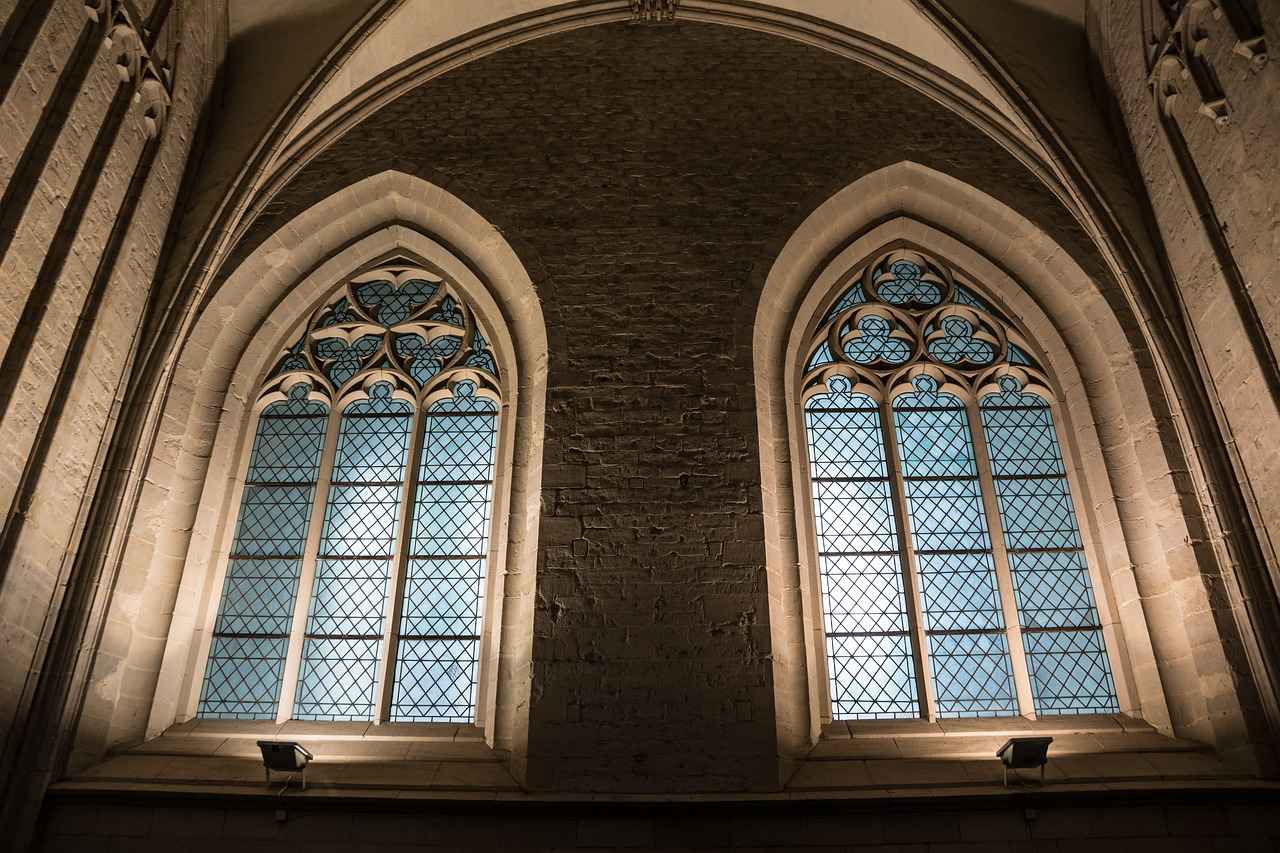
Finishing Touches for Your Room Divider
When it comes to creating a stunning room divider from vintage windows, the finishing touches can make all the difference in achieving a polished and cohesive look. These final enhancements not only elevate the aesthetic appeal of your project but also allow you to express your personal style.
Finishing touches are crucial as they transform a simple structure into an eye-catching focal point in your room. They can add depth, character, and a sense of completeness to your divider. By paying attention to details, you ensure that your room divider complements your overall decor while serving its functional purpose.
One of the easiest ways to enhance your room divider is through painting. Choose colors that harmonize with your existing decor. Consider the following techniques:
- Ombre Effect: Gradually blend two or more colors for a dreamy, gradient look.
- Stenciling: Use stencils to add intricate designs or patterns that reflect your personality.
- Chalk Paint: This can give a matte finish that adds a rustic charm to your vintage windows.
If you prefer a more natural look, staining your vintage windows can enhance the wood’s grain and texture. Darker stains can create a dramatic effect, while lighter stains can offer a more airy feel. Remember to:
- Choose a stain that complements the wood type of your windows.
- Test the stain on a small area first to ensure you achieve the desired shade.
To further enhance your room divider, consider incorporating decorative elements that reflect your style. Here are some ideas:
- Knobs and Handles: Vintage knobs can add character and functionality to your divider.
- Lighting: Install fairy lights or small sconces to create a warm ambiance.
- Plants: Attach small planters or hang trailing plants to bring life and color to your divider.
Incorporating textiles can soften the look of your room divider. Consider:
- Hanging Fabrics: Use sheer curtains or fabric panels to create privacy while still allowing light to filter through.
- Decorative Banners: Hang fabric banners or garlands for a playful touch.
Personalizing your room divider is key to making it uniquely yours. Whether you choose to paint, stain, or accessorize, the finishing touches should reflect your individuality. Take your time to experiment with different elements until you achieve a look that resonates with you.
Remember, the beauty of DIY projects lies in the ability to create something that feels authentic and personal. With the right finishing touches, your vintage window room divider will not only serve its purpose but also become a stunning centerpiece in your home.
Paint and Stain Options
When it comes to enhancing your vintage window room divider, the choice of paint or stain plays a crucial role in defining the overall aesthetic of your space. Selecting the right finish can transform the look of your room, adding personality and style that complements your interior design.
The color palette of any space significantly influences its ambiance. Light colors, such as soft whites, pale blues, or gentle pastels, can create an illusion of a larger space, making rooms feel airy and open. These hues reflect natural light, contributing to a bright and inviting atmosphere. On the other hand, darker shades like deep navy, charcoal, or rich burgundy can add a sense of drama and sophistication. They create a cozy, intimate environment and can serve as a striking focal point in your decor.
- Versatility: Paint offers a wide range of colors and finishes, allowing you to easily change the look of your divider whenever you desire.
- Durability: Modern paints are designed to withstand wear and tear, making them ideal for high-traffic areas.
- Easy Application: Painting is a straightforward DIY task that can be completed quickly, perfect for those who want immediate results.
Staining vintage windows can enhance their natural beauty while preserving their character. When selecting a stain, consider the following:
- Wood Type: Different woods absorb stains differently. Test a small area first to see how the wood responds.
- Finish: Choose between transparent stains that show the wood grain or solid stains that provide a more opaque look.
- Color Family: Earthy tones like walnut or mahogany can add warmth, while grays and whites can give a modern touch.
Utilizing light colors can brighten a space and make it feel larger, which is particularly beneficial in smaller rooms. Conversely, darker colors can create a sense of depth and intimacy, making large spaces feel cozier. Consider the mood you wish to evoke in your room when choosing between light and dark finishes.
For those looking to create a more unique look, consider combining both paint and stain. For instance, you could paint the frames of your vintage windows in a light color while staining the wood in a darker hue. This dual approach allows you to play with contrasts and highlights, adding visual interest to your room divider.
Ultimately, the choice between paint and stain depends on your personal style and the overall design of your home. Whether you opt for the freshness of light colors or the elegance of dark shades, remember to choose finishes that not only enhance your vintage windows but also harmonize with your existing decor. By taking the time to select the right paint or stain, you can create a stunning room divider that serves as both a functional element and a beautiful statement piece in your home.
Incorporating Accessories
When it comes to enhancing the aesthetic appeal and functionality of your vintage window room divider, accessories play a crucial role. By thoughtfully incorporating various elements, you can create a personalized space that reflects your style and meets your practical needs. Here are some innovative ideas to consider:
- Decorative Knobs: Adding unique knobs can transform the look of your room divider. Choose knobs that resonate with your overall decor theme, whether it’s rustic, modern, or eclectic. Opt for materials like brass, ceramic, or glass to add texture and interest.
- Lighting: Incorporating lights can dramatically change the ambiance of your room. Consider attaching string lights along the top of the divider or using small wall sconces to illuminate the space. This not only enhances visibility but also creates a warm and inviting atmosphere.
- Plants: Adding greenery is a fantastic way to breathe life into your divider. Hanging plants or small potted plants can be positioned on shelves or ledges. Consider using trailing plants for a cascading effect, which adds depth and softness to the overall design.
- Artwork: Consider hanging small pieces of art or framed photographs on the divider. This can serve as a focal point and allow you to showcase your personal taste. Use clips or wire to easily change the artwork as your preferences evolve.
- Textiles: Incorporating textiles such as curtains or fabric panels can add a layer of softness and warmth. Choose fabrics that complement the colors of your room while providing some privacy when needed. Lightweight materials can create an airy feel, while heavier fabrics can add drama.
Incorporating accessories into your room divider doesn’t just enhance its visual appeal; it also boosts its functionality. For instance, decorative knobs can serve as hooks for hanging items like bags or hats, adding a practical element to your design. Similarly, lighting can help delineate spaces, making it easier to navigate between areas, especially in dimly lit environments.
Absolutely! Accessories are an excellent way to express your personality and style. Whether you prefer a vintage charm, a contemporary flair, or a bohemian vibe, selecting the right accessories can help you achieve your desired look. For instance, using antique knobs and distressed finishes can enhance a vintage aesthetic, while sleek, modern fixtures can create a minimalist feel.
Finding the right accessories can be an adventure in itself. Explore local thrift stores, flea markets, and online marketplaces like Etsy or eBay for unique finds. You can also visit specialty home decor shops for curated selections that align with your vision. Don’t hesitate to mix and match items from different sources to create a truly one-of-a-kind look.
In summary, incorporating accessories like decorative knobs, lights, and plants into your vintage window room divider can significantly enhance both its aesthetic and functionality. With thoughtful selection and placement, these elements can transform a simple divider into a stunning focal point that reflects your personal style while serving practical purposes.
Frequently Asked Questions
- Can I use any vintage windows for my room divider?
While you can use various vintage windows, it’s essential to choose ones that are structurally sound and fit your design vision. Look for windows with minimal damage and a style that complements your space.
- How do I ensure my vintage window divider is safe?
Safety is key! Make sure to secure the windows properly using brackets or hinges. Additionally, wear protective gear like gloves and goggles during assembly to avoid injuries from dust or debris.
- What design styles work best with vintage windows?
Vintage windows are incredibly versatile! They can enhance rustic farmhouse aesthetics or fit perfectly into modern minimalist designs. Choose a finish that aligns with your home decor for a cohesive look.
- Where can I find vintage windows?
You can discover vintage windows at local salvage yards, antique shops, or online marketplaces. Each option offers unique finds, so take your time to explore different sources for the best deals.
- What finishing touches should I consider?
To elevate your room divider, think about adding paint, stain, or decorative elements like knobs and plants. These details can personalize your divider and make it a standout feature in your home.

