This article explores innovative methods to create a fabric room divider without the need for tools. Discover creative ideas, materials, and tips to enhance your space effortlessly.
What is a Fabric Room Divider?
A fabric room divider is a versatile and stylish solution for partitioning spaces within a room. It serves both functional and aesthetic purposes, providing privacy while enhancing the overall decor. Whether you want to create a cozy nook or separate work and living areas, a fabric divider can transform your space.
Why Choose a DIY Fabric Room Divider?
Opting for a DIY fabric room divider allows for customization and cost-effectiveness. You can tailor the design to reflect your personal style and meet the specific needs of your environment. Plus, creating your own divider can be a fun and rewarding project.
Essential Materials for Your Fabric Room Divider
Gathering the right materials is crucial. Here are some common items you might need:
- Fabric: Choose a fabric that complements your decor.
- Tension Rod: Ideal for hanging without drilling.
- Curtain Clips: Useful for attaching fabric to furniture.
Choosing the Right Fabric for Your Divider
Selecting the appropriate fabric can greatly affect the look and functionality of your divider. Consider factors such as:
- Opacity: Do you want privacy or openness?
- Texture: Smooth, rough, or patterned?
- Color: Choose colors that harmonize with your existing decor.
How to Create a Basic Fabric Room Divider
Making a simple fabric room divider is straightforward. Follow these steps:
- Measure Your Space: Accurate measurements ensure a perfect fit. Measure the height and width of the area where you plan to install the divider.
- Cut the Fabric: Cut the fabric to your measurements, leaving extra length for hems for a polished look.
Creative Ideas for Fabric Patterns and Colors
Incorporating unique patterns and colors can enhance the visual appeal of your divider. Consider floral prints, geometric patterns, or solid colors that can harmonize with your existing decor.
How to Secure Your Fabric Room Divider
Securing your fabric divider is essential for stability. Here are some methods to keep your divider in place without traditional tools:
- Using Tension Rods: Tension rods can be adjusted to fit your space and require no drilling or permanent fixtures.
- DIY Clip Solutions: Clips can attach the fabric to existing furniture or walls, providing a flexible way to hang your divider.
Maintaining Your Fabric Room Divider
Regular maintenance ensures longevity and appearance. Here are some tips:
- Cleaning: Use a gentle fabric cleaner to remove stains.
- Dusting: Regularly dust to keep it looking fresh.
Incorporating Lighting with Your Fabric Divider
Adding lighting elements can enhance the ambiance created by your fabric divider. Consider string lights or LED strips that can be integrated seamlessly for a cozy atmosphere.
Final Thoughts on DIY Fabric Room Dividers
Creating a DIY fabric room divider is an innovative way to enhance your living space. With the right materials and techniques, you can achieve a stylish and functional solution that meets your needs.
What is a Fabric Room Divider?
A fabric room divider is an innovative and versatile solution designed to create separate areas within a single space. Whether you are looking to enhance your privacy, create distinct zones for different activities, or simply add a decorative element to your home, a fabric room divider can serve multiple purposes. This stylish option allows you to redefine your living environment without the need for permanent structural changes.
One of the primary benefits of a fabric room divider is its flexibility. Unlike traditional walls, which can be cumbersome and inflexible, fabric dividers can be easily moved or adjusted according to your needs. This adaptability makes them an ideal choice for small apartments, shared rooms, or open-concept living spaces where you might want to delineate areas for sleeping, working, or entertaining.
In addition to their functional advantages, fabric room dividers also contribute significantly to the aesthetic appeal of a room. By choosing the right fabric, colors, and patterns, you can create a visually striking focal point that complements your existing décor. From bold prints to soft, neutral tones, the options are virtually limitless, allowing you to express your personal style while enhancing the overall ambiance of your space.
Moreover, fabric dividers can also help in controlling light and sound within a room. Depending on the fabric’s opacity and thickness, they can provide varying degrees of privacy and sound dampening, making them a practical choice for creating a peaceful environment. For instance, sheer fabrics can allow light to filter through while still providing a sense of separation, whereas heavier materials can block out noise and create a more secluded atmosphere.
Another appealing aspect of fabric room dividers is their cost-effectiveness. Compared to traditional construction methods, creating a fabric divider is often much cheaper and can be accomplished with minimal investment. Many DIY enthusiasts appreciate the opportunity to craft their unique dividers using readily available materials, such as tension rods, clips, and various fabrics. This not only saves money but also allows for a personalized touch that reflects your taste.
In summary, a fabric room divider is more than just a practical tool for space management; it’s a stylish addition that can enhance both the functionality and aesthetic of your home. Whether you’re looking to create a cozy reading nook, a private workspace, or simply want to add a splash of color to your interior, a fabric room divider is an excellent choice that offers both versatility and charm.
Why Choose a DIY Fabric Room Divider?
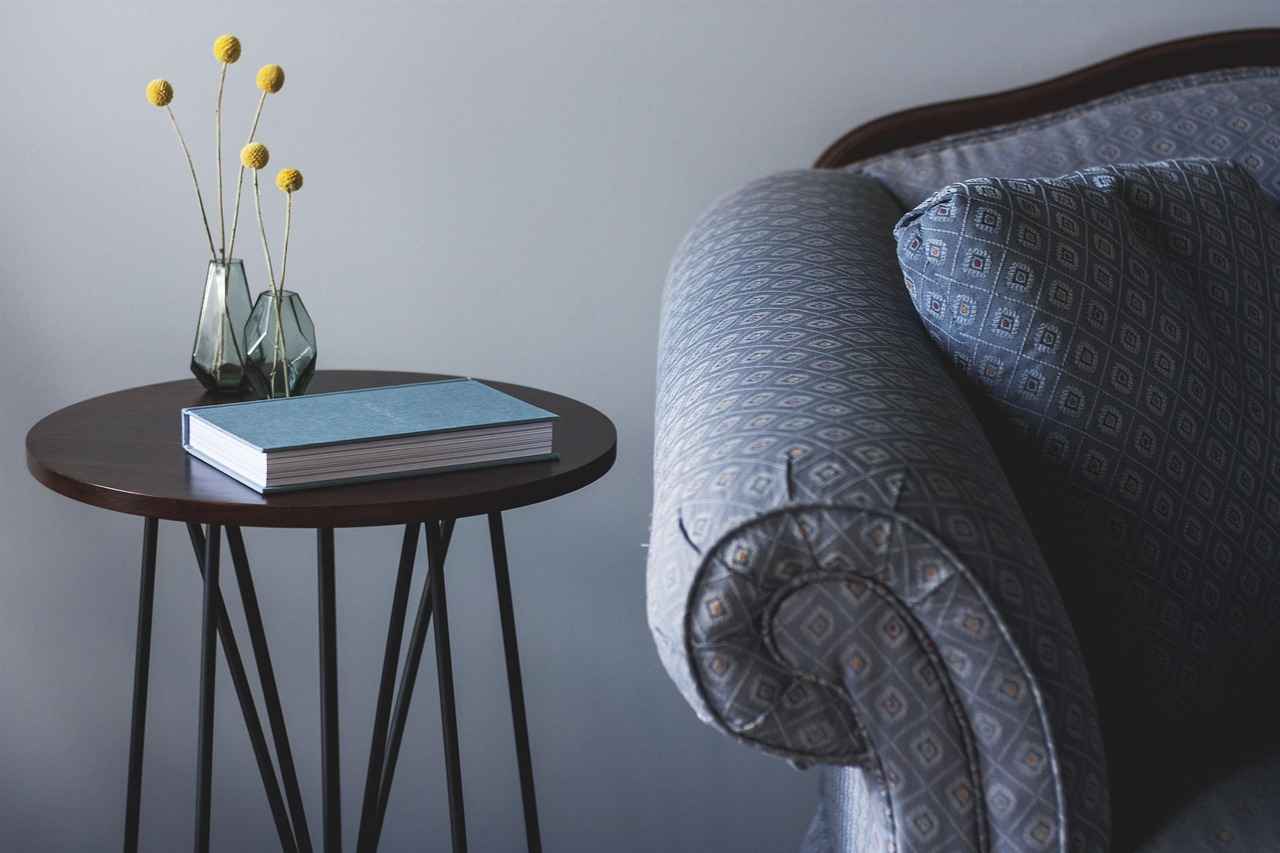
When it comes to home decor and functionality, a DIY fabric room divider stands out as an excellent choice. Not only does it provide an effective way to segment spaces, but it also offers a unique opportunity for personal expression and customization. In this section, we will explore the numerous advantages of creating your own fabric room divider.
One of the most compelling reasons to opt for a DIY fabric room divider is the level of customization it offers. You can choose fabrics that reflect your personal style, whether that’s a bold pattern, a soft texture, or a color that complements your existing decor. This personalization allows you to create a divider that truly feels like a part of your home, rather than a generic product.
Creating a fabric room divider yourself can be significantly more affordable than purchasing a pre-made option. By selecting your materials and designing the divider according to your specifications, you can save money while still achieving a high-quality look. This cost-effectiveness is especially appealing for those on a budget or looking to refresh their space without breaking the bank.
A DIY fabric room divider provides flexibility in both design and function. Unlike permanent dividers, fabric options can be easily moved or modified as your needs change. Whether you want to create a cozy reading nook, a temporary guest space, or simply separate areas for different activities, a DIY divider can adapt to your lifestyle.
One of the most attractive features of a DIY fabric room divider is that it can be installed without any tools. Using items like tension rods or clips, you can hang your fabric quickly and effortlessly. This ease of installation means that you can change your space without the hassle of drilling holes or making permanent alterations.
Beyond their practical benefits, fabric room dividers can significantly enhance the aesthetic appeal of a room. A well-chosen fabric can add warmth, texture, and color, serving as a focal point in your decor. Whether you prefer a minimalist look or something more vibrant, the right fabric can transform your space.
For those living in shared spaces, a DIY fabric room divider can provide much-needed privacy. It allows you to create separate areas for work, relaxation, or sleep, enhancing your overall comfort. This is particularly beneficial in studio apartments or multi-purpose rooms where boundaries can become blurred.
Choosing to create a fabric room divider can also align with eco-friendly practices. By sourcing sustainable materials or repurposing old fabrics, you can contribute to a more sustainable lifestyle. This not only reduces waste but also gives your divider a unique character.
When embarking on your DIY fabric room divider project, consider incorporating different fabrics, patterns, and textures. From sheer curtains to bold prints, the possibilities are endless. Look for inspiration in home decor magazines, online platforms, or even local fabric stores to find the perfect elements for your creation.
In summary, choosing a DIY fabric room divider is a practical and creative solution that offers numerous benefits, from customization to cost-effectiveness. With the right materials and a bit of creativity, you can transform your space into a stylish and functional haven.

Essential Materials for Your Fabric Room Divider
Gathering the right materials is crucial for your project, as they significantly influence the outcome of your fabric room divider. By carefully selecting your materials, you can ensure a seamless and attractive installation that meets your needs.
- Fabric: The choice of fabric is fundamental. You can opt for lightweight materials such as cotton or linen for a breezy look, or choose heavier fabrics like velvet for a more luxurious feel. Consider the opacity of the fabric as well; sheer fabrics provide some privacy while allowing light to filter through, whereas opaque fabrics block light entirely.
- Tension Rod: A tension rod is an excellent choice for a tool-free installation. It can be easily adjusted to fit the width of your space, making it a versatile option. Tension rods are particularly useful because they exert pressure against walls, eliminating the need for drilling holes or using permanent fixtures.
- Curtain Clips: Curtain clips are another fantastic option for hanging your fabric. They allow for easy adjustments and can be attached to various surfaces, such as existing furniture or walls. This flexibility is ideal for those who want to change their divider’s location or design without hassle.
- Decorative Elements: To enhance the visual appeal of your divider, consider incorporating decorative elements like tassels, beads, or even fairy lights. These additions can transform a simple fabric divider into a stunning focal point in your room.
- Weights: If your fabric tends to sway or flutter, adding weights to the bottom can help keep it in place. You can purchase fabric weights or create your own by sewing small pouches filled with sand or pebbles into the hem of your fabric.
When selecting your materials, it’s essential to consider not just aesthetics but also functionality. Think about how often you will be adjusting or moving the divider and choose materials that can withstand regular use. Additionally, the color and pattern of your fabric should complement your existing decor, as this will help create a cohesive look throughout your space.
Furthermore, don’t forget to measure your space accurately before purchasing materials. Knowing the exact dimensions will help you avoid any mistakes that could lead to wasted time and resources. With the right materials in hand, you’ll be well on your way to creating a stylish and functional fabric room divider that enhances your living area.
In summary, the essential materials for your fabric room divider include a carefully chosen fabric, a reliable tension rod, versatile curtain clips, and any decorative elements that suit your style. By focusing on these components, you can create a beautiful and practical divider that meets your needs without the need for tools.

Choosing the Right Fabric for Your Divider
When it comes to creating a stunning fabric room divider, one of the most critical decisions you’ll make is choosing the right fabric. The fabric you select can dramatically influence both the visual appeal and the functionality of your divider. Here are some essential factors to consider that will help you make an informed choice.
- Opacity: The level of transparency in your fabric is crucial. If you want to maintain a sense of privacy, opt for materials that are opaque or have a tight weave. Conversely, if you prefer a more open feel, consider sheer fabrics that allow light to filter through.
- Texture: The texture of the fabric can add depth and interest to your divider. Smooth fabrics like silk or satin can create a luxurious look, while textured materials like linen or burlap can lend a more rustic feel.
- Color: Color plays a significant role in the overall aesthetic. Choose shades that complement your existing decor. Neutral tones can create a calm atmosphere, while vibrant colors can serve as a focal point in the room.
Investing in high-quality fabric is essential for the longevity of your divider. Low-quality materials may fade, tear, or lose their shape over time. Look for fabrics that are durable and easy to clean, especially if the divider will be in a high-traffic area.
There are various types of fabrics you can choose for your divider, each with its unique benefits:
- Cotton: A versatile option that is easy to wash and comes in many colors and patterns.
- Polyester: Known for its durability and resistance to wrinkles, making it a practical choice.
- Canvas: A heavy-duty fabric that provides excellent opacity and can withstand wear and tear.
- Sheer Fabrics: Ideal for those who want to create a light and airy feel while still offering some level of separation.
Patterns can significantly enhance the visual interest of your fabric room divider. Consider using fabrics with floral, geometric, or abstract designs to add personality to your space. Remember, the pattern should harmonize with your overall decor to create a cohesive look.
- Sample Swatches: Always request fabric swatches before making a final decision. This allows you to see how the fabric looks in your space with your lighting.
- Test for Durability: Check the fabric’s strength by pulling and stretching it. This will give you a good idea of its durability.
- Consider the Care Instructions: Ensure that the fabric is easy to maintain, especially if you have pets or children.
By carefully considering these factors, you can choose a fabric that not only enhances the aesthetic appeal of your room but also serves its intended purpose effectively. The right fabric can transform a simple room divider into a stunning design element that elevates your entire space.
How to Create a Basic Fabric Room Divider
Creating a basic fabric room divider is not only a practical solution for defining spaces but also an opportunity to express your personal style. With just a few steps, you can make a functional and aesthetically pleasing divider that enhances your living area. Here’s a detailed guide on how to achieve this effortlessly.
Before diving into the project, it’s essential to measure your space accurately. Consider the height and width of the area where you plan to place the divider. This will ensure that your fabric fits perfectly and serves its intended purpose. Use a measuring tape to record the dimensions, and don’t forget to account for any furniture or obstacles that may affect the placement.
Selecting the right fabric is crucial for the overall look and functionality of your divider. Here are some factors to consider:
- Opacity: Decide if you want a sheer fabric for a light, airy feel or a thicker material for more privacy.
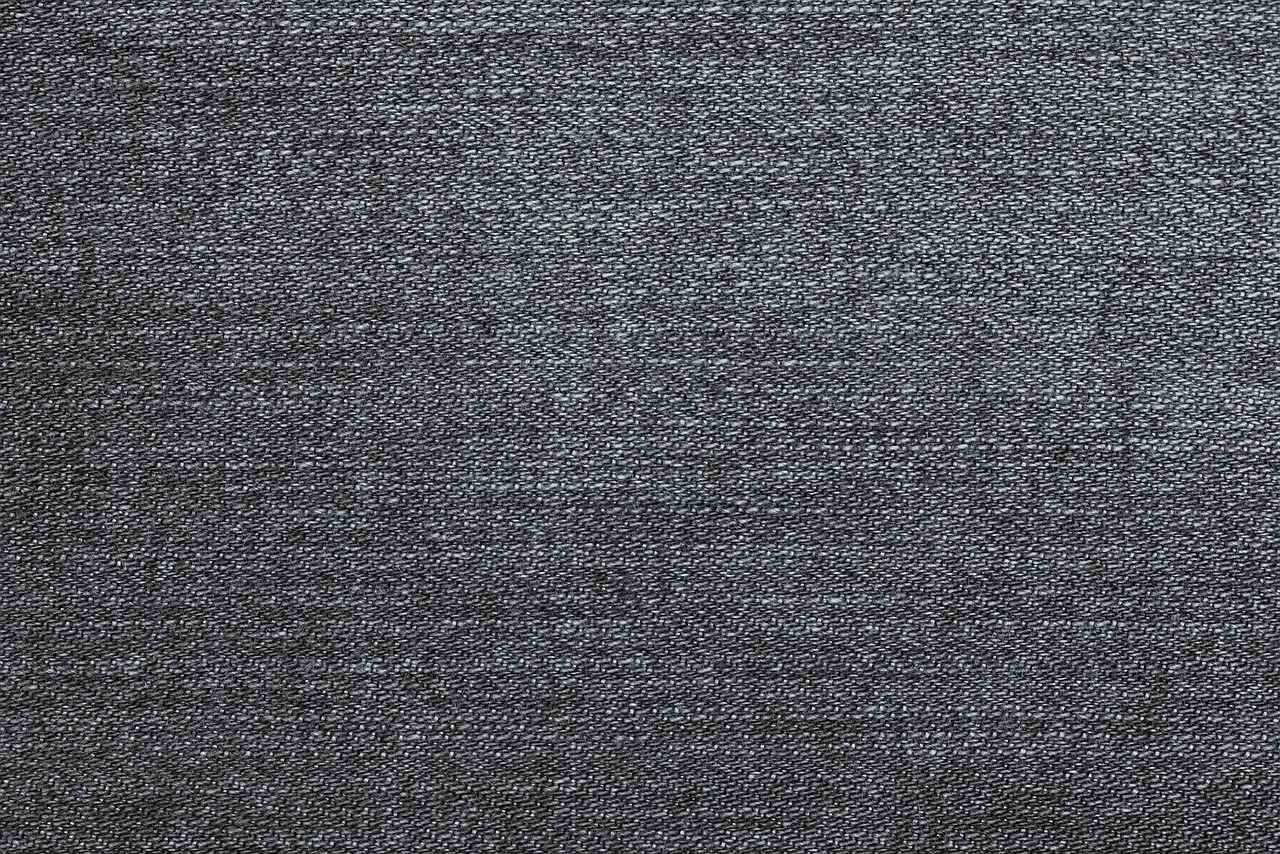
- Texture: Different textures can add depth to your room. Consider velvets for a luxurious touch or cotton for a casual vibe.
- Color and Pattern: Choose colors and patterns that complement your existing decor. Bold prints can make a statement, while solid colors offer versatility.
Once you have your fabric selected, it’s time to cut it to size. Make sure to leave a little extra length for hems. This will give your divider a finished look and prevent fraying. Use fabric scissors for clean edges, and consider using a ruler to ensure straight cuts.
There are several ways to secure your fabric room divider without the need for tools:
- Tension Rods: These are perfect for hanging fabric dividers. Simply adjust the rod to fit your space, and slide the fabric onto it. This method is tool-free and allows for easy adjustments.
- Clips: Use curtain clips to attach the fabric to existing furniture or walls. This is a flexible solution that requires no drilling and can be easily changed as needed.
To elevate your divider, consider adding decorative elements such as tassels, fringe, or even fairy lights. These accessories can enhance the visual appeal and create a cozy atmosphere in your space.
To keep your fabric room divider looking fresh, regular maintenance is key. Depending on the fabric type, you may need to wash it periodically. Always follow the care instructions specific to your fabric to avoid damage.
In summary, creating a basic fabric room divider is a straightforward process that allows for creativity and customization. By following these steps, you can achieve a stylish and functional divider that enhances your living space without the need for extensive tools or expertise.
Step 1: Measure Your Space
When embarking on your DIY fabric room divider project, the first and perhaps most crucial step is to measure your space accurately. This ensures that your divider fits perfectly within the designated area, enhancing both functionality and aesthetics.
Accurate measurements are essential for a well-fitting divider. If your divider is too short or too wide, it can lead to discomfort and inefficiency in your space. A well-measured divider not only looks professional but also serves its purpose effectively, whether that’s creating privacy or defining areas within a room.
To begin with, gather a measuring tape and follow these steps:
- Measure the Height: Start by measuring the height from the floor to the ceiling. This is crucial, especially if you want your divider to reach the ceiling for maximum privacy.
- Measure the Width: Next, measure the width of the area where the divider will be installed. Ensure you account for any obstructions like furniture or windows that might affect the divider’s placement.
- Consider Additional Space: If your divider will be movable or if you plan to use it in different areas, consider leaving extra space on either side. This flexibility is vital for ease of use.
Here are some valuable tips to ensure your measurements are spot on:
- Double Check: Always double-check your measurements. A small error can lead to significant issues when it comes time to cut your fabric or install your divider.
- Use a Level: When measuring height, use a level to ensure that your measurements are accurate and even.
- Record Measurements: Write down your measurements as you go to avoid confusion later. This will also help if you need to reference them when purchasing materials.
While measuring, be mindful of these common pitfalls:
- Neglecting to Measure Twice: As the saying goes, “measure twice, cut once.” This adage is especially true in DIY projects.
- Ignoring Ceiling Height Variations: In older homes, ceiling heights may vary in different areas. Make sure to measure the shortest height if that’s where your divider will be installed.
- Forgetting to Account for Hardware: If you plan to use tension rods or clips, ensure you factor in their dimensions when measuring.
Once you have your measurements, it’s time to move on to the next steps in creating your fabric room divider. Accurate measurements not only set the foundation for your project but also save you time and resources in the long run. With a little patience and attention to detail, you’ll be well on your way to crafting a beautiful and functional divider that enhances your living space.
Step 2: Cut the Fabric
When it comes to crafting your own fabric room divider, cutting the fabric accurately is a crucial step that can significantly influence the overall appearance and functionality of your project. This process not only requires precision but also a bit of creativity to ensure that the finished product meets your aesthetic and practical needs.
Once you have your measurements, it’s time to cut the fabric to size. Begin by laying your fabric on a clean, flat surface. This will help you visualize the dimensions and make accurate cuts. Here are some important considerations:
- Leave Extra Length: It’s advisable to leave some extra length on all sides of your fabric. This additional fabric will be essential for hems or finishing touches, which are critical for achieving a polished look.
- Consider the Type of Fabric: Different fabrics require different cutting techniques. For instance, lightweight fabrics like chiffon might fray easily, while heavier materials like canvas can handle more robust cutting methods.
- Use Sharp Tools: Always use sharp scissors or a rotary cutter for a clean cut. Dull tools can lead to jagged edges, which will affect the overall appearance of your divider.
- Marking the Fabric: Before cutting, use fabric chalk or a fabric marker to outline your measurements. This will ensure accuracy and help you avoid any mistakes during the cutting process.
After cutting, inspect the edges of the fabric. If you notice any fraying, consider using a zigzag stitch or a serger to finish the edges. This step will not only enhance the durability of your divider but also contribute to a more professional appearance.
Another aspect to consider is the design and pattern of your fabric. If you’re using patterned fabric, ensure that the cuts align with the design for a cohesive look. This may require additional planning and adjustments during the cutting process.
Once you have cut your fabric to the desired size and shape, it’s time to move on to the next steps of creating your fabric room divider. Remember, taking your time during this stage will pay off in the end, resulting in a beautifully crafted piece that complements your living space.
In summary, cutting the fabric for your DIY room divider is more than just a simple task; it’s a vital part of the creative process. By following these tips and paying attention to detail, you can ensure that your fabric divider not only serves its purpose but also enhances the aesthetic appeal of your room.
Creative Ideas for Fabric Patterns and Colors
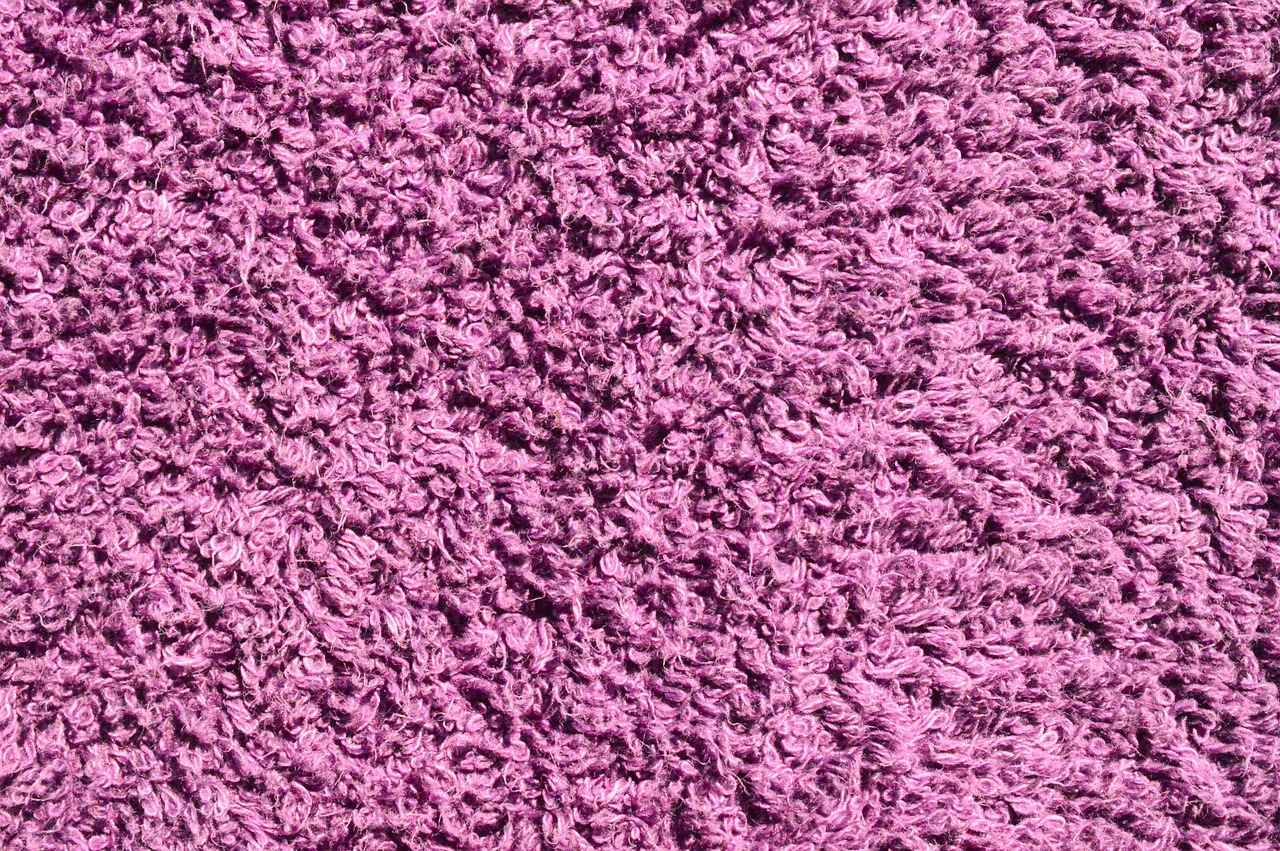
When it comes to enhancing the visual appeal of your space, incorporating unique patterns and colors into your fabric room divider can make a significant difference. A well-designed divider not only serves its purpose of separating spaces but also acts as a decorative element that ties the room together. Here are some creative ideas to consider when choosing patterns and colors for your DIY fabric room divider.
Patterns and colors can dramatically affect the atmosphere of a room. They can evoke feelings of warmth, calmness, or vibrancy, depending on your choices. By selecting the right designs, you can create a cohesive look that complements your existing decor while adding a personal touch.
- Geometric Designs: Geometric patterns are trendy and can add a modern flair to your space. Consider using fabrics with bold shapes or subtle lines that can create an eye-catching visual.
- Floral Prints: Floral patterns can bring a touch of nature indoors. Whether you prefer large, vibrant blooms or delicate, understated designs, floral prints can soften the look of your divider.
- Stripes: Striped fabrics can create an illusion of height or width, depending on the orientation of the stripes. Vertical stripes can make a room feel taller, while horizontal stripes can make it feel wider.
- Abstract Art: For a unique and artistic touch, choose fabrics with abstract designs. This can add a contemporary edge and serve as a conversation starter.
Colors play a pivotal role in the overall aesthetic of your room. Here are some tips for selecting the right colors:
- Complementary Colors: Choose colors that complement your existing decor. For instance, if your room features warm tones, consider fabrics in shades of orange, red, or yellow.
- Neutral Tones: Neutral colors like beige, gray, or white can provide a calming effect and allow other elements in the room to stand out.
- Bold Accents: If you want to make a statement, opt for bold colors like deep blue, emerald green, or rich burgundy. These can serve as focal points in your space.
Don’t be afraid to mix and match patterns and colors! Here are some tips to do so effectively:
- Limit Your Palette: Stick to a color palette of two to three main colors to avoid overwhelming the space.
- Vary the Scale: Combine patterns of different scales. For instance, pair a large floral print with a small geometric design to create visual interest.
- Balance is Key: Ensure that the patterns and colors you choose are balanced throughout the room. This creates a harmonious look that feels intentional.
Incorporating unique patterns and colors into your fabric room divider can transform your space into a personalized haven. By exploring various designs and harmonizing them with your existing decor, you can create a stunning visual impact that enhances both functionality and aesthetics.
How to Secure Your Fabric Room Divider
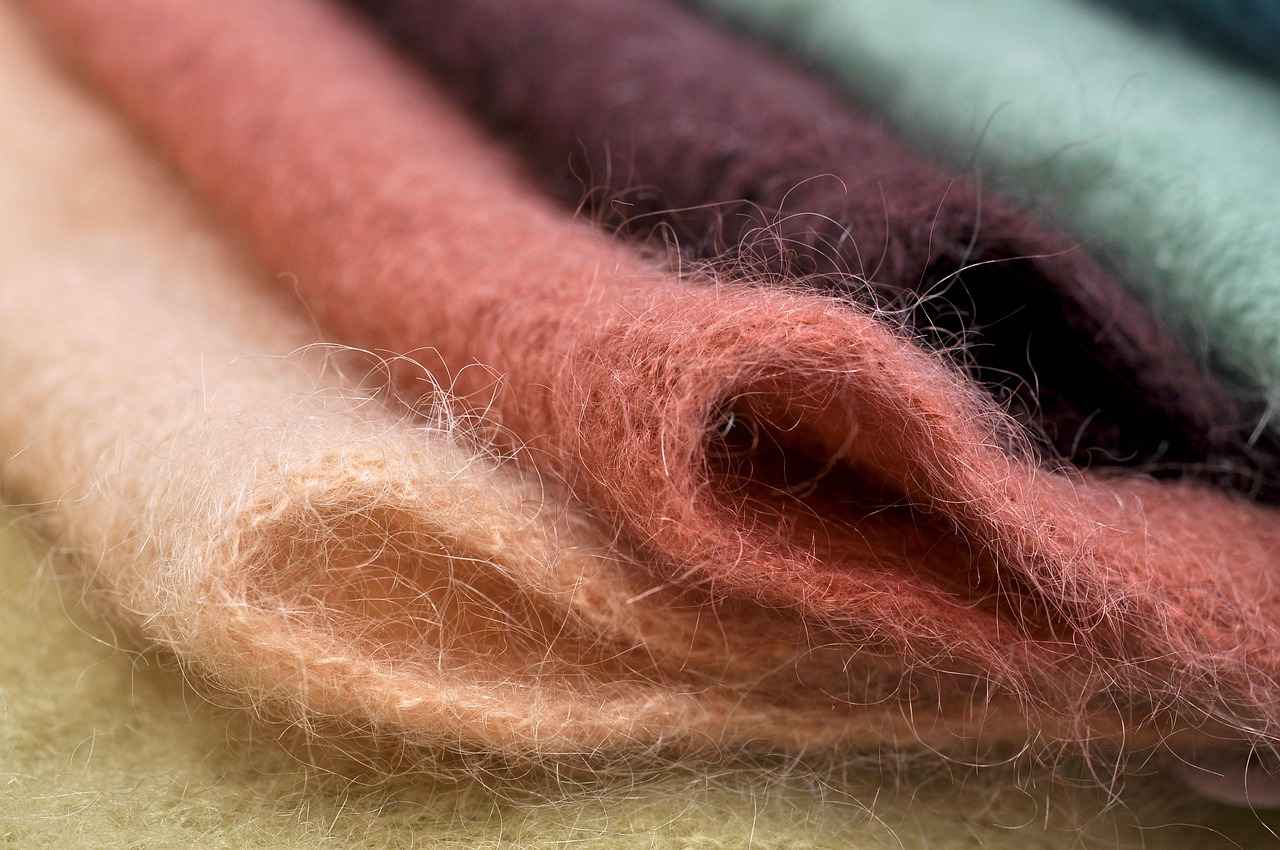
When it comes to creating a functional and stylish fabric room divider, securing your divider is essential for maintaining stability and ensuring it serves its purpose effectively. In this section, we will explore various innovative methods to keep your fabric divider in place without the need for traditional tools, making it easy for anyone to achieve a professional look.
Securing your fabric divider not only enhances its stability but also prevents it from shifting or falling over, which can be a safety hazard. A well-secured divider will help create a distinct visual separation between spaces, allowing for both privacy and style.
- Using Tension Rods: Tension rods are a popular choice for securing fabric dividers. They can be easily adjusted to fit the width of your space, providing a snug fit without the need for drilling holes or using screws. Simply slide the fabric onto the rod and adjust it to your desired height.
- DIY Clip Solutions: Another effective method is to use clips to attach the fabric to existing furniture or walls. This approach allows for flexibility and easy removal, making it ideal for renters or those who frequently change their decor.
- Weighted Bottom Hem: Adding weight to the bottom hem of your fabric can help keep it in place. You can use fabric weights or even small stones sewn into the hem to provide the necessary stability against drafts or movement.
- Velcro Strips: Velcro strips can be an excellent tool-free solution. Attach one side of the Velcro to the wall or furniture and the other to the fabric. This method allows for easy removal while ensuring that the divider remains securely in place.
Incorporating existing furniture into your design can provide additional support for your fabric divider. For example, you can drape the fabric over a bookshelf or a tall plant stand, allowing the furniture to act as a stabilizing element. This method not only secures the divider but also adds an element of decor to your space.
The type of fabric you choose can also impact the stability of your divider. Heavier fabrics such as canvas or denim tend to hang better and resist movement, while lighter fabrics may require additional securing methods. Consider the weight and texture of your fabric to ensure it meets your stability needs.
Regular maintenance is key to keeping your fabric divider looking fresh and functional. Ensure that the securing methods you choose are checked periodically to prevent wear and tear. Cleaning your fabric according to the manufacturer’s instructions will also prolong its lifespan and maintain its appearance.
By implementing these innovative securing techniques, you can create a stylish and stable fabric room divider that enhances your living space without the need for traditional tools. Whether you opt for tension rods, clip solutions, or furniture integration, the right approach will make your divider both functional and visually appealing.
Using Tension Rods
When it comes to creating a functional and stylish fabric room divider, tension rods stand out as an ideal solution. These versatile rods offer a range of benefits that make them perfect for anyone looking to enhance their living space without the hassle of tools or permanent installations.
Tension rods are designed to fit snugly between two surfaces, such as walls or furniture, using adjustable pressure. This feature allows you to easily customize the length of the rod to suit your specific space requirements. Here are some compelling reasons to consider using tension rods:
- Easy Installation: No drilling or permanent fixtures are required, making them a user-friendly option for renters or those who prefer a non-invasive approach.
- Adjustability: Tension rods can be effortlessly adjusted to fit various widths, allowing for flexibility in your design.
- Cost-Effective: Compared to traditional room dividers, tension rods are relatively inexpensive and can be used with a variety of fabrics.
Setting up a fabric room divider with tension rods is a straightforward process. Follow these steps to create your own:
- Measure Your Space: Before purchasing a tension rod, measure the width of the area where you want to install the divider. This will ensure that you select the right size rod.
- Select Your Fabric: Choose a fabric that complements your decor and serves your privacy needs. Lightweight materials like sheer curtains can provide a soft look, while thicker fabrics offer more privacy.
- Install the Tension Rod: Once you have your measurements and fabric, install the tension rod according to the manufacturer’s instructions. Typically, this involves expanding the rod to fit between the two surfaces and locking it in place.
- Attach Your Fabric: Drape or clip the fabric onto the rod. Many tension rods come with built-in clips, making this step even easier. Ensure the fabric hangs evenly for a polished look.
In addition to their ease of use, tension rods offer several other advantages:
- Versatility: Tension rods can be used in various settings, from living rooms to bedrooms and even in office spaces.
- Portability: If you decide to change your layout or move, tension rods can be easily removed and reinstalled in a new location.
- Style Options: With countless fabric options available, you can easily switch out your divider to match seasonal decor or personal preferences.
To get the most out of your tension rod fabric divider, consider these practical tips:
- Layering Fabrics: For added texture and depth, consider layering different fabrics on your tension rod. This can create a more dynamic look.
- Adding Accessories: Use decorative clips or tiebacks to enhance the aesthetic appeal of your divider.
- Regular Adjustments: As your needs change, don’t hesitate to adjust the height or width of your tension rod to accommodate new furniture or layouts.
In conclusion, tension rods provide a flexible and cost-effective solution for those looking to create a DIY fabric room divider. Their easy installation and adjustability make them a perfect choice for anyone wanting to enhance their space without the commitment of traditional dividers.
DIY Clip Solutions
When it comes to creating a DIY fabric room divider, one of the most innovative and practical solutions is the use of clips. This method not only allows for a seamless installation process but also offers a range of flexible options for hanging your fabric without the need for tools. Let’s delve deeper into how clips can revolutionize the way you set up your room divider.
DIY clip solutions refer to the various types of clips that can be used to secure fabric to walls, furniture, or even ceilings. These clips come in a variety of styles, including clothes pins, binder clips, and specially designed curtain clips, making them versatile for different applications.
Using clips to attach fabric provides a flexible way to change your space whenever you wish. Whether you’re looking to create a temporary divider for a party or a more permanent solution for your living area, clips allow you to easily adjust the fabric’s position or even swap it out for a different design. This adaptability is especially useful for renters or those who frequently redecorate.
- No Tools Required: One of the most significant advantages of using clips is that they eliminate the need for tools. This makes the setup process quick and hassle-free.
- Easy Installation: Simply attach the clips to your fabric and secure them to the desired surface. This straightforward method allows anyone to create a divider without prior experience.
- Cost-Effective: Clips are generally inexpensive and can be found at most craft or home improvement stores, making them a budget-friendly option for your project.
- Customizable: You can choose clips that match your decor style, whether you prefer a modern look with sleek metal clips or a more rustic feel with wooden options.
To effectively use clips for your room divider, follow these simple steps:
- Select Your Fabric: Choose a fabric that complements your decor. Consider factors like weight and opacity.
- Determine Placement: Decide where you want to hang your divider. This could be between two walls, from the ceiling, or even attached to furniture.
- Attach Clips: Securely attach clips to the top edge of your fabric. Ensure they are evenly spaced to distribute weight evenly.
- Secure to Surface: Position the clips on your chosen surface (walls, furniture, etc.) and press them into place. For added stability, consider using adhesive clips.
There are endless possibilities when it comes to using clips for your fabric room divider. Here are a few creative ideas:
- Layered Fabrics: Use multiple layers of fabric secured with clips to create a textured look. This can add depth and interest to your space.
- Seasonal Changes: Easily swap out your fabric with the seasons or for special occasions. Use holiday-themed fabrics or colors to enhance the mood.
- Artwork Display: Consider using clips to hang fabric that features prints or designs that can serve as art, adding a unique touch to your decor.
In conclusion, incorporating clips into your DIY fabric room divider project not only simplifies the process but also provides a versatile and cost-effective solution. With the ability to easily change or adapt your divider, you can maintain a fresh and dynamic living space.
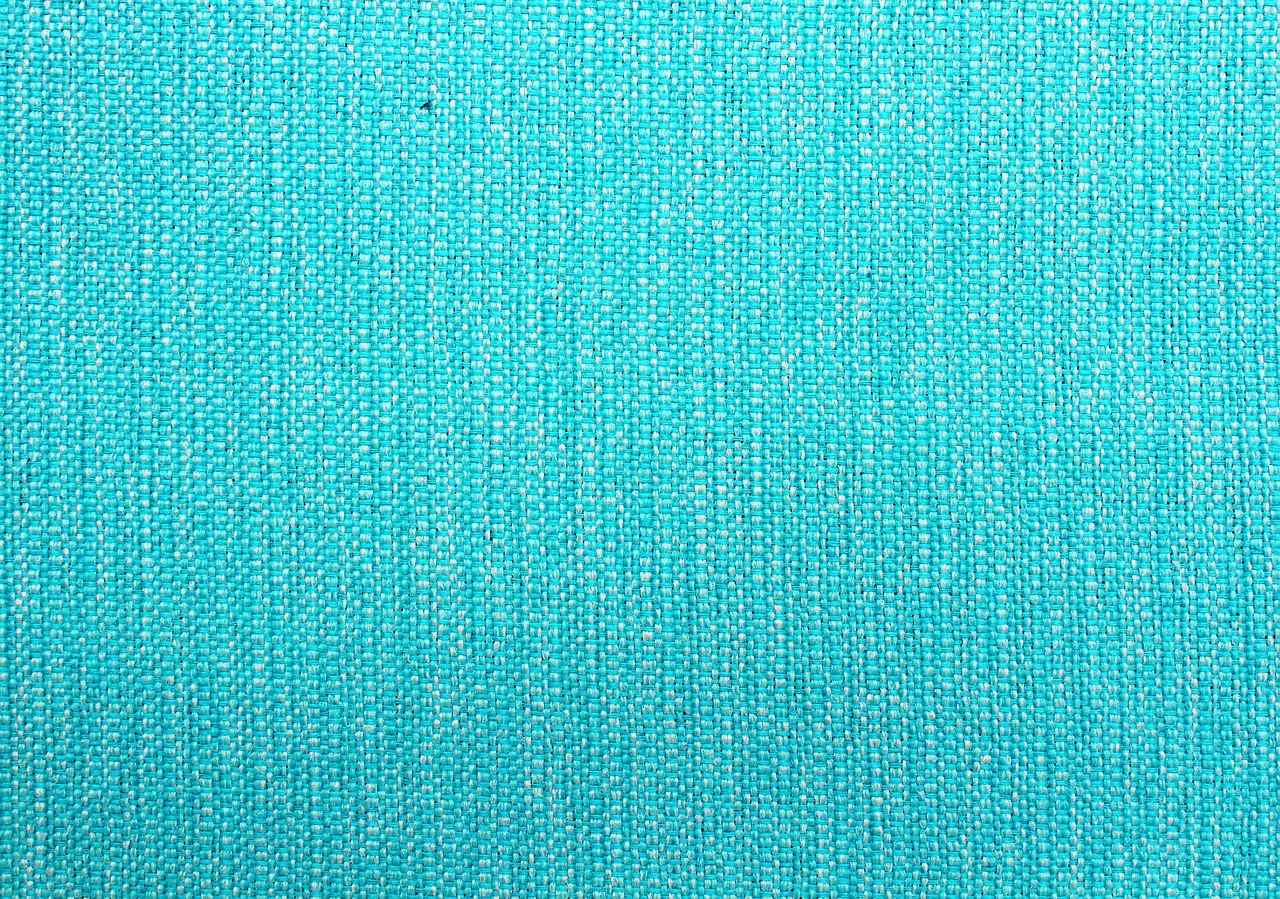
Maintaining Your Fabric Room Divider
is essential to ensure it remains a beautiful and functional element in your space. Regular care not only extends the lifespan of the fabric but also keeps it looking fresh and vibrant. Here are some valuable tips and techniques to help you maintain your fabric room divider.
Just like any other home decor item, your fabric room divider is susceptible to dust, stains, and wear over time. Regular maintenance helps to:
- Preserve Appearance: Keeping the fabric clean prevents discoloration and fading.
- Enhance Longevity: Proper care can significantly extend the life of your divider.
- Maintain Hygiene: Regular cleaning removes allergens and dust, promoting a healthier living environment.
Cleaning your fabric divider is straightforward and can be done using the following methods:
- Vacuuming: Use a handheld vacuum or a brush attachment to remove dust and debris. This should be done weekly to prevent buildup.
- Spot Cleaning: For stains, use a damp cloth and a mild detergent. Gently blot the area rather than scrubbing to avoid damaging the fabric.
- Machine Washing: If the fabric is machine washable, follow the care instructions. Wash on a gentle cycle with cold water and mild detergent, then air dry.
Different fabrics require specific care. Here are some common fabric types and their maintenance tips:
| Fabric Type | Care Instructions |
|---|---|
| Cotton | Machine washable; avoid bleach to prevent fading. |
| Linen | Hand wash or dry clean; iron on low heat to remove wrinkles. |
| Polyester | Machine washable; quick drying and resistant to wrinkles. |
To keep your fabric divider in optimal condition, consider these preventive measures:
- Avoid Direct Sunlight: Prolonged exposure can fade colors. Use window treatments to shield your divider.
- Use Fabric Protectants: Apply a fabric protector to repel stains and spills, making cleaning easier.
- Regular Inspections: Check for any signs of wear and tear, such as fraying edges or loose seams, and address them promptly.
For more delicate fabrics or stubborn stains, it may be wise to seek professional cleaning services. They have the expertise and equipment to handle tough stains without damaging the fabric.
By following these maintenance tips, you can ensure your fabric room divider remains a stunning feature in your home for years to come. Regular care not only keeps it looking great but also enhances the overall ambiance of your space.
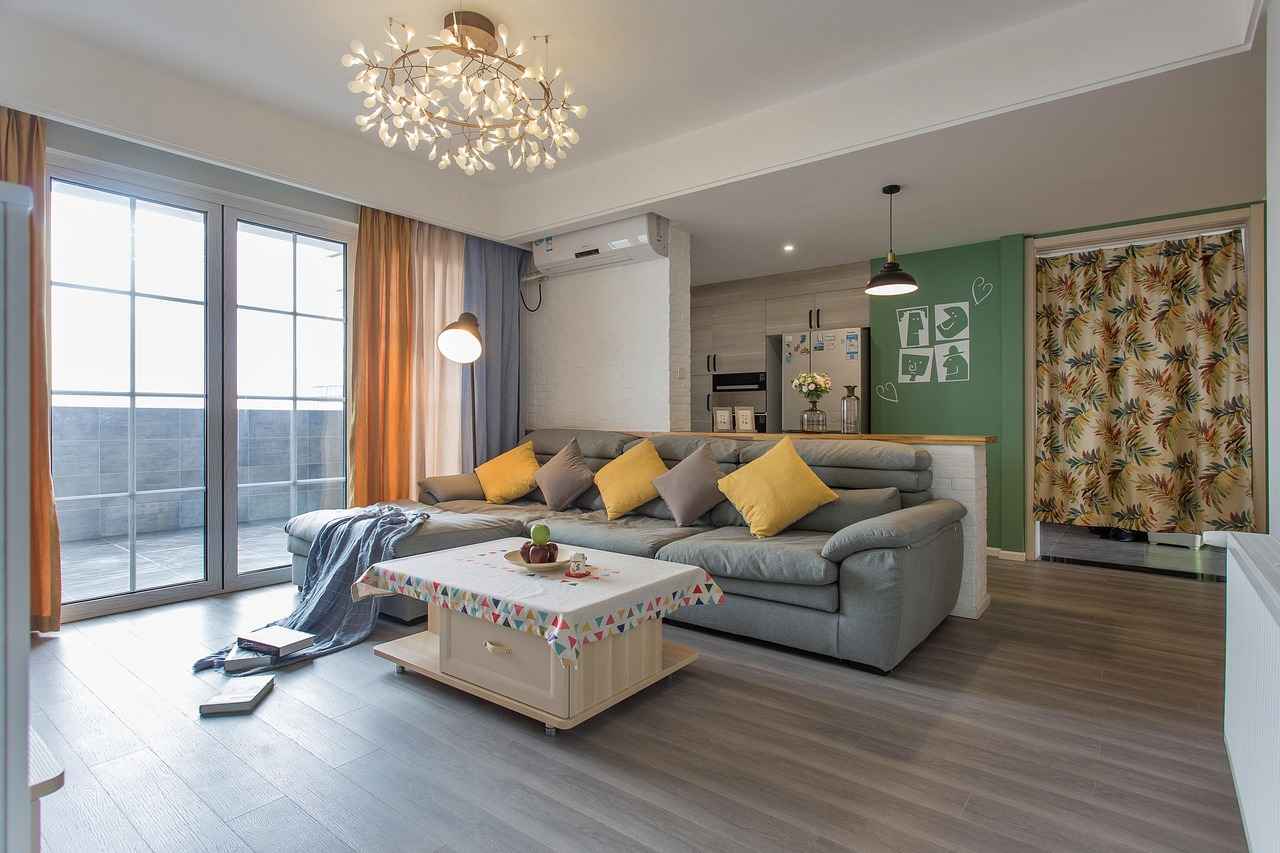
Incorporating Lighting with Your Fabric Divider
When it comes to enhancing the ambiance of your space, lighting plays a crucial role, especially when paired with a fabric room divider. The right lighting can transform a simple divider into a stunning focal point, creating a cozy and inviting atmosphere. Here are some creative ways to integrate lighting into your fabric divider setup:
- Fairy Lights: String lights or fairy lights can be draped over or around your fabric divider. These lights add a warm glow and can be easily adjusted to suit your mood. They are perfect for creating a whimsical or romantic atmosphere.
- LED Strip Lights: Consider using LED strip lights along the edges of your divider. These lights are versatile and can be cut to fit your divider’s dimensions. They provide a modern touch and can be set to various colors, allowing you to customize your space.
- Wall Sconces: If your fabric divider is positioned near a wall, wall sconces can be an excellent addition. These fixtures can illuminate the fabric from behind, creating a soft, diffused light that enhances the texture and color of your divider.
- Table Lamps: Placing a stylish table lamp on a nearby surface can also enhance the overall ambiance. Choose a lamp that complements your decor and provides adequate light to highlight the fabric divider.
- Spotlights: For a dramatic effect, consider using adjustable spotlights to shine directly on your fabric divider. This technique draws attention to the divider and can create interesting shadows and patterns.
Integrating these lighting elements not only enhances the aesthetic appeal of your fabric divider but also serves practical purposes. For instance, ambient lighting can improve visibility in your space, making it more functional for various activities, such as reading or entertaining guests.
Additionally, you can experiment with different lighting techniques to achieve the desired effect. For example, using colored bulbs can create a vibrant atmosphere, while warm white lights can promote a sense of calm and relaxation. Consider your personal style and the overall theme of your room when selecting lighting options.
Moreover, energy-efficient lighting options, such as LED bulbs, can be an eco-friendly choice that reduces your electricity consumption while still providing ample illumination. This approach not only benefits your wallet but also contributes to a more sustainable living environment.
In conclusion, incorporating lighting with your fabric room divider is an innovative way to enhance both the functionality and aesthetics of your space. By exploring various lighting options and techniques, you can create a cozy and inviting atmosphere that reflects your personal style. Whether you opt for soft fairy lights or bold spotlights, the right lighting can make all the difference in transforming your room into a warm and welcoming haven.
Final Thoughts on DIY Fabric Room Dividers
Creating a DIY fabric room divider is an innovative way to enhance your living space. With the right materials and techniques, you can achieve a stylish and functional solution that not only separates areas but also adds a personal touch to your decor. This guide will delve into the benefits of fabric room dividers, the materials you need, and how to effectively create one without the use of tools.
A DIY fabric room divider is more than just a functional element; it is an opportunity for self-expression. By crafting your divider, you can tailor it to fit your unique style and the specific requirements of your space. Whether you need to create a private nook in a shared room or simply wish to enhance your interior aesthetics, a fabric divider offers a versatile solution.
To get started on your DIY fabric room divider, gather the following materials:
- Fabric: Choose a fabric that complements your decor.
- Tension Rod: This will help you hang your fabric without tools.
- Clips: Curtain clips can be used for easy attachment.
- Measuring Tape: To ensure accuracy in sizing.
The fabric you select can significantly influence the overall look and feel of your room. Consider factors such as:
- Opacity: Do you want a sheer look or something more opaque for privacy?
- Texture: Smooth fabrics can create a sleek appearance, while textured fabrics add depth.
- Color: Choose colors that either blend with your existing decor or provide a bold contrast.
Follow these simple steps to create your fabric room divider:
1. Measure the height and width of the area where you want to install the divider.2. Cut your fabric according to your measurements, leaving extra length for hems.3. Attach the fabric to the tension rod using clips or by folding over the top.4. Hang the tension rod in your desired location.
Stability is key for any room divider. Tension rods are a popular choice because they require no drilling, making them a tool-free solution. Alternatively, you can use clips to attach the fabric to furniture or walls, allowing for flexibility in design.
To keep your fabric divider looking its best, regular maintenance is essential. Here are some tips:
- Cleaning: Check the fabric care instructions for washing or spot cleaning.
- Inspection: Regularly check for any wear or damage and address it promptly.
Incorporating lighting elements around your fabric room divider can create a cozy atmosphere. Consider using string lights or LED strips to highlight the divider and add warmth to your space.
Creating a DIY fabric room divider is not just about functionality; it is an opportunity to personalize your space. With minimal materials and no need for tools, you can craft a divider that reflects your style while effectively serving its purpose. Whether you want to create a private area or simply enhance your decor, a fabric room divider is a practical and stylish solution.
Frequently Asked Questions
- What materials do I need for a DIY fabric room divider?
You’ll need some fabric, a tension rod, and possibly curtain clips. These materials are easy to find and won’t require any tools, making your project super simple!
- Can I use any type of fabric for my room divider?
Absolutely! Just keep in mind the opacity and texture. Sheer fabrics create a light, airy feel, while thicker materials provide more privacy. Choose what suits your style best!
- How do I secure my fabric room divider without tools?
Using tension rods is a fantastic option! They can be adjusted to fit your space perfectly. Alternatively, you can use clips to attach the fabric to furniture or walls, which is both flexible and easy.
- How do I maintain my fabric room divider?
Regular cleaning is key! Depending on the fabric, you can either hand wash or machine wash it. Just make sure to follow the care instructions to keep it looking fresh and vibrant!
- Can I add lighting to my fabric room divider?
Yes! Incorporating string lights or small lamps can create a cozy atmosphere. It’s a great way to enhance the overall look and feel of your space!
